How to Draw a Torch Step by Step
This tutorial shows how to draw a burning torch in six easy to follow steps. It provides detailed illustrations and simple drawing instructions.
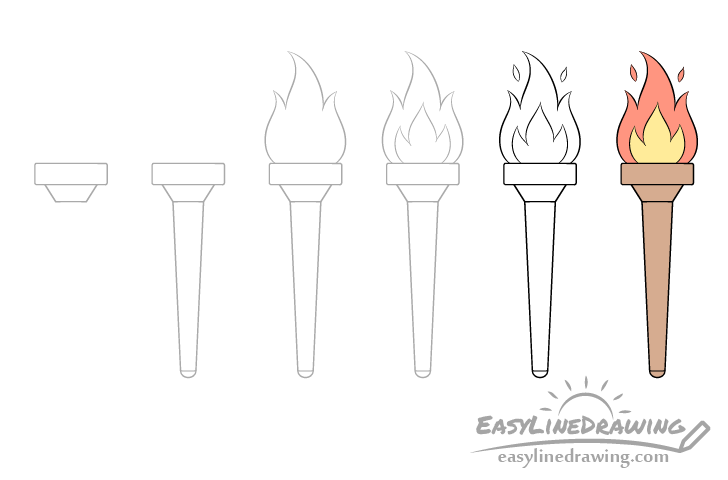
You can see the a preview of the included drawing stages in the image above. Similar to other tutorials here on EasyLineDrawing the torch is somewhat simplified/stylized to make this guide beginner friendly.
It’s recommended that you start in pencil and make light lines that are easy to erase in case you make a mistake. You can darken them later on with a black pen or marker (before coloring).
Step 1 – Draw the Base of the Torch
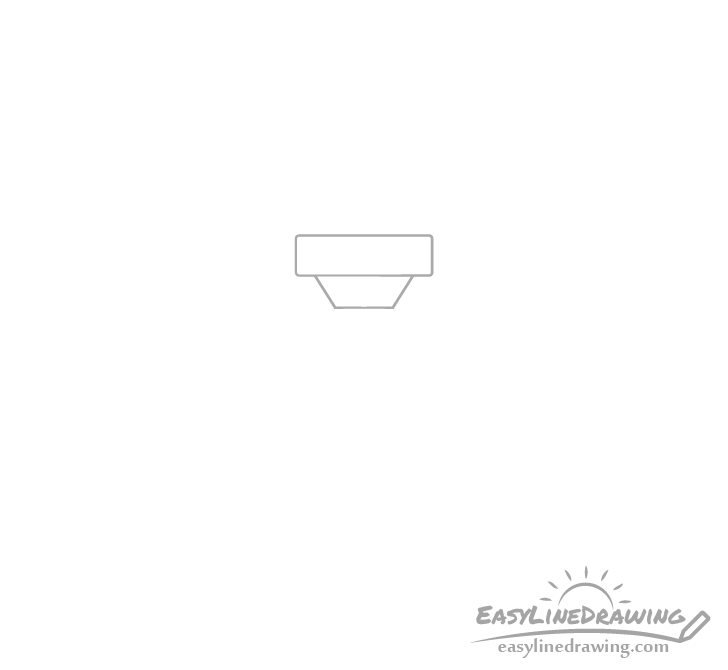
Start by drawing the base of the torch (the part the flame comes out of). Make it’s top a rectangle with slightly rounded corners. Afterwards add the bottom section (draw it narrower as it goes down).
Step 2 – Draw the Shaft

Going down from the base draw the shaft of the torch (the part where it’s held). Make this section fairly long and and slightly narrower towards the bottom. You can give the very bottom a rounded tip (as in the example).
Step 3 – Draw the Flame
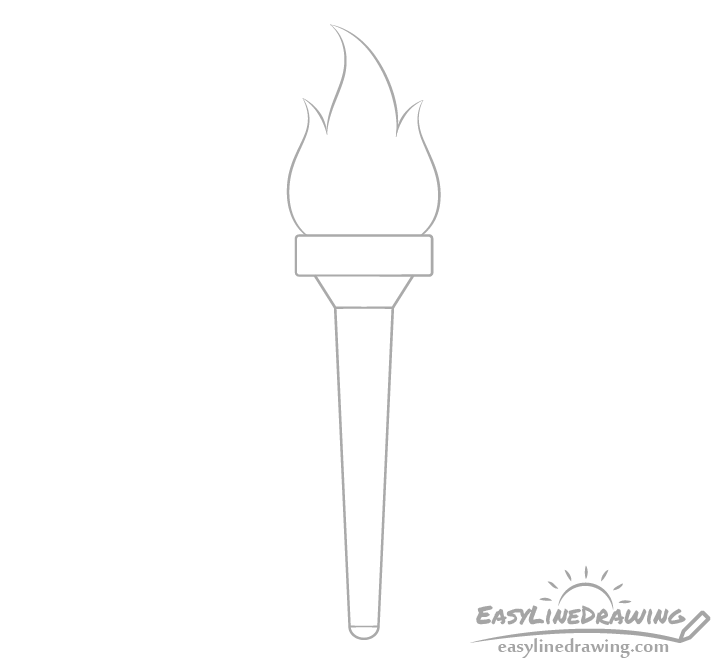
To show that the torch is lit add the flame. Make it’s overall shape slightly narrower as it goes up and give it rounded sides with a split into three near the top.
Step 4 – Draw the Inner Part of the Flame
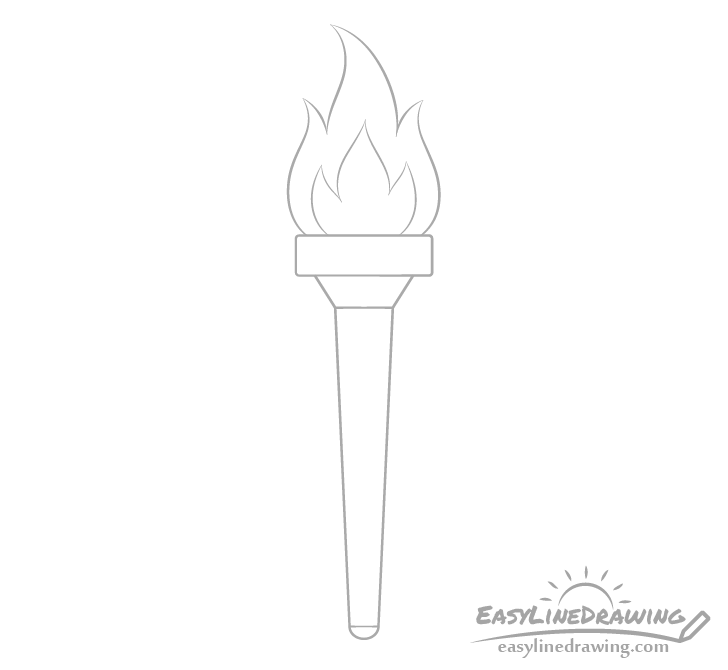
Inside the main outline of the flame add it’s hotter inner section. Draw this to be somewhat similar to the main shape (again splitting into three as it goes up) but not exactly the same.
Step 5 – Draw the Sparks & Finish the Line Drawing
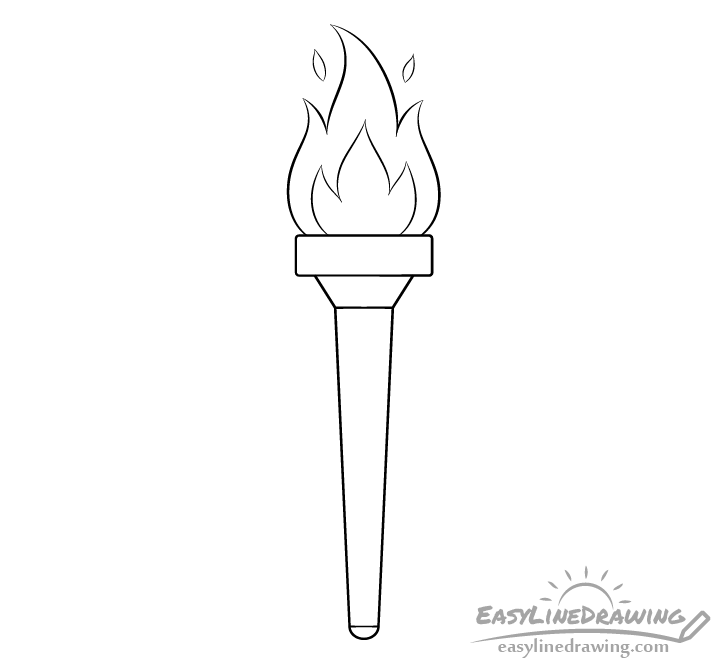
For the last set of details add a couple of sparks flying up from the flame. Draw these slightly angled with their shapes pointing in different directions so that they look more natural.
Once you have the sparks outlined have a look at your drawing to make sure you are happy with how it looks (and make any corrections if required). Next, trace over your lines with a black pen/marker or darken them with the pencil.
Step 6 – Color the Torch
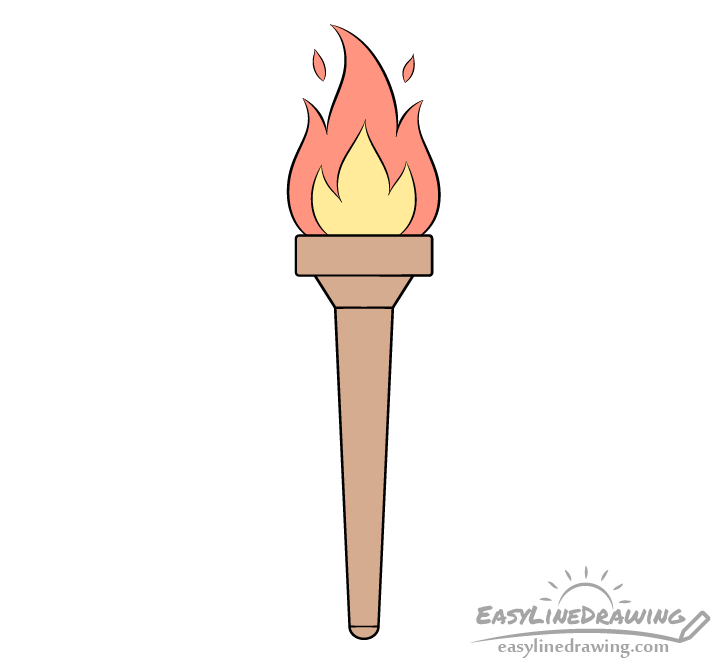
Coloring this particular drawing is quite simple, you can use any medium you like (markers, paints, colored pencils, etc…) or a mix of a few of them. If you want a bright looking torch (especially the flame) markers can be the best option.
Make the outer part of the flame red (you can mix some orange into it as well), make the inner part of the flame yellow/orange and make the torch itself brown.
Conclusion
Drawing a torch like the one in this tutorial can be fairly easy, especially if you have a detailed guide like the one provided. If done right, even a simple and stylized drawing can look quite nice and be easily recognizable.
If you like these types of guides you may also enjoy some of these other tutorials listed below.
For more on drawing things related to light and fire see:
- How to Draw Fire Step by Step
- How to Draw a Match Step by Step
- How to Draw a Lighter (6 Steps)
- How to Draw a Flashlight Step by Step
- How to Draw the Sun in Different Ways
For drawing other things try the following:
- How to Draw an Apple Step by Step
- How to Draw a Burger Step by Step
- How to Draw a Sword Step by Step
- How to Draw a Cannon Step by Step

")


