How to Draw a Flashlight Step by Step
This six step tutorial shows how to draw a flashlight. It provides simple illustrated examples with easy to follow instructions.
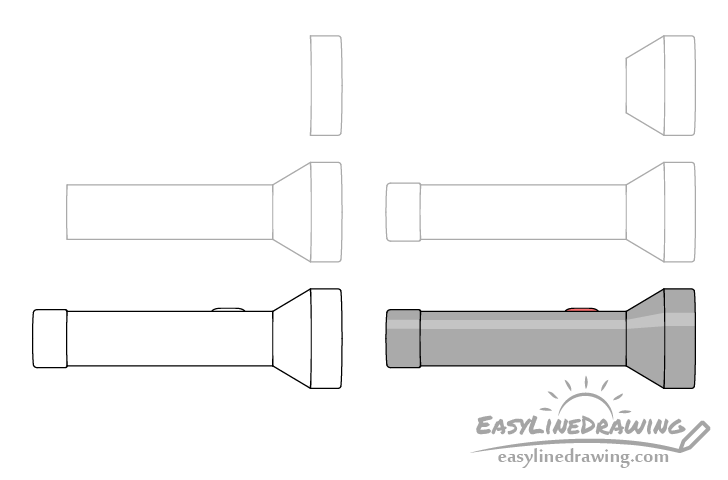
In this case the flashlight will be drawn from the side view. You can see the preview of the drawing stages in the example above.
Start the tutorial in pencil and make light lines that are easy to erase in case you make a mistake. You can darken them later on with a black pen or marker.
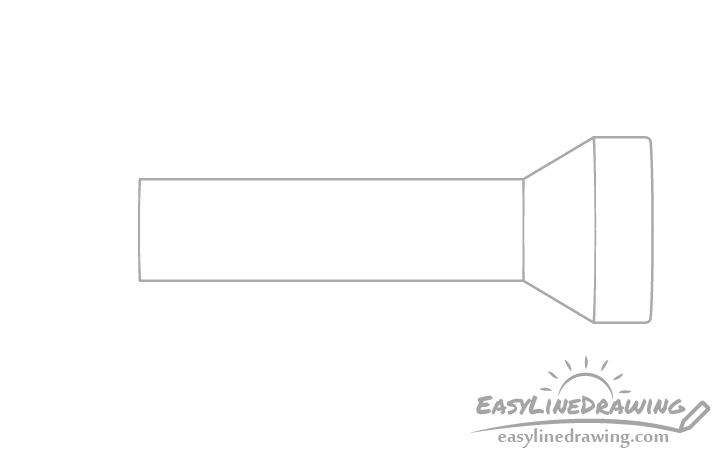
Step 1 – Draw the Front of the Head of the Flashlight

Begin by drawing the front part of the head of the flashlight as shown above. Draw a pair of straight lines at the top and bottom with a pair of slightly curved lines for the front and back. You can also give it slightly rounded corners on the forward facing end.
Step 2 – Draw the Back of the Head

Draw the back of the head getting narrower as it goes towards the grip area (added in next step).
Step 3 – Draw the Grip
Draw the grip as pretty much a long rectangle with a slightly rounded line as the cut-off on it’s back end.
Step 4 – Draw the Cap
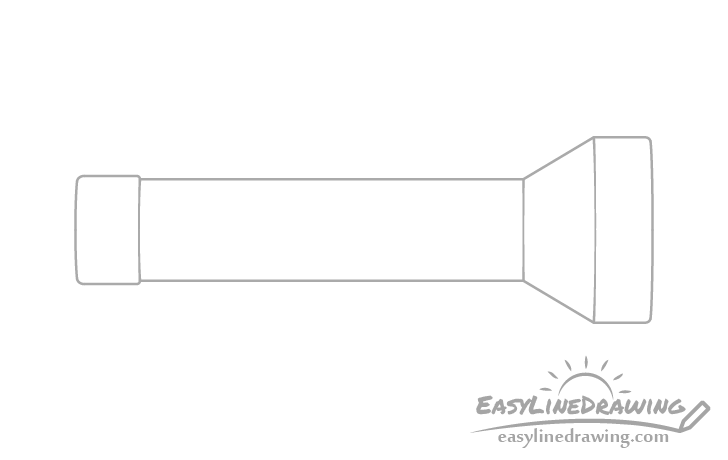
At the end of the flashlight add the cap. You can draw it with a pair of straight lines for the top and bottom and a slightly curved line for the back. You can also give it rounded corners on all sides but make the corners on the back end slightly larger (bigger radius).
Step 5 – Draw the Switch & Finish the Line Drawing
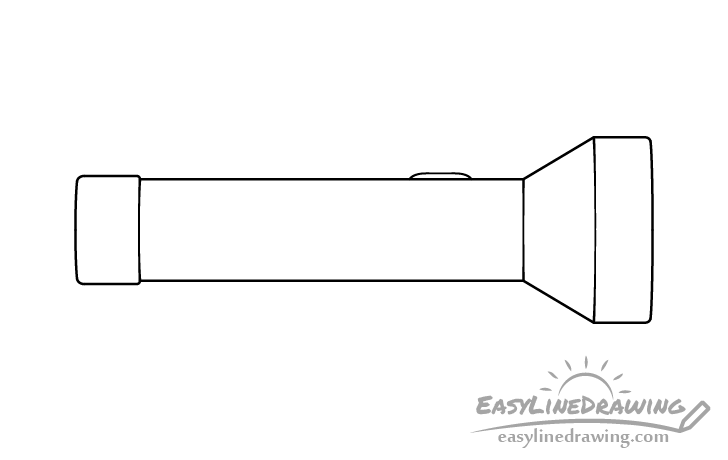
For the last part of the flashlight add the on/off switch. Draw this as a little bump at the top of the grip (as in the example).
Once done with this simple step check to see if your drawing looks good and make any corrections if needed. Afterwards you can trace over your lines with a black pen, marker or darken them with the pencil.
Step 6 – Color the Flashlight
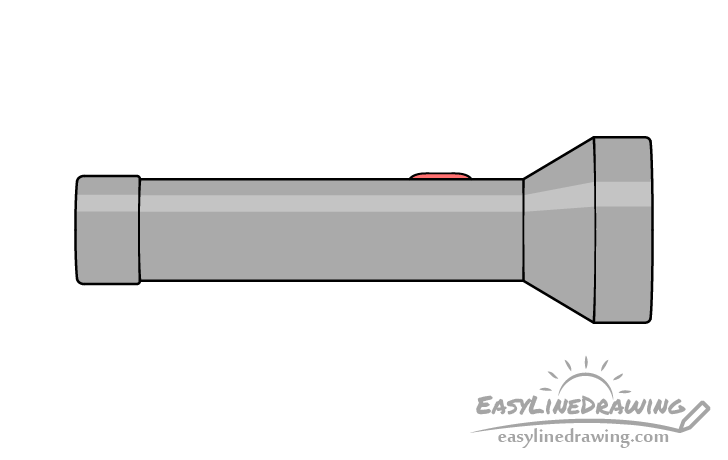
To color the flashlight make it’s main body grey. You can do this with just a regular pencil. In this case the on/off switch will be red but you can make it just about any color your like.
Also add a highlight area (light reflection) running along the entire length of the flashlight as shown in the example. Outline this in pencil before coloring and color around it. Afterwards you can also lightly shade this part as well so that it doesn’t look overly bright.
Once done you should have a finished drawing of the flashlight.
Conclusion
This tutorial shows how to draw a flashlight from the side view. It’s not particularly complex and should be easy enough even if you are a beginner, especially if you follow the provided examples and instructions.
If you liked this tutorial and found it helpful you may also want to try some of the following:
- How to Draw a Lamp Step by Step
- How to Draw a Key Step by Step
- How to Draw Headphones Step by Step
- How to Draw a USB Stick Step by Step
- How to Draw a Sponge Step by Step
- How to Draw a Television Step by Step

")


