How to Draw a Teapot Step by Step
This easy tutorial shows how to draw a tea pot in six steps using simple illustrated examples along with quick explanations.
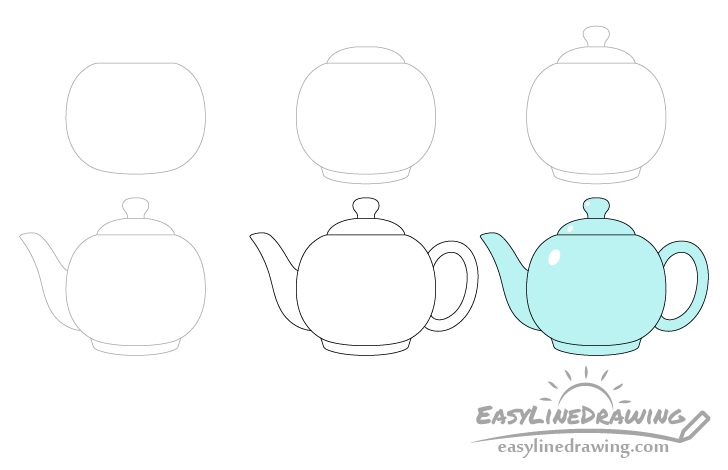
The provided examples are of a standard looking teapot with a fairly common look. In this case it will be drawn from the side view. You can see the drawing stages for it in the preview image above.
Start the tutorial in pencil and make light lines that are easy to erase in case you need to make a correction. You can darken them later on with a black pen or marker.
Step 1 – Draw the Main Body of the Teapot
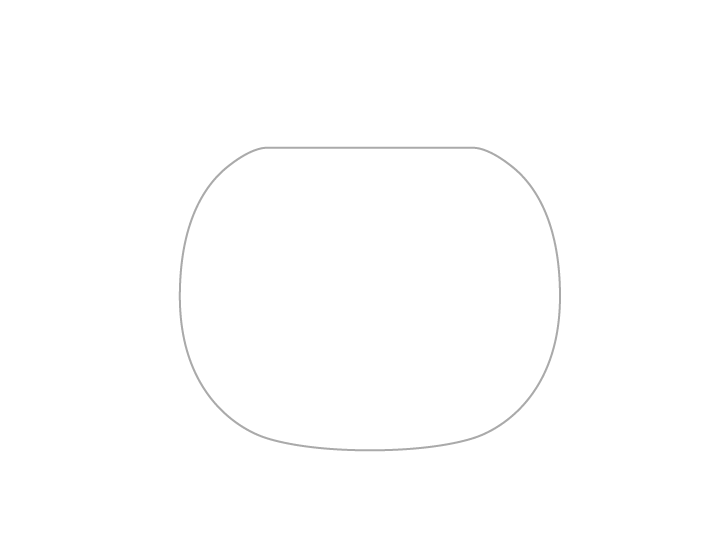
Begin by outlining the main body of the teapot as in the example. Give it a straight top with rounded sides and bottom.
Step 2 – Draw the Lid & Base
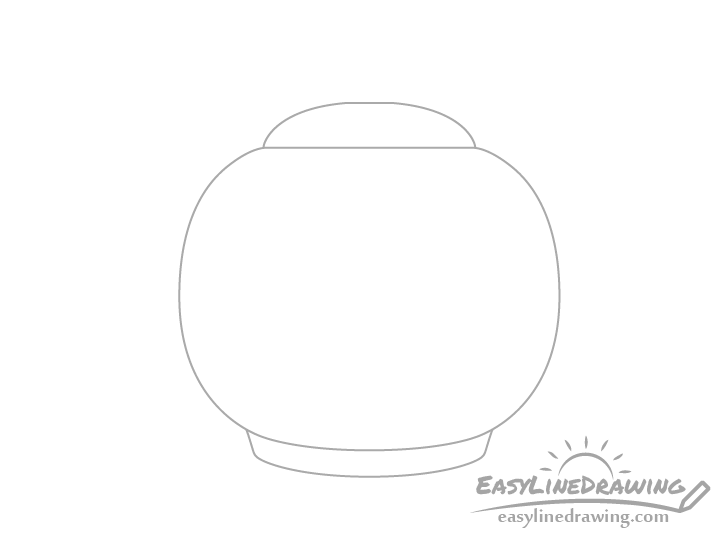
At the top of the pot draw the lid. Make it’s overall shape curved but give it a small flat area at the very top (where the knot will be attached).
At the bottom add the base. You can make it narrower as it goes down and give a smooth curve at the bottom similar to the one for the bottom of the main body but slightly more curved.
Step 3 – Draw the Knob
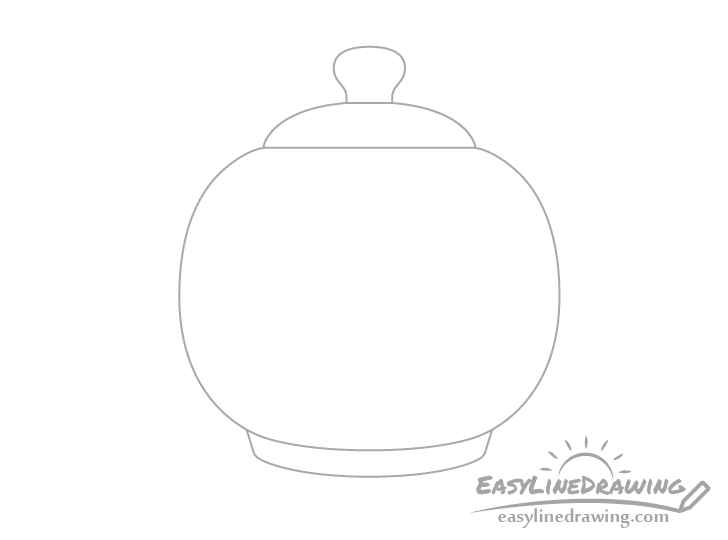
Going up from the little flat spot on the lid add the knob. Give it a bit of a narrower “neck” at the bottom and then a wider part at the top.
Step 4 – Draw the Spout

Coming out of one side of the kettle draw the spout. Make it’s overall shape a bit like a wave where it curves in one direction and then in the other. Also make it much wider at the base and narrower as it goes up.
Step 5 – Draw the Handle & Finish the Line Drawing
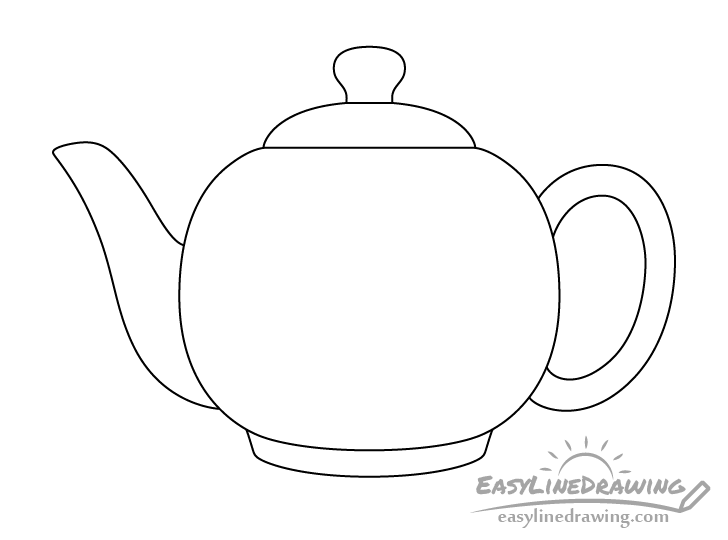
Opposite the spout add the handle. Make it’s outer shape similar to an oval that’s drawn on a bit of an angle that cuts into the teapot. Afterwards draw a second similar shape inside the first one. Once done you should have all of the teapot parts in place.
At this stage confirm that your drawing looks good (make any corrections if required). Afterwards trace over your lines with a black pen, marker or simply darken them with the pencil.
Step 6 – Color the Teapot
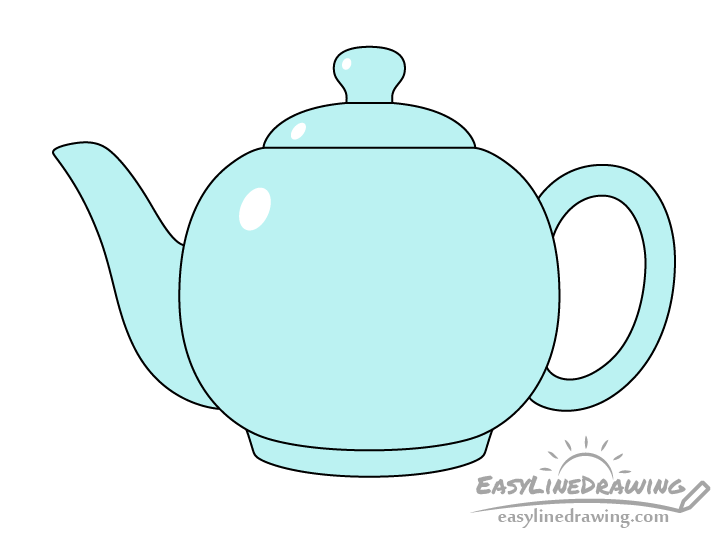
You can color the teapot any color you like and use any medium you prefer such as paints, markers, colored pencils, etc… In this case it will be a solid light blue with just a few white highlights to help show that it has a smooth reflective surface.
You can lightly outline the highlights in pencil or in whatever color you choose to make the teapot before coloring. Add one to the main body, one to the lid and one to the knob.
Conclusion
This tutorial shows how to draw a standard looking teapot from the side view. This is a fairly easy view to draw from and it also works well for showing off most parts of the teapot. Hopefully you’ve found this drawing approach and examples helpful.
For more similar tutorials also see:
- How to Draw a Kettle Step by Step
- How to Draw a Coffee Cup Step by Step
- How to Draw a Bottle of Water Step by Step
- How to Draw a Paper Coffee Cup Step by Step


")


