How to Draw a Tulip Step by Step
This tutorial shows how to draw a tulip in six steps. It provides simple illustrated examples and quick instructions.
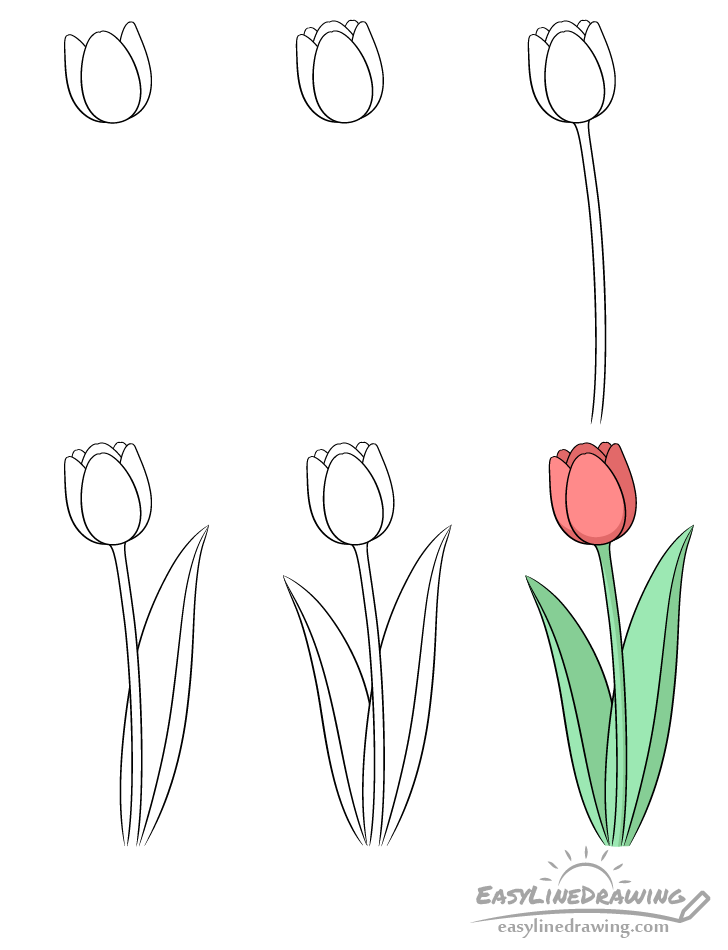
Tulips are a beautiful and very popular flowers. Though their shapes are not particularly complex drawing one can still be a little tricky. To help this tutorial provides an easy to follow step by step guide to doing so. It explains how to draw each part of the tulip with a shape that is characteristic of such a flower. It also shows how to add some simple color and basic shading.
Start the drawing in pencil and make light lines that are easy to erase in case you make a mistake. You can darken them later on (before coloring).
For a more generic flower drawing see:
How to Draw a Flower Step by Step
Step 1 – Draw the Front Petals
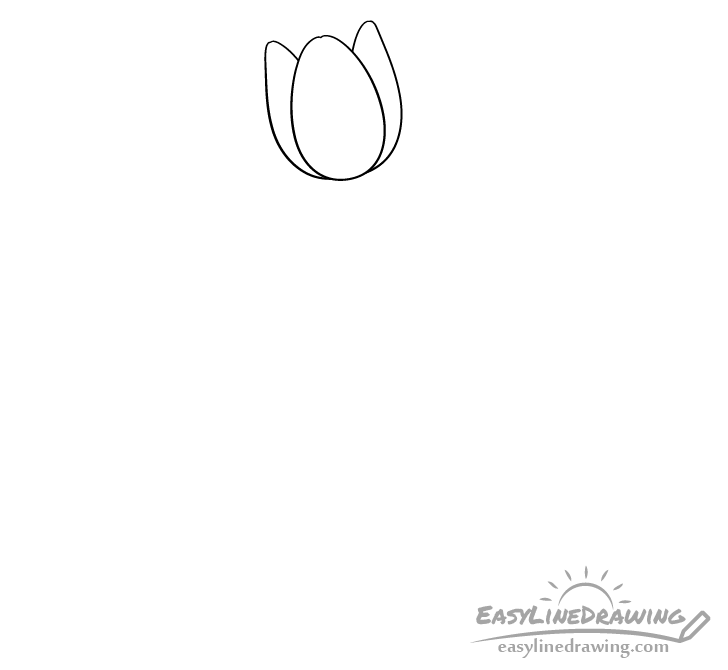
A tulip flower generally has six petals. Start by drawing the three in the front. First, outline the one in the middle and make it’s shape like that of an egg with it’s pointy end facing upwards. You can also draw a tiny split at it’s tip (do this for the other petals as well). Next, add the two petals behind it (one on each side).
In this case the tulip’s stem will be slightly bent so draw it’s petals/flower on an angle as shown in the example.
Step 2 – Draw the Background Petals
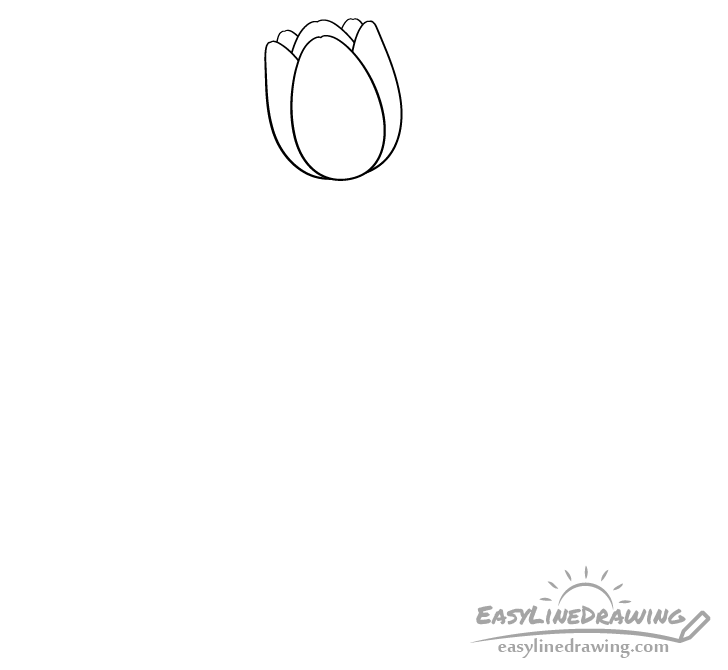
Add the three petals in the back. Again, draw the one in the middle first and then add the two on it’s sides.
Step 3 – Draw the Stem
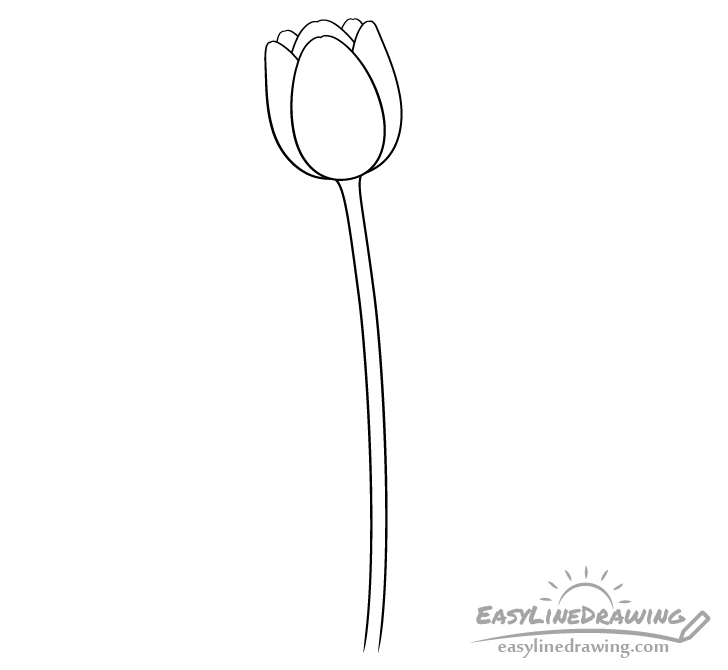
Going down from the flower add the stem. As already mentioned draw it to be slightly curved.
Step 4 – Draw the Front Leaf
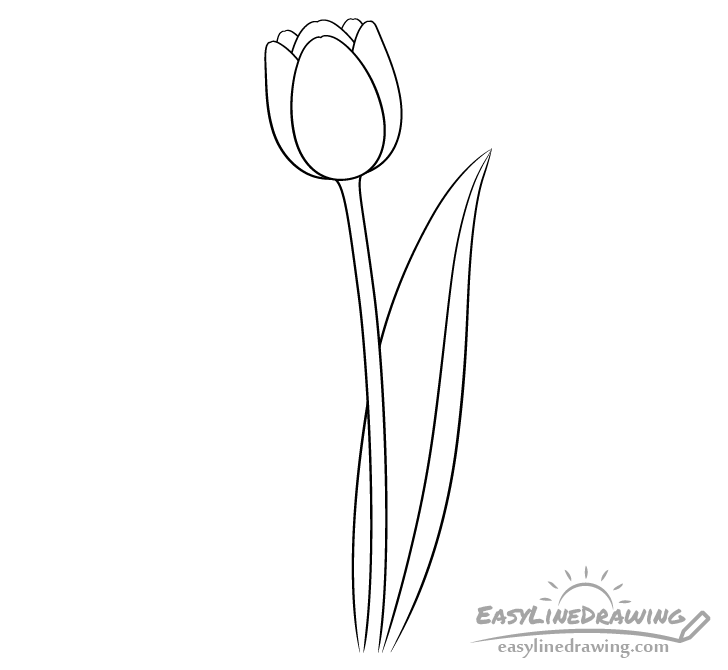
Coming up from the bottom of the stem add the first leaf. Begin with it’s overall outline and then add the bend on the side to show that it’s curving around the stem.
Generally tulip leaves are quite large. They tend to get wider as they go up from the base and narrower again towards their tips. Keep this in mind and draw accordingly.
Step 5 – Draw the Background Leaf
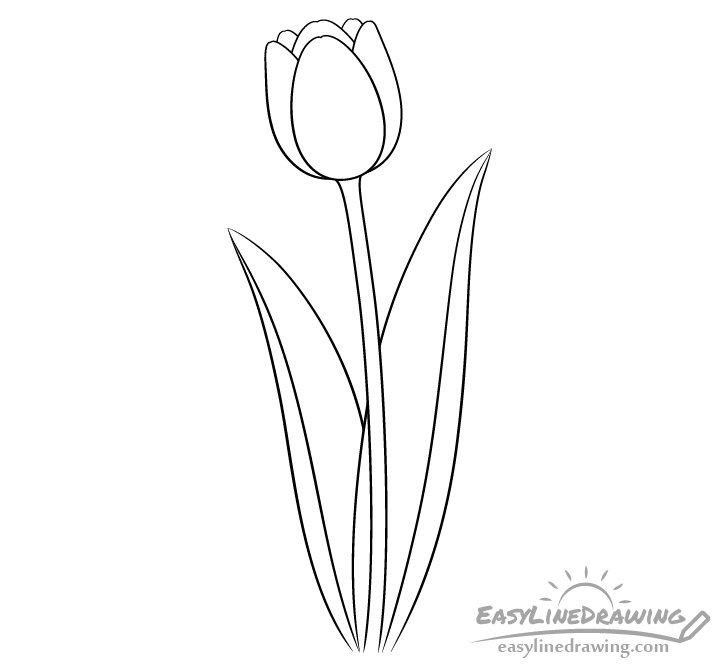
Add the second leaf coming out from behind the first one. Make this one a little smaller. Again, draw it’s overall outline and then add the little bend/curve on the side.
Step 6 – Color the Tulip
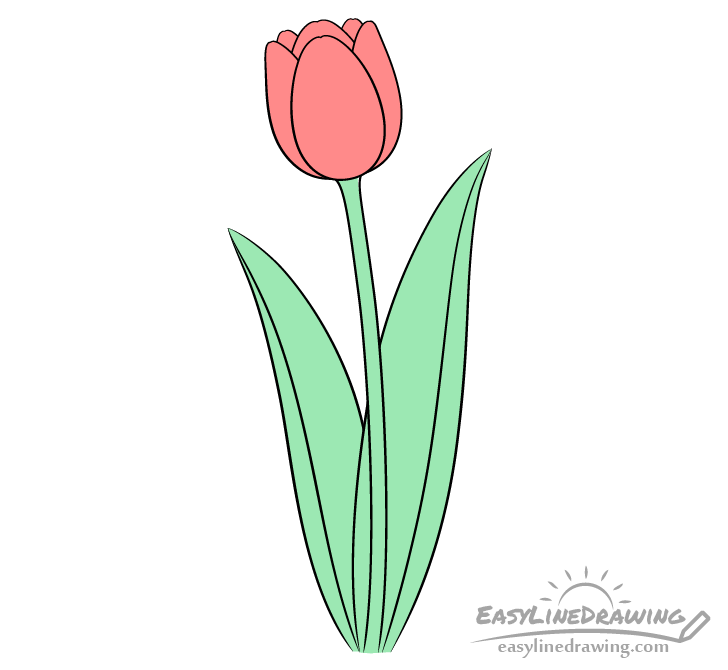
Tulips cone in many different varieties. In this example it’s a red one which goes well with the green of the leaves.
Start coloring by first filling in the flower with a solid red (or a different color if you prefer) and the stem/leaves with a solid green (as shown above).

Once you’ve colored the tulip you may notice the drawing looks a little flat/plain. To fix this give it some basic shading as shown in this next example.
Darken the inner part, bottom and right side of the flower as well as the right side of the stem and each of of the leaves. This will make it look like the light is coming from the upper left of the tulip and give it a more three dimensional appearance.
Conclusion
By making sure its various parts have shapes that are characteristic of this particular flower you can create a drawing that even when simplified definitely looks like tulip. Hopefully you’ve found the step by step examples and explanations simple and easy to follow.
For more similar tutorials also be sure try the following:
- How to Draw a Bike Step by Step
- How to Draw a Leaf Step by Step
- How to Draw a Palm Tree Step by Step

")


