How to Draw a Knife Step by Step
This tutorial shows how to draw a knife in five easy to follow steps with illustrated examples and quick instructions.
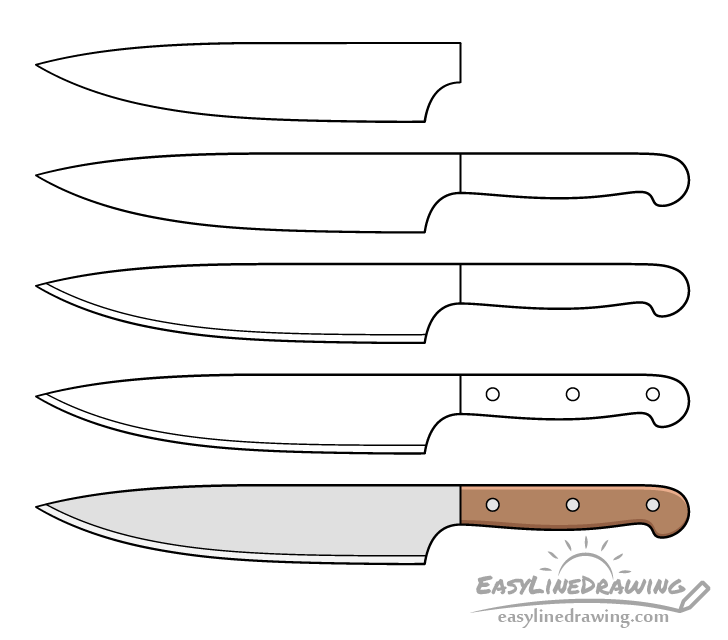
The example is of a kitchen knife with a fairly common design that consists of of the blade, the handle and the tangs.
Although the tutorial is fairly straight forward, it’s commended that you start the drawing in pencil and make light and easy to erase lines (just in case of a mistake). You can darken them later on (before coloring).
Step 1 – Draw the Blade of the Knife

First, outline the knife’s blade. Star the from the tip and draw this part with a curve along both it’s top and bottom. The curves should gradually straighten out as they go towards the end of the handle.
Near the very end of the bottom of the blade (the heel of the knife) draw an upwards curve that aligns it to the handle (added in the next step).
Step 2 – Draw the Handle
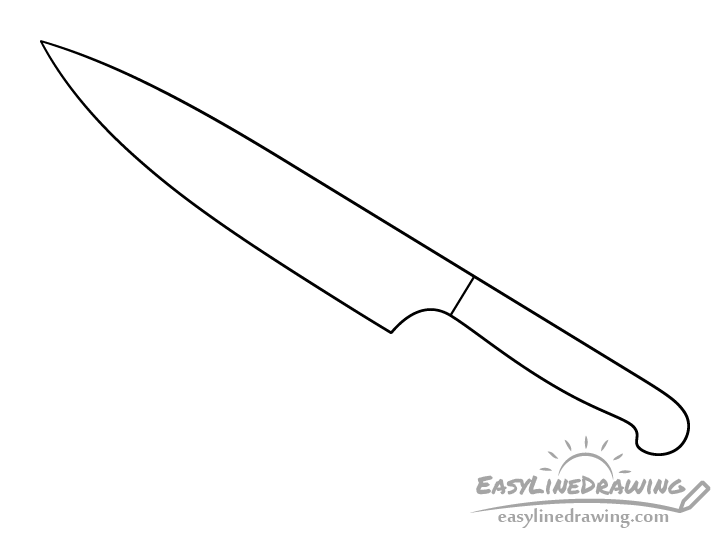
Draw the knife’s handle with a flat top, a curved bottom and a wider bit on it’s end (the butt).
When drawing the handle also be sure to keep in mind it’s length and width in relation to the blade. You want it to be a little shorter and significantly narrower.
Step 3 – Draw the Edge
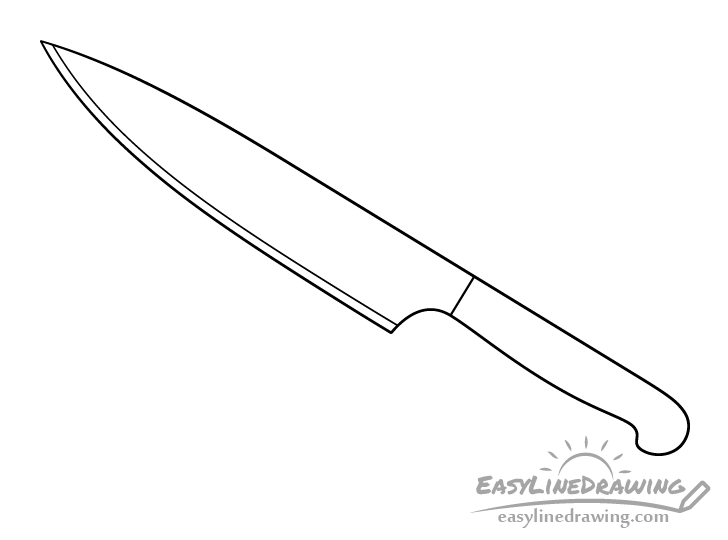
Along the bottom of the blade add the edge. You can indicate this with a single line that follows it’s shape.
Step 4 – Draw the Tangs
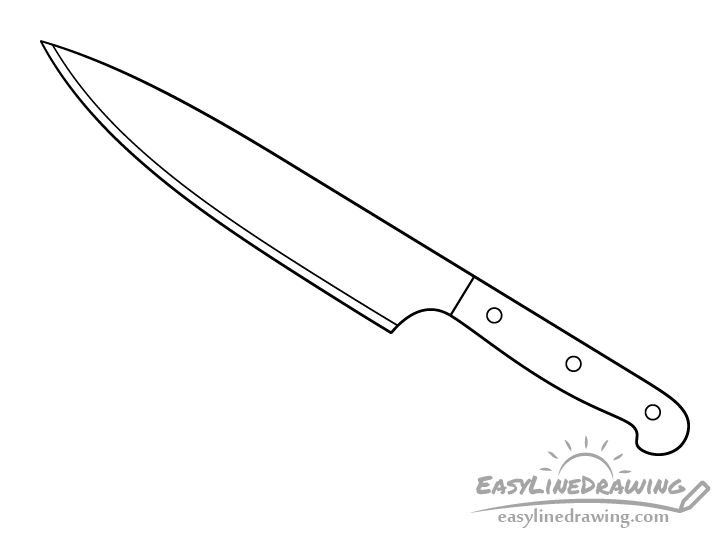
On the handle draw the three round tangs. These help hold the handle in place and balance the knife.
To make it a bit easier to position the tangs first draw the ones near the blade and butt and then the one in the middle.
Once you have all parts of the knife outlined you can trace over your drawing with a black marker or simply darken your lines with the pencil.
Step 5 – Color the Knife
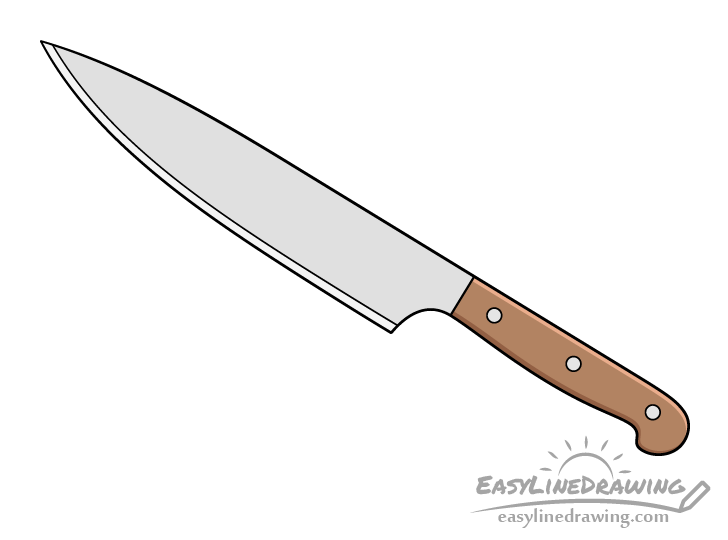
An easy way to color the knife is by using a regular and a brown pencil. Though you can also use other medium and/or a different color if you prefer.
Make the blade grey and the edge a slightly lighter grey. Color the handle brown with a lighter strip along it’s top and a darker strip along it’s bottom. Make the tangs the same grey as the blade.
If using pencils as suggested you can make the lighter/darker variants of the color and the grey by simply applying more or less pressure as you shade/color.
Conclusion
This tutorial shows an easy way to draw a simple kitchen knife. It also show how you can help the drawing stand out by applying a bit of color and some basic shading.
If you like these kinds of simply step by step drawing guides also be sure to try the following:
- How to Draw a Spoon in 6 Easy Steps
- How to Draw a Slice of Bread or Toast Step by Step
- How to Draw Scissors Step by Step
- How to Draw a Lighter (6 Steps)
- How to Draw a Nail Step by Step


