How to Draw a Boy Step by Step
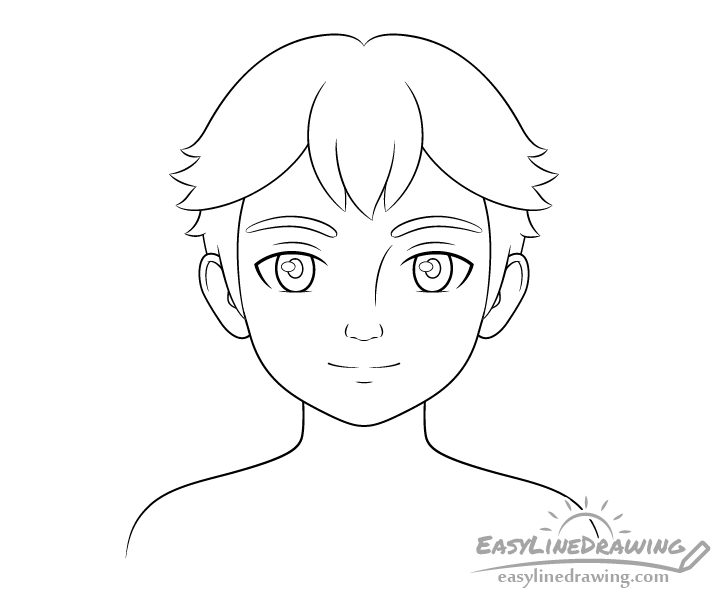
This tutorial shows how to draw a boy in fifteen steps. It’s main focus is on drawing the head and face in a cartoon style.

You can see a preview of the included steps in the image above. As already mentioned the drawing of the boy will be somewhat stylized, similar to a character you might see in a cartoon/animation.
This particular tutorial is also more detailed then most other ones you will find here on EasyLineDrawing as people (even in a simplified style) can be somewhat challenging to draw. However, if you follow along with the provided steps it should not be too difficult even if you are a beginner artist.
Be sure to start the drawing in pencil and make light lines as you will need to erase parts of it in a few of the steps. You can trace over your lines with a a black pen or marker before coloring.
Step 1 – Draw the Top of the Head
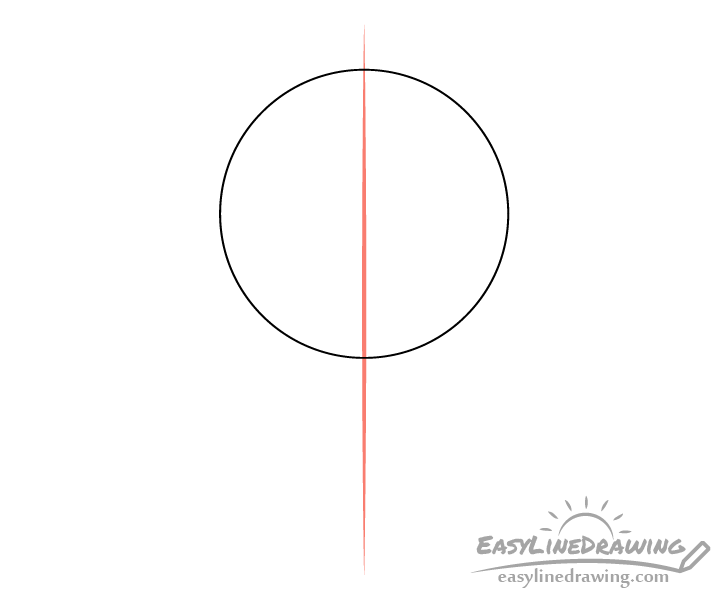
First make a straight vertical line through the middle of your page/drawing area. The goal of this is to create a guide that can help you see if both halves of the face are relatively even in width.
Towards the upper part of the line draw a circle to indicate the top of the head.
Step 2 – Draw the Bottom of the Head
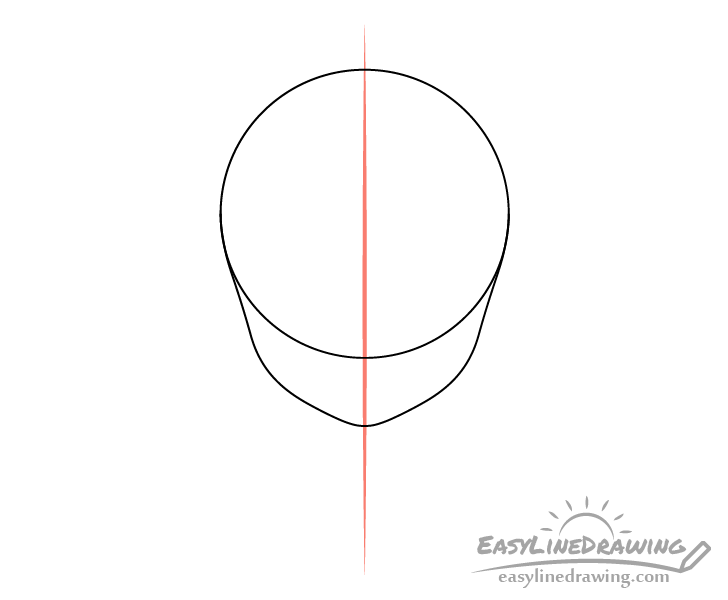
Going down from the circle add the bottom part of the face. It’s shape should consist of two straight lines that are slightly angled towards the center as they go down. These should then transition into a pair of curves followed by another pair of straight lines (angled even more inwards) that are joined at the bottom by a very slightly curved chin.
Step 3 – Draw the Neck & Shoulders
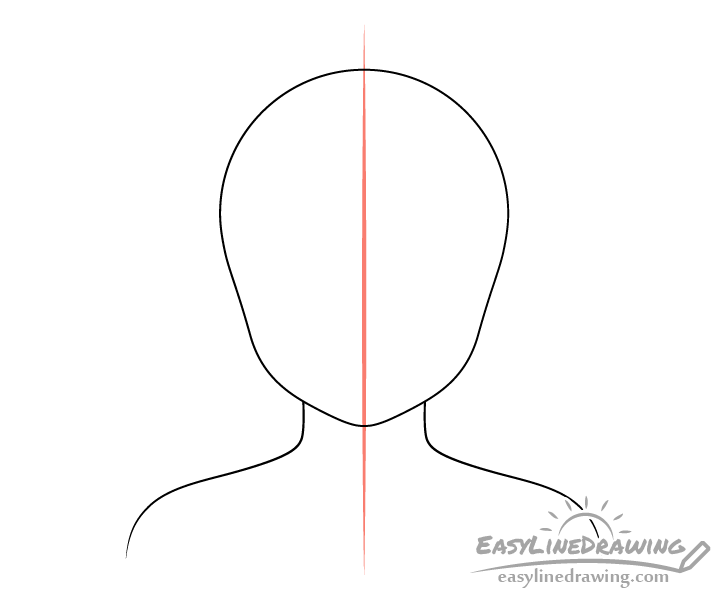
Before drawing the neck/shoulders you can erase the bottom part of the circle from step one and adjust it’s upper shape if needed.
As this is a stylized character draw the neck significantly narrower than the head. Kids generally have bigger heads in relations to their bodies compared to adults so to help emphasize that this is a boy make the shoulders fairly narrow.
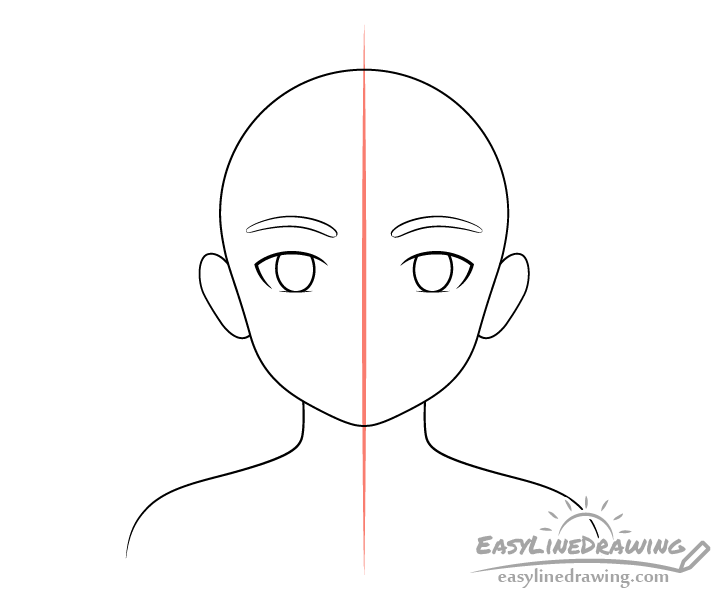
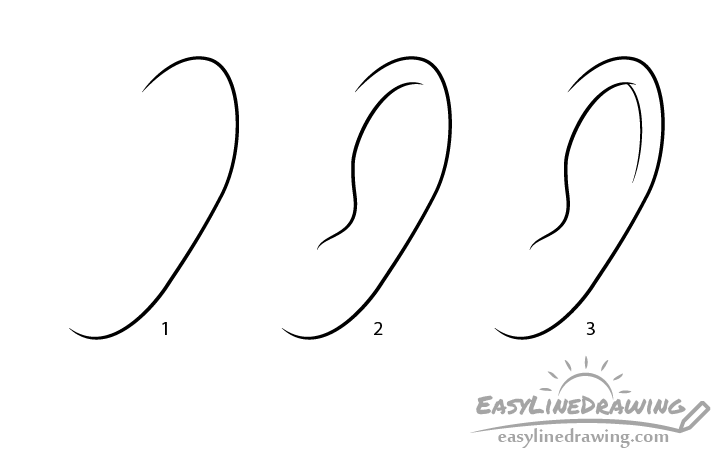
Step 4 – Draw the Ears

To position the ears place them with their upper part close to the horizontal halfway point of the head and their bottoms halfway between that and the bottom of the chin.
You can draw out the guide lines as shown in the example or just do your best to estimate their placement (it’s recommended that you at least draw the one through the vertical middle).
For drawing an ear form the side view see:
How to Draw an Ear Step by Step (Easy)
Step 5 – Draw the Eyes
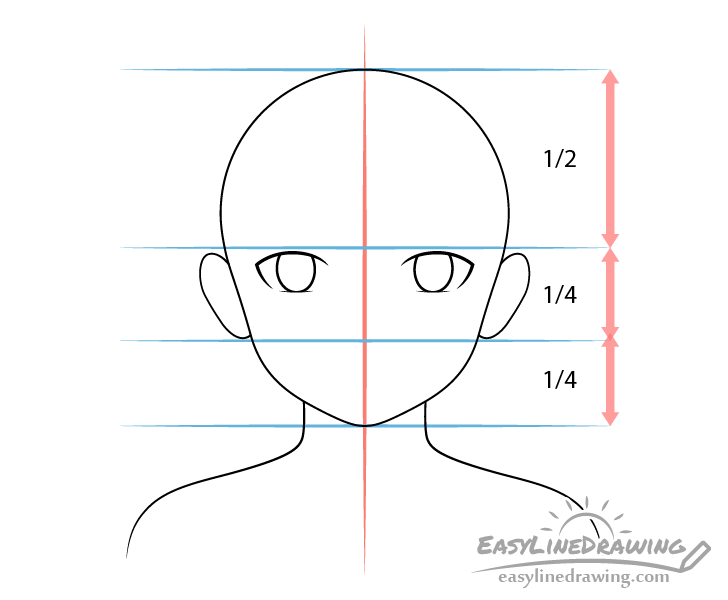
To place the eyes again draw them with their upper ends below the vertical halfway point of the head (aligned with the top of the ears). At this stage leave out their smaller details, these will be added later on. At this stage the goal is to just get their overall shape and placement.
Step 6 – Draw the Eyebrows
A little bit above the eyes add the eyebrows. You can make them fairly thick (more so towards their inner ends) and draw their overall shapes to be slightly curved.
Step 7 – Draw the Nose
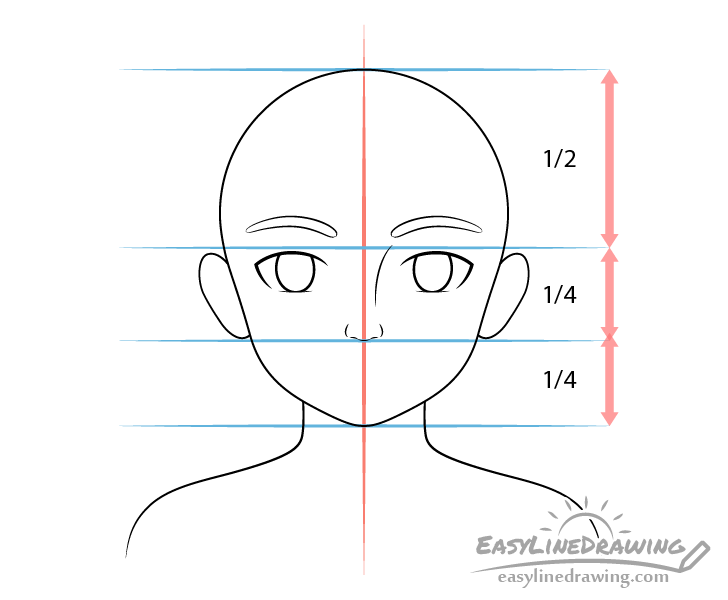
Place the nose with it’s bottom roughly at the same level as the bottom of the ears.
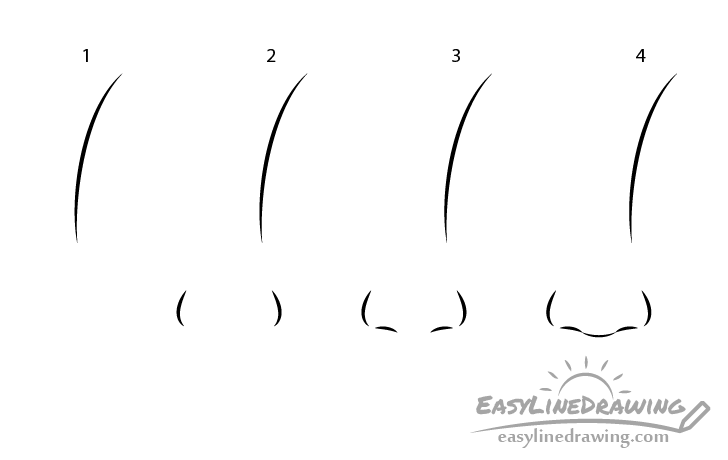
You can define it’s bridge with a curve on one side. Don’t outline the other side as it will make the drawing look odd.
For the bottom portion of the nose draw a pair of curves for each of it’s sides another pair for the nostrils and one curve for it’s bottom (as show in the example).
Step 8 – Draw the Mouth
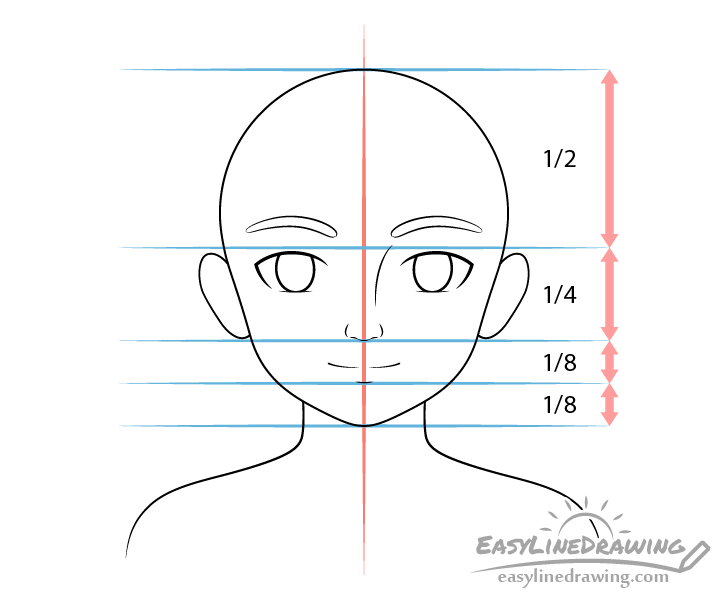
Position the moth with it’s bottom lip halfway between the bottom of the nose and the bottom of the chin. You can add the opening of the mouth a little bit above that. In this case the boy will have a light smile so you can draw the mouth as a fairly wide curve.
Once done with this step you can erase any of the guide lines that you have drawn.
Step 9 – Draw the Hair in the Front
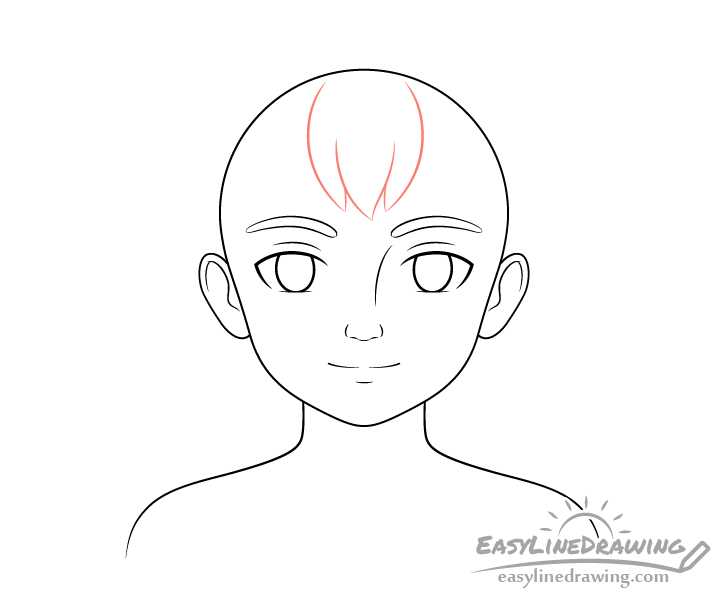
As this is a cartoon character instead of trying to show individual hairs you can draw the hair in large clumps.
Although drawing hair (even when it’s stylized) can be fairly complex, there is a way to make the process much simpler and easier to understand. You can do this is by splitting it into several different sections.
Begin by drawing the front/middle part of the hair along the forehead.
Step 10 – Draw the Hair on Top
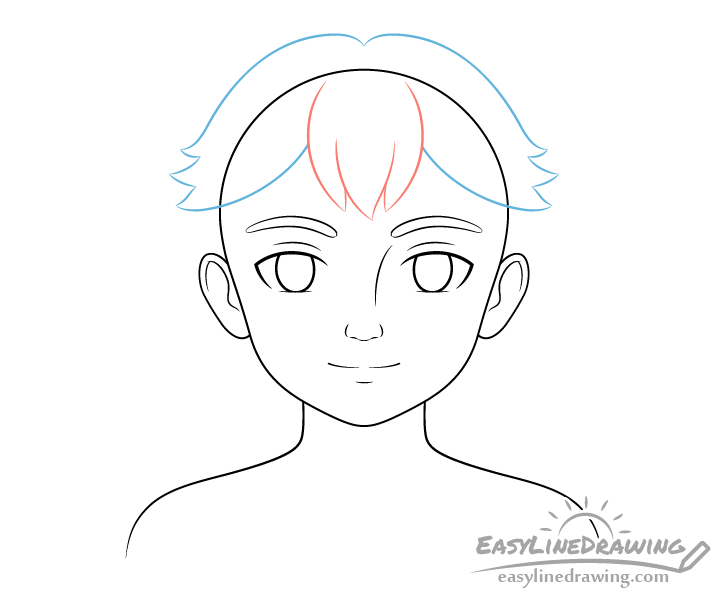
Add the upper part of the hair as shown in blue. Draw it as two large parts starting from the top of the head that then split into smaller clumps as they go down. Be sure to leave a good amount of room between these and the outline of the head to show that the hair has volume.
Step 11 – Draw the Hair on the Sides
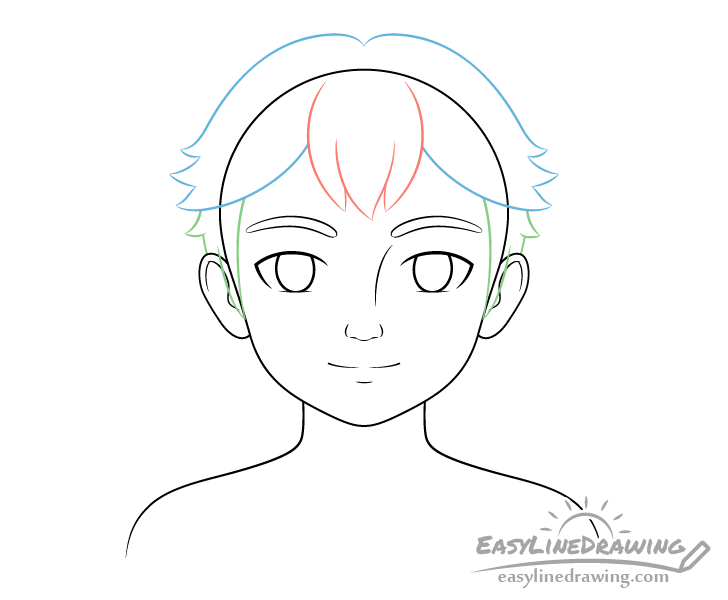
Finally add the side sections of the hair shown in green. These will slightly cover the upper parts of the ears.
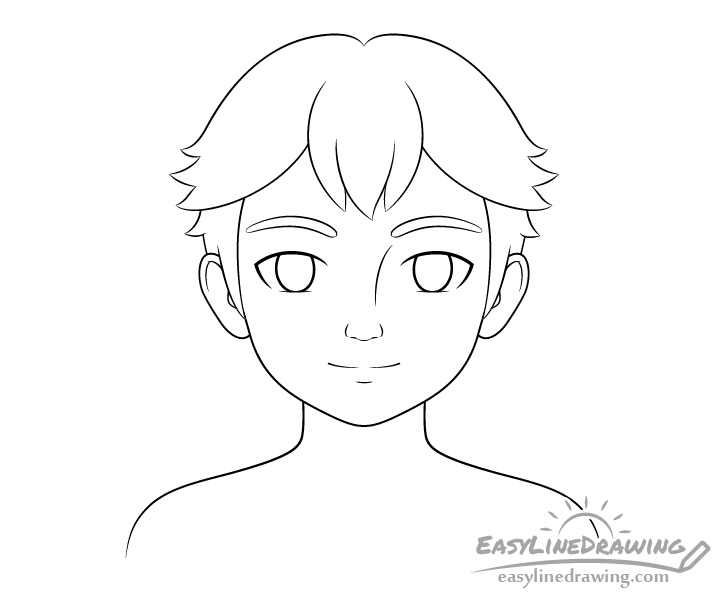
Once all parts of the hair are outlined you can erase the areas of the head that it covers so that you have a nice and clean drawing before moving on to the next step.
Step 12 – Draw the Details of the Eyes & Ears
For this step add the smaller details of the eyes. These will be the pupils, reflections and eyelids.
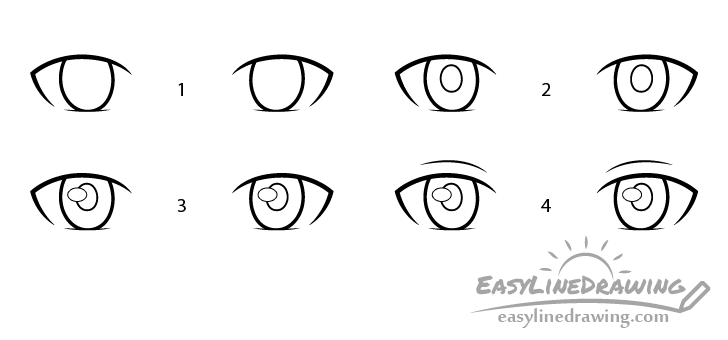
Draw the pupils as vertical ovals in the middle of each iris. Add another pair of smaller ovals (this time horizontal) to indicate the light reflecting from the smooth surface of the eyes. You can erase the parts of the pupils that they overlap. Also try and keep that outlines of the reflections very light so that they blend into the color later on.
Finally draw a couple curves just a little bit above the eyes to give a hint of the eyelids.
You can see the inner details of the ear in the example above but keep in mind that parts of those will be covered by the hair.
Step 13 – Draw the Clothes & Finish the Line Drawing
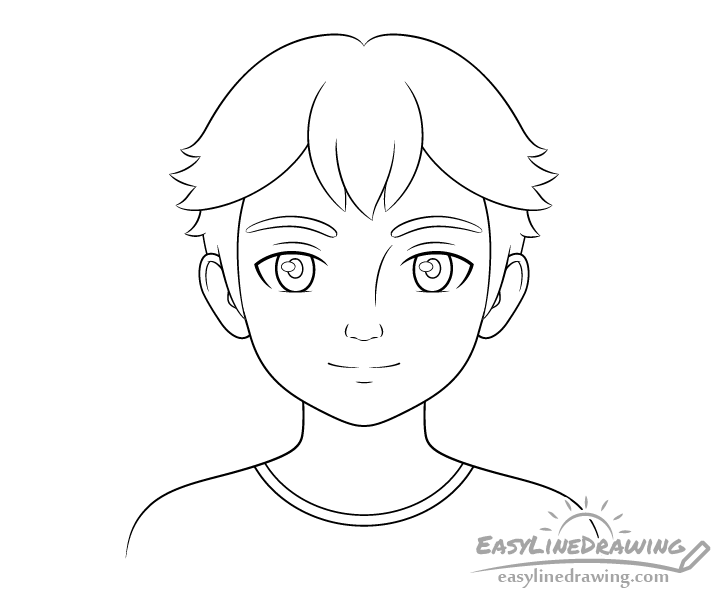
For the clothing just add the neckline of the t-shirt as a pair of curves. Once you’ve have this last set of details you can trace over your drawing with darker lines (but don’t trace over the outlines of the reflections). You can either darken them using a pencil or use a black pen/marker (if you feel confident in your tracing ability).
Once done you should have a finished line drawing of the boy.
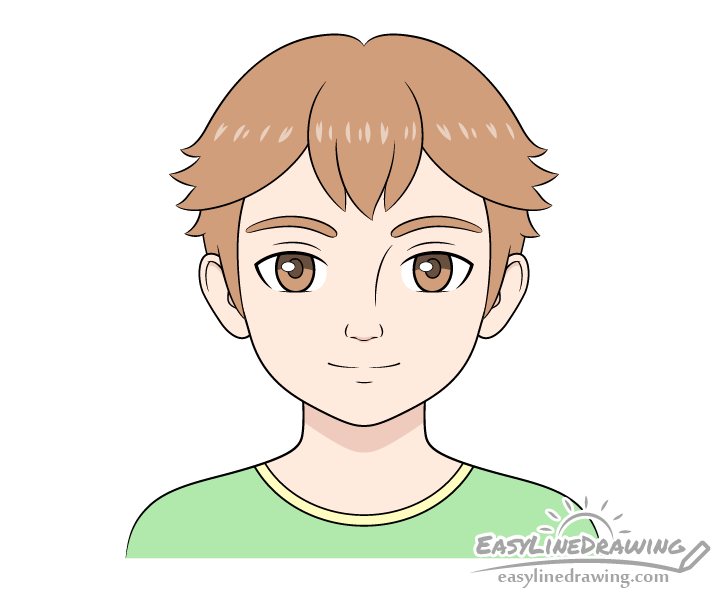
Step 14 – Add Color
To color the drawing you can use whatever you have handy (paints, markers, colored pencils, etc…).
In this case the hair, eyebrows and eyes will be brown, the shirt will be green and it’s neckline will be yellow. You can simply fill in each area with the corresponding color or use a different set of colors if you prefer. However, when coloring the hair you can leave a few lighter spots for the highlights as shown above. Either outline these beforehand or simply create them as you color. You can leave the highlight white or lightly go over them with the same color you chose for the hair.
Alternatively you can add the highlights with a white correction pen over top of the color (if you happen to have one around).
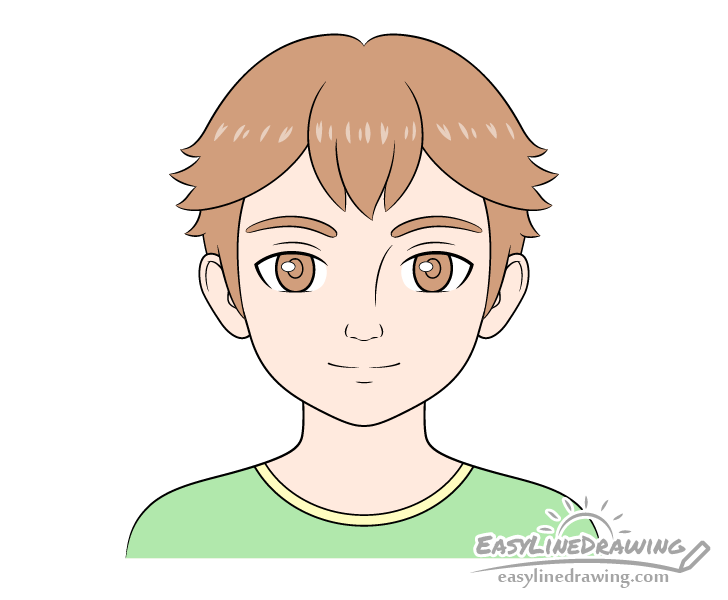
Step 15 – Add Shading to Finish Drawing of the Boy
You may notice that the drawing in the previous step looks a little bit flat. To fix do the following:
- Eyes – darken pupils and upper parts of the irises
- Ears – add shadows inside the openings and below the rims (just barely visible)
- Nose – add a tiny shadow below it
- Neck – add a large shadow along it’s upper part in the shape to the chin
Adding some very basic/generic shading like this is quite simple but it can significantly improve the look of your artwork.
Conclusion
Drawing the faces of people even in a simplified cartoon style can be challenging. However, if you use the step by step approach and placement method outlined in this tutorial the drawing process can be much easier to understand and manage.
For a similar guide on drawing a girl you can see the following tutorial:
How to Draw a Girl Step by Step
For other tutorials on drawing facial features and parts of the head in a simplified or cartoon style see:
How to Draw Eye Expressions Step by Step


")


