How to Draw an Ear Step by Step (Easy)
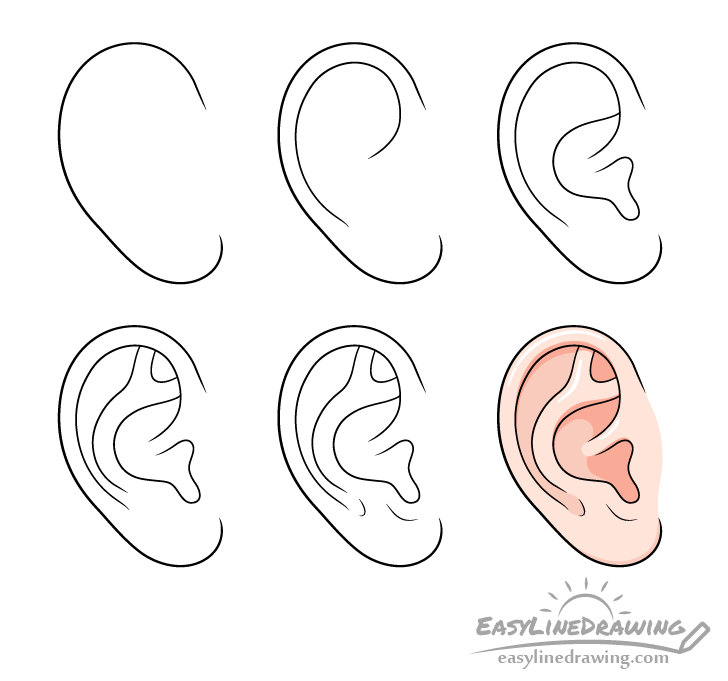
This tutorial shows how to draw an ear in six steps. It provides clear illustrated examples an easy to follow instructions.
The ear used in the tutorial is drawn in a way that is fairly realistic but also quite simple. This means that it can help you create nice looking artwork while also keeping the guide beginner friendly.
It’s recommended that you start the drawing in pencil and make light lines that are easy to erase in case you make a mistake. You can darken them later on with a black pen or marker.
Step 1 – Outline the Ear’s Shape

Begin by making an outline of the ears overall shape. Draw this wider at the top and narrower at the bottom. Leave the outline open at the area where the ear connects to the head.
Step 2 – Draw the Curve of the Rim
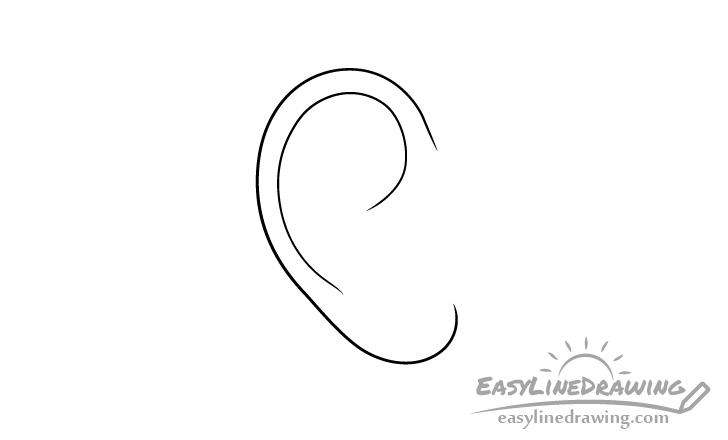
Draw the rim of the ear starting from it’s lower/back, running all the way along the top and then curving inwards around the forward/middle area.
Step 3 – Draw the Opening
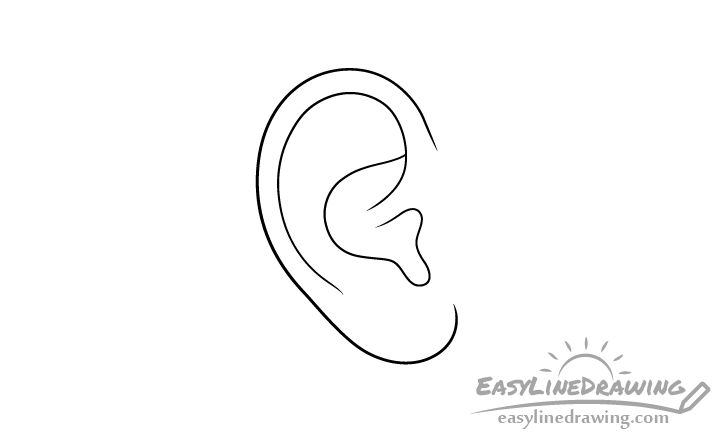
The shape of the ear opening is somewhat hard to describe so you can simply refer to the example above. Try and place it in a way where the opening is roughly (vertically) in the middle of the ear.
Step 4 – Draw the Upper Curve
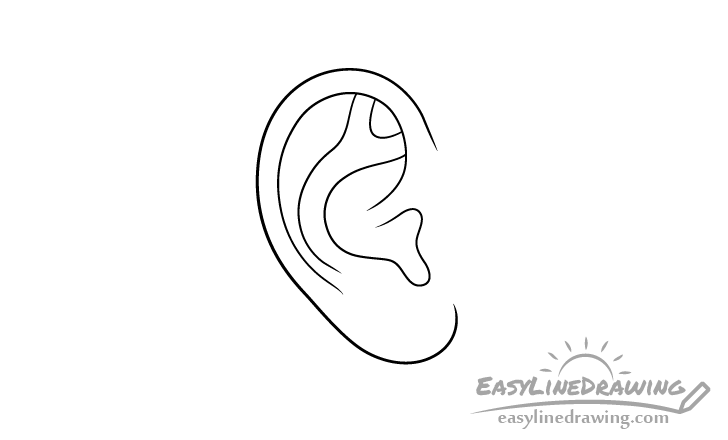
Draw a curve that runs along the upper part of the ear opening and then splits in two (a bit like the branch of a tree).
Step 5 – Draw the Lower Curves
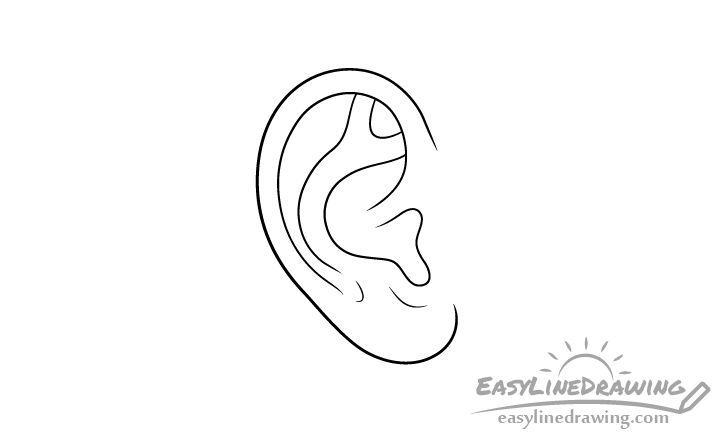
Finally add a couple of small curves along the lower part of the ear to better define it’s shape. Once done you can trace over your drawing with a black pen/marker or simple darken your lines with the pencil.
Step 6 – Color the Ear Drawing
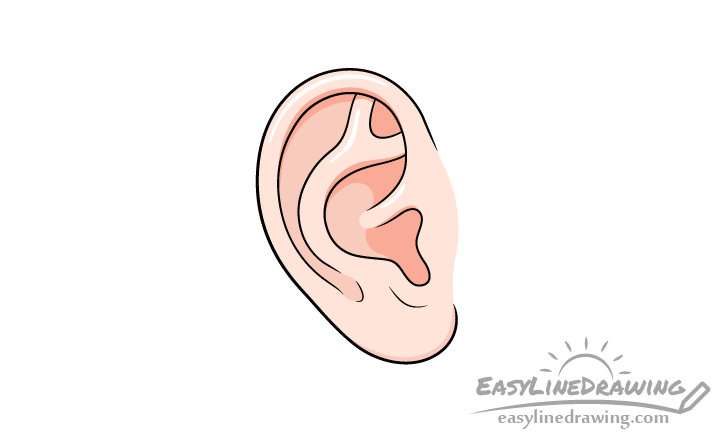
To color the ear paints or colored pencils can be good options. Make it pink with just a little bit of orange. You can either do this by mixing the appropriate paints or applying pencil colors in several layers. For darker skin you can of course use a different color combination.
Sometimes paints and pencils may already come with “skin colors” in which case you will not need to mix them.
When coloring leave a few light spots along several of the ear’s curves (as shown in the example). This will help show light reflecting from it and create a more three dimensional look.
After you fill the ear with the base color you can also give it some very simple shading. Fill in the indented areas with a slightly darker variant of the main pink/orange. Also add a little strip of light shading along the bottom of the ear. You can create this by pressing a little harder on a pencil or mixing in a bit of darker paint into whatever you used as the primary color.
Afterwards add some even darker shadows around the ear’s opening as well as below and between the “branch” shape. You can also add a thin dark shadow along the ear’s upper rim.
Conclusion
This tutorial shows an easy way to draw a fairly realistic looking ear. By adding it’s most important shapes as well as some basic shading you can make a drawing that looks nice but at the same time is not too difficult to create.
If you like these kinds of easy to follow step by step guides also be sure to try the following:
- How to Draw Lips Step by Step
- How to Draw Eye Expressions Step by Step
- How to Draw a Girl Step by Step
- How to Draw a Boy Step by Step

")


