How to Draw a Nail Step by Step
This tutorial shows how to draw a nail (fastener) in five steps. It provides detailed but simple illustrated examples and easy to follow instructions.
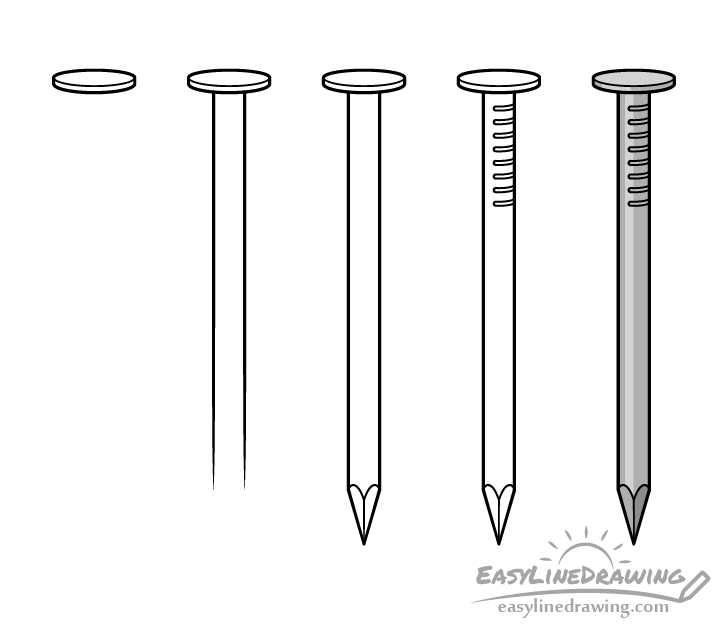
The nail shown as the example is what is known as a “smooth shank nail”, a very common and simple type of fastener. Most of the steps of the tutorial focus on creating the line drawing. However, the final step that shows how to apply shading is also very important as that is what gives the nail a three dimensional appearance. You can see the different drawing stages in the preview image above.
It’s recommended that you start the tutorial in pencil and make light lines that are easy to erase in case you make a mistake. You can darken them later on (before shading).
For drawing a hammer see:
How to Draw a Hammer Step by Step
Step 1 – Draw the Cap of the Nail
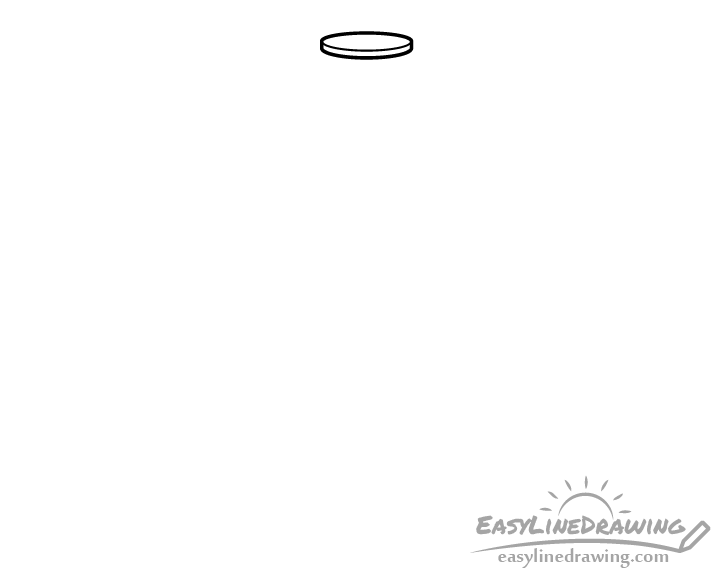
Start the nail drawing with the cap and be sure to place it far enough up on your page or drawing area that you have plenty of room for the shank and point below.
Nails generally have a round cap but when viewed on an angle as in this example it will look like an oval. Keep this in mind and draw an outline of it’s upper area. Next, to make sure the cap doesn’t look like it’s paper thin draw the edge to show it’s thickness.
Step 2 – Draw the Shank
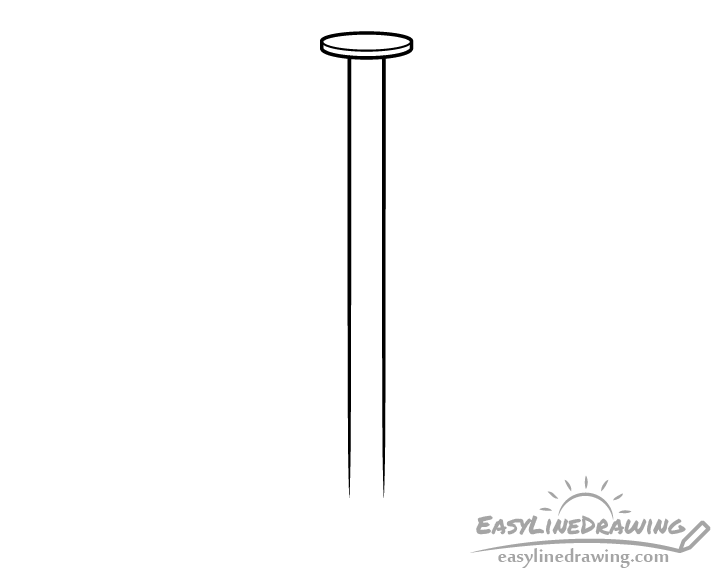
Going down from the cap draw the shank, the main body of the nail.
Step 3 – Draw the Point
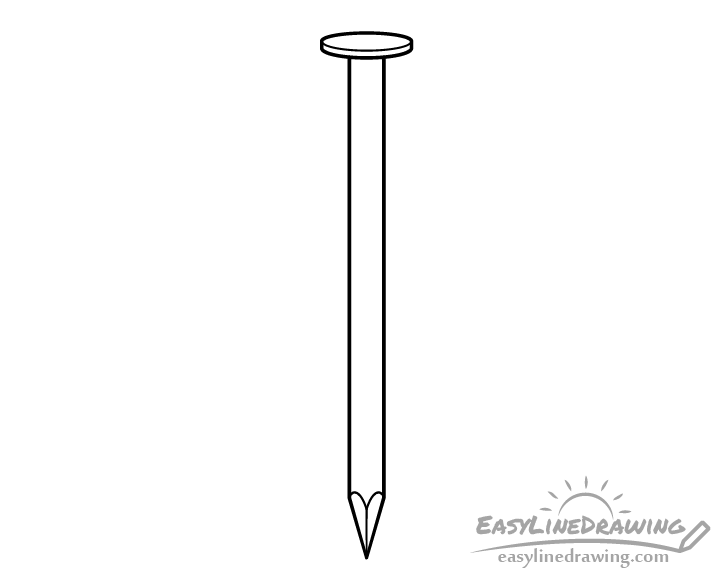
At the end of the shank add the point (the sharp part of the nail). First, draw it’s outer shape and then outline the two visible sides.
Step 4 – Draw the Small Details
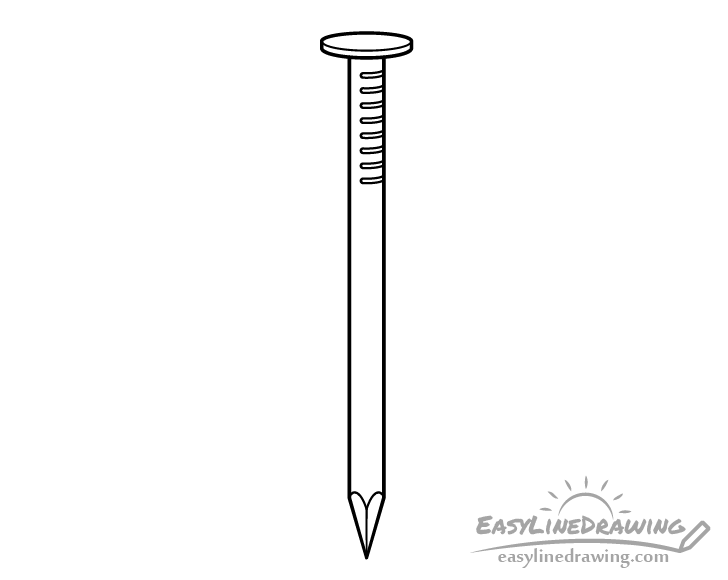
Add the little bumps that nails have below the cap as shown in the example above by drawing a series of half-rings along the upper part of the shank. Once done adding these you can trace over your drawing with a thin black marker or darken your lines with the pencil.
Step 5 – Add Shading
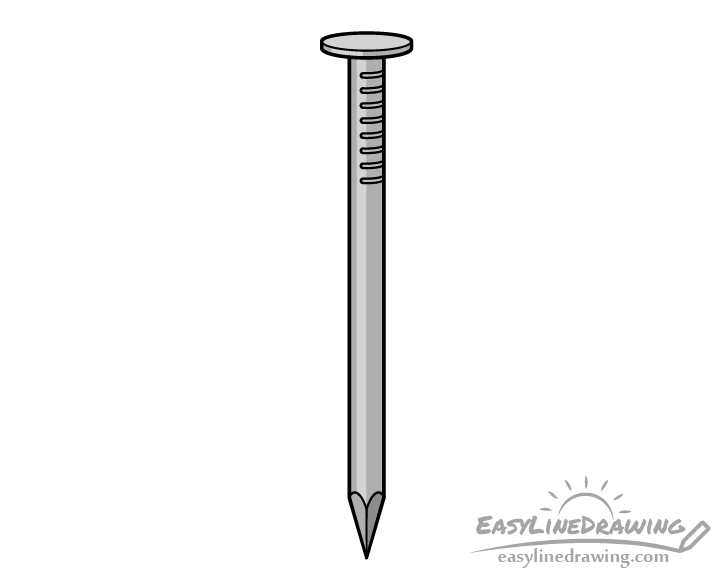
Add some very basic shading to the nail to make it appear more three dimensional. In the example it’s shaded as though the light is coming from it’s upper left (and slightly to the front of the nail). Show this by first filling the upper part of the cap with a light grey. Next, make the edge a medium grey with a light grey strip along it’s left side. Make the shank a medium grey with a light grey strip along it’s left side as well. Shade the left side of the point a medium grey and the right side a dark grey.
Conclusion
By making a line drawing that has the correct shape and applying some basic shading you can make even a fairly plain item look nice (as is shown with the nail example used in this tutorial). Also, if you are beginner looking to improve your artistic skills drawing simple objects is a great way to learn. You can then gradually move onto more complex things as you improve.
For other similar step by step tutorials (including more advanced ones) also be sure to look at the following:
- How to Draw a Lighter Step by Step
- How to Draw Scissors Step by Step
- How to Draw a Bike Step by Step


