How to Draw a Hammer Step by Step
This tutorial shows how to draw a hammer in six steps with drawing examples and easy to follow instructions for each step.
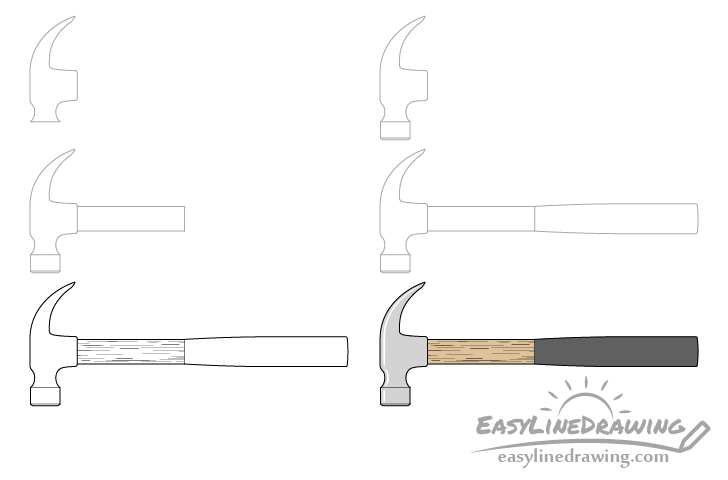
You can see a preview of the drawing stages for the hammer in the example above.
It’s recommended that you start the drawing in pencil and make light lines that you can easily erase in case you make a mistake. You can trace over your drawing with a black pen or marker once you feel that it looks right.
For drawing a nail see:
How to Draw a Nail Step by Step
Step 1 – Draw the Upper portion of the Hammer Head
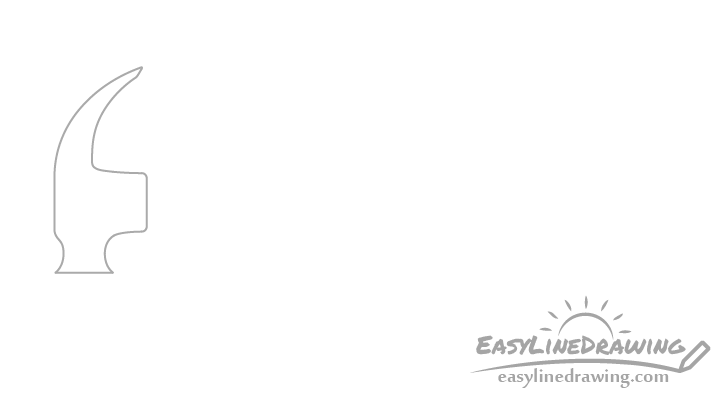
Begin the drawing with the upper part of the hammer head as shown above. This has a bit of an irregular shape but generally it should have the curved part at the top (for pulling out nails) called a “claw”. Next it will have a bit of a wider area for the middle that the shaft of the handle goes into followed by the “neck”.
Draw the “claw” with a smooth curve thicker towards the bottom and narrower towards the top. Make the front of the middle section flat (a straight line) and make it’s overall shape narrower towards the back. Draw the neck with inwards curves on both sides and a flat bottom.
Step 2 – Add the Lower Portion
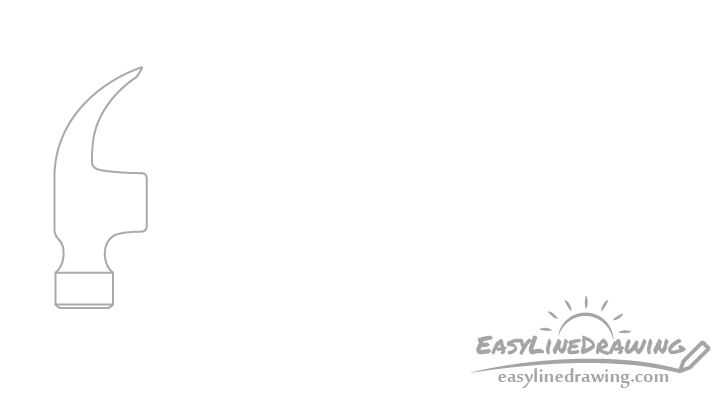
Onto the shape from the previous step add the bottom part of the hammer head. While upper part of this area is shaped like a cylinder from this view it will look like a rectangle so draw accordingly. Below the rectangle add another section that is just a thin strip that gets narrower as it goes down.
Step 3 – Draw the Shaft
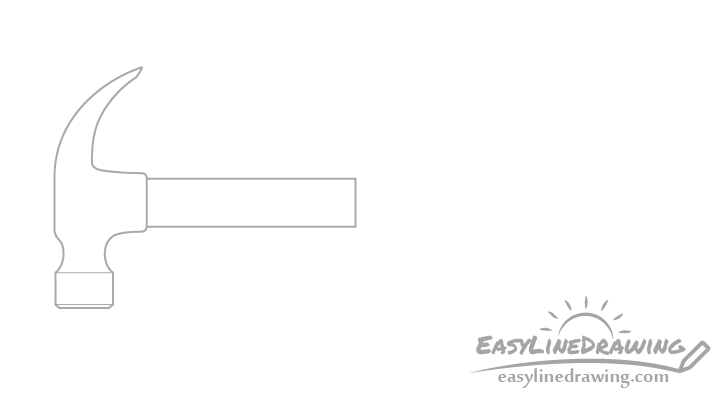
Going out of the back of the hammer head draw part of the handle. This should be shaped like a long rectangle.
Step 4 – Draw the Handle

Add the next section of the handle directly after the first part. This will be the grip area. Make it slightly wider as it goes towards the back of the hammer ending with a light curve.
Step 5 – Add the Smaller Details & Finish the Line Drawing
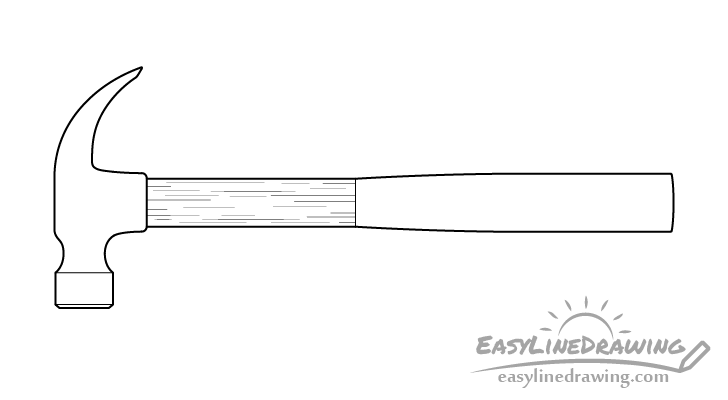
Finish the drawing by first adding some texture along the wooden part of the handle/shaft (the part near the head).
To create a wooden looking texture simply draw some horizontal lines of random length spaced randomly throughout that part of the hammer (see example).
Once done adding the wood texture make sure that you’re happy with the way your drawing looks and trace over your lines with a black pen/marker or darken them with the pencil.
Step 6 – Color the Hammer
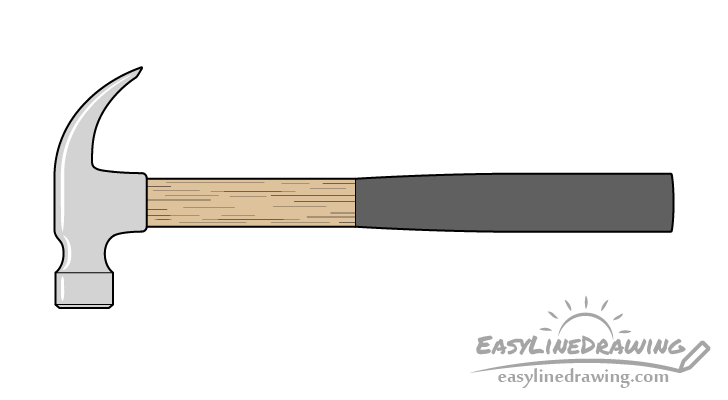
To add some color to the hammer you can use pretty much anything you like such as paints, markers, colored pencils or a mix of different medium.
Begin by making the head a light grey but leave a thin white strip of highlights running along it’s left side as shown in the example. This will make it look shiny and metallic. You can optionally lightly outline the highlights in pencil so that you don’t accidentally go over them with the grey.
Make the handle a light yellow/brown (so that it looks like wood) and make the rubber grip a dark grey or black.
Once done coloring the hammer you should be done with the drawing.
Conclusion
The hammer in this example is fairly simple and can look a little plain. However, by adding just a bit of texture and a few highlights to the appropriate parts you can make the drawing look nicer and more interesting as these will help show that certain parts are actually wooden or metallic.
For more similar tutorials also see:
- How to Draw a Screwdriver Step by Step
- How to Draw a Wrench Step by Step
- How to Draw a Paint Brush Step by Step
- How to Draw a Light Bulb Step by Step
- How to Draw an Axe Step by Step
- How to Draw a Club Step by Step

")


