How to Draw a Wrench Step by Step
This six step tutorial shows an easy way to draw a wrench. It includes simple illustrated examples and quick instructions.
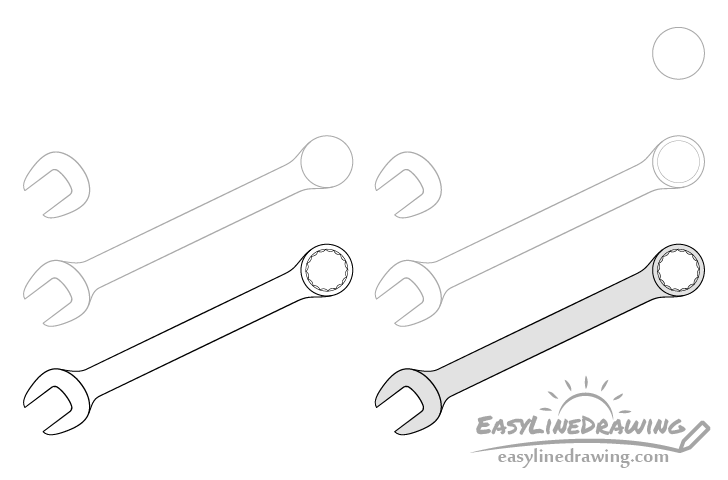
In this example it will be a fairly common wrench with two head types, the “open ended” and the “box” head. You can see a preview of the drawing steps for it in the image above.
Start the drawing in pencil and make light lines that are easy to erase in case you make a mistake. You can darken them with a black pen or marker before coloring.
Step 1 – Draw the Head of the Wrench

First draw the “open ended” wrench head. As it’s shape is not particularly complex you can just follow what is shown in the example above.
Step 2 – Draw the Box Head Outline

The other end of the wrench will have what is called a “box “head. First draw it’s outline as just a simple circle. Place it a good distance away form the “open ended” head so that there is enough room for the handle between the two. Also try and position the circle in such a way that when you draw the handle in the next step the first head will have a bit of a downwards bend in relation to it.
Step 3 – Draw the Handle
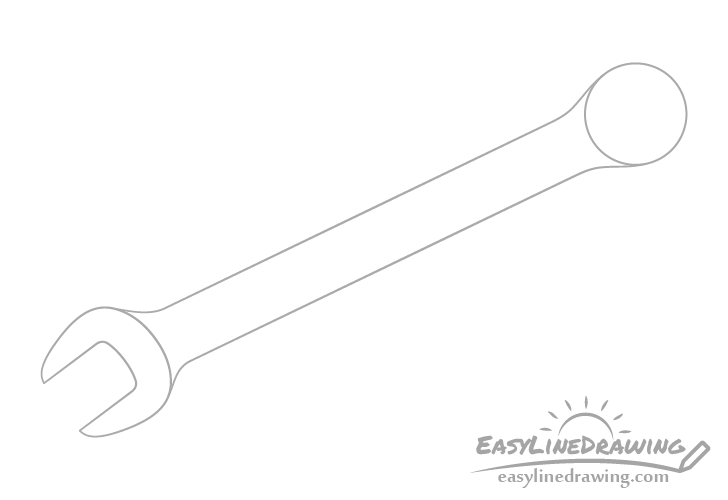
Make the handle slightly narrower than the wrench heads. You can show most of it’s length with just two parallel lines which should then slightly curve as they merge into each of the wrench heads.
Step 4 – Draw the Hole
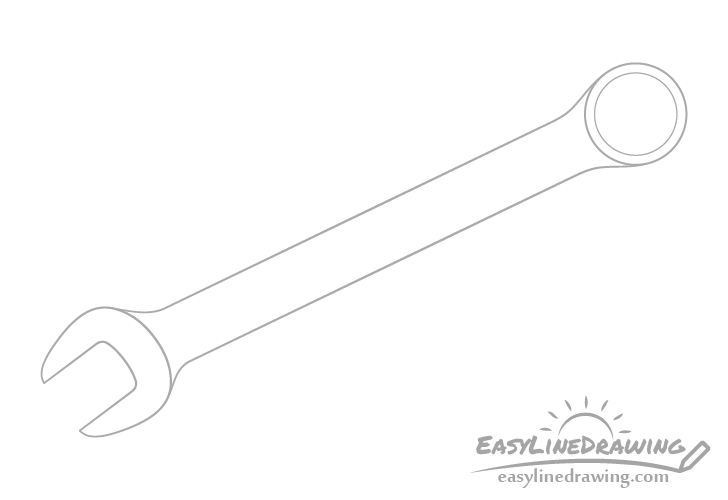
Inside the “box” head draw another smaller circle to create the hole.
Step 5 – Draw the Bumps & Finish the Line Drawing
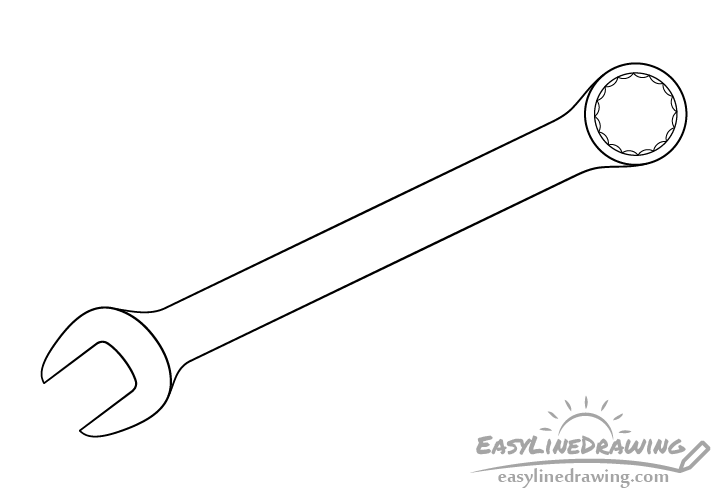
Inside the round hole from the previous step draw a series of little bumps that run along its circumference. You can draw each one with a small curve. Try and keep the bumps even in size and place them in a way where there are no gaps. Good placement may be a bit difficult to estimate but if things seem really off just erase them and start again.
After you finish this part of the drawing trace over your lines with a black pen, marker, or darken them with the pencil.
Step 6 – Color the Wrench
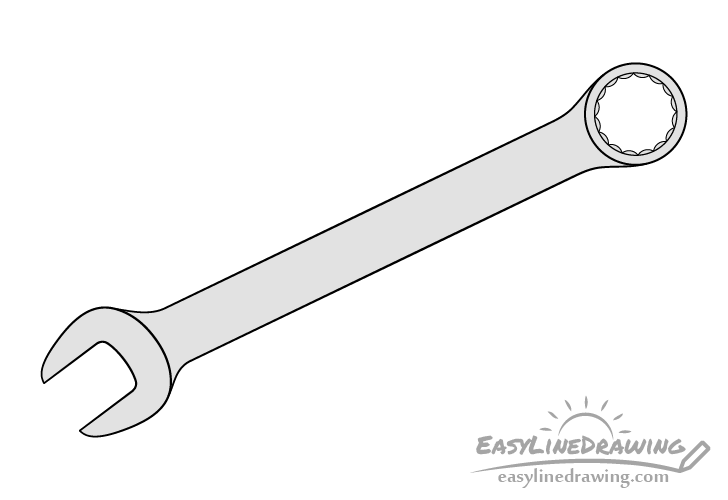
To color the wrench you can simply make it a light grey to show that it’s metallic. You can even do this with a regular pencil.
Once done you should be finished with the drawing.
Conclusion
This tutorial shows how to draw a wrench with two types of heads, the “open ended” one and the “box” head. While not very complex in shape this type of wrench does have some smaller details to it such as the bumps that run along the inside of the “box” head. As already mentioned, properly spacing these out may take a few tries, However other than that the wrench should not be too difficult to draw. Hopefully you’ve had some fun with this tutorial.
For drawing other types of tools also see:
- How to Draw a Hammer Step by Step
- How to Draw a Screwdriver Step by Step
- How to Draw an Axe Step by Step
- How to Draw a Shovel Step by Step
- How to Draw a Mining Pick Step by Step
- How to Draw a Key Step by Step