How to Draw a Magnifying Glass Step by Step
This tutorial shows how to draw a magnifying glass in just four steps. It includes very simple drawing examples and quick tips.
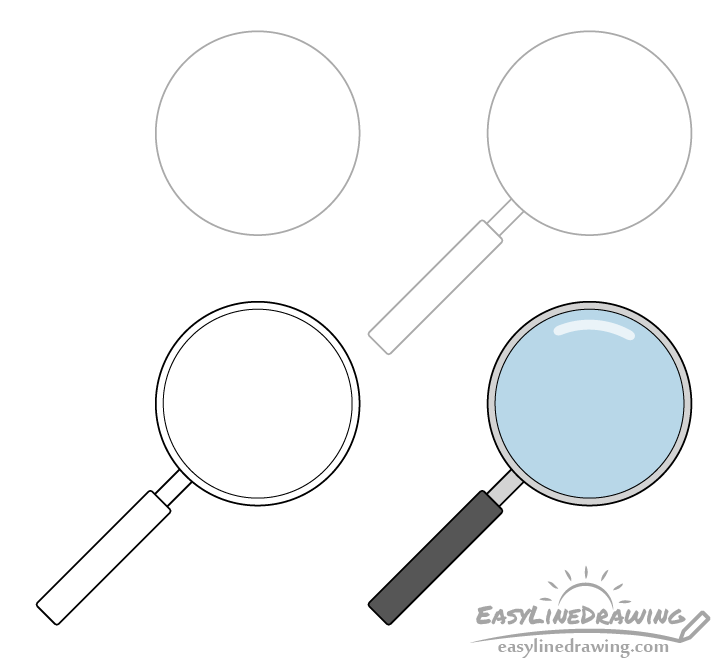
You can see a preview of the drawing steps in the example above. As a magnifying glass is not a very complex object the tutorial should be quite easy even for beginners.
If you find it difficult to draw the circles for the frame/glass you may wish to use a compass or other drawing aids to help you.
As with most tutorials here on EasyDrawingTips it’s recommended that you start the drawing in pencil with light lines that are easy to erase in case you make a mistake. You can darken your lines later on with a black pen/marker.
Step 1 – Draw a Circle to Outline the Frame of the Magnifying Glass
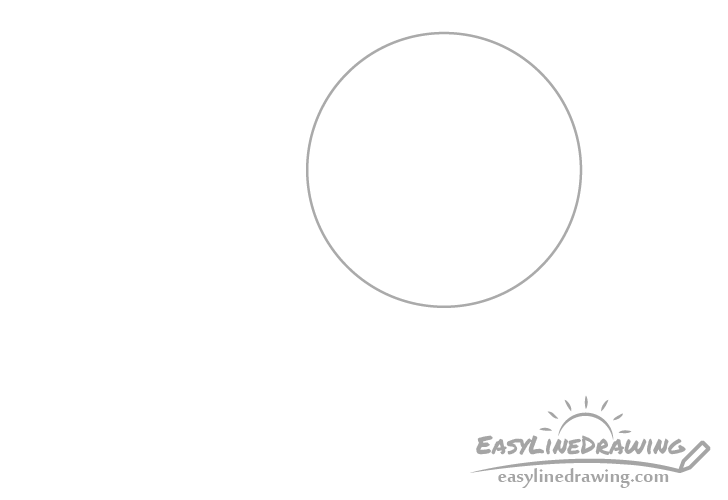
Begin by making a circle to outline the outer part of of the frame that holds the magnifying glass. As already mentioned you may wish to use a compass to help you with this if you find a circle difficult to draw. If you don’t have one handy you can instead use some round object like a cup and trace around it.
Step 2 – Draw the Handle
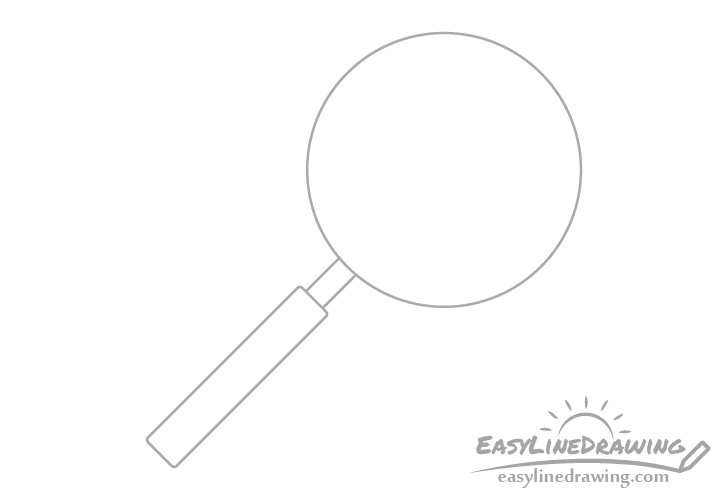
The handle will consist of two parts, the larger area where it actually tends to be held and the smaller narrower part that connects that to the frame.
Draw the larger part first. Make it’s shape a long rectangle with slightly rounded corners. Next add the little bit in between it and the frame. You can draw it with just a pair of straight lines.
Step 3 – Outline the Glass & Finish the Line Drawing
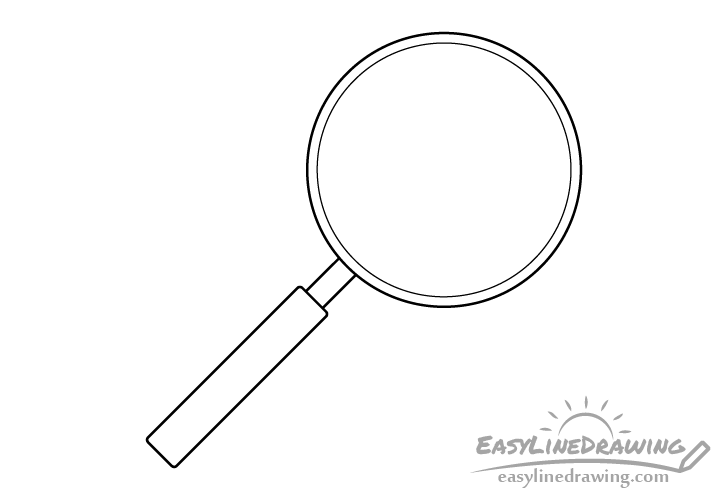
Finish the line drawing of the magnifying glass by adding another slightly smaller circle inside the the one from the previous step. This circle will set the width of the frame and also outline the glass itself.
You can try drawing this circle by hand using the outer circle as a guide or you can again use a compass or try and trace over another round object that is slightly smaller in size.
Once done you can go over your drawing with a black pen or marker (as mentioned at the start of the tutorial). Alternatively you can also darken your lines by tracing over them with the pencil.
Step 4 – Color the Magnifying Glass
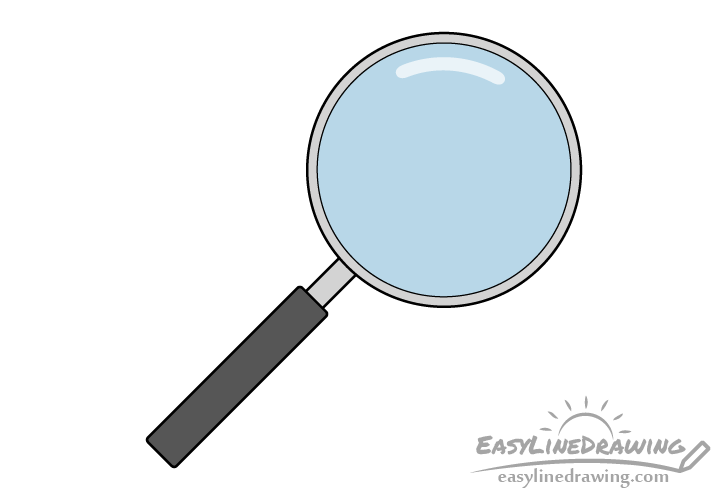
To finish the drawing you can color the magnifying glass. Colored pencils or paints may be a good option for this as markers might be too bright.
Make the glass a light blue, the frame a light grey and the handle a dark grey or black.
When coloring the glass leave a small white area for the highlight (light reflecting from it’s smooth surface) shaped as shown in the example. You can lightly outline this with a blue pencil to make it easier to color around it. You can later very lightly shade it in blue but not to the point where it blends into the rest of the glass.
Conclusion
A magnifying glass is a fairly simple object that is generally not very difficult to draw. If you find yourself having trouble with the circles you may use some drawing aids to help you (as was already explained).
For more similar tutorial on drawing simple objects see:
- How to Draw Glasses Step by Step
- How to Draw a Diamond Step by Step
- How to Draw a Pencil Step by Step
- How to Draw a Pen Step by Step
- How to Drawn an Envelope Step by Step
- How to Draw an Axe Step by Step


