How to Draw a Diamond Step by Step
This tutorial shows how to draw a simple diamond in six steps with easy line drawing and coloring examples along with some quick tips.
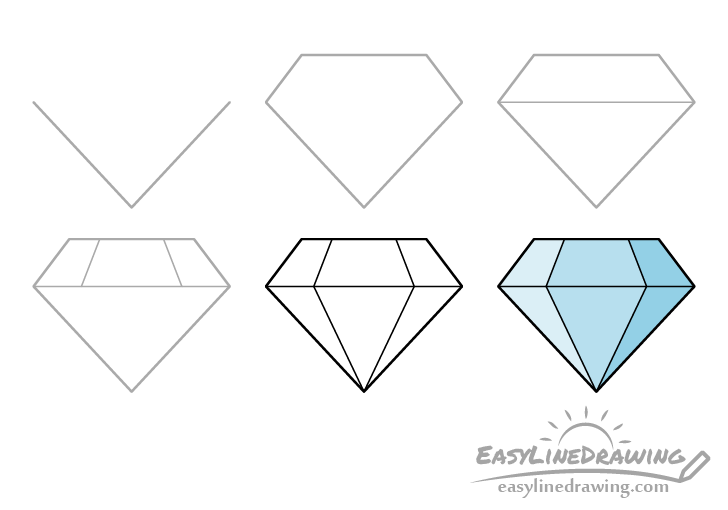
You can see all of the drawing steps included in the tutorial in the preview above. The diamond in the example is very simple and should be easy enough to draw even for beginners.
If you find drawing the straight lines it’s made up of difficult you can use a ruler to help you. However, drawing them by hand can be good practice.
It’s recommended that you start in pencil and make light lines that you can easily erase (in case you need to make a correction). You can darken them with a black pen or marker before coloring.
For drawing a gem with a different shape also see:
How to Draw a Ruby or a Gem Step by Step
Step 1 – Draw the Bottom of the Diamond
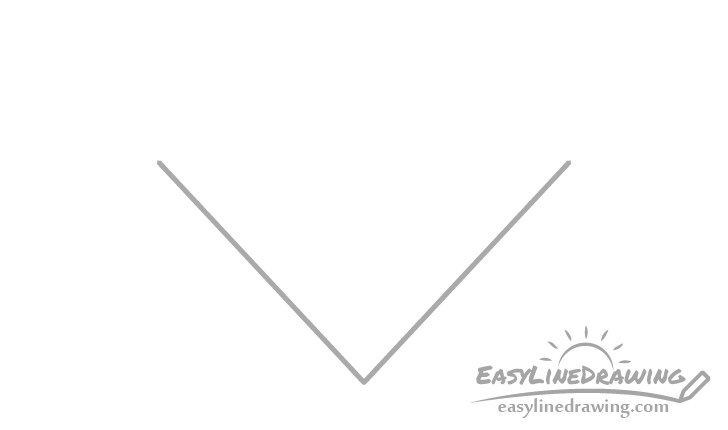
Star by drawing the bottom of the diamond which in this case will be shaped like a “V”. You can do this with just two straight lines.
Step 2 – Draw the Top
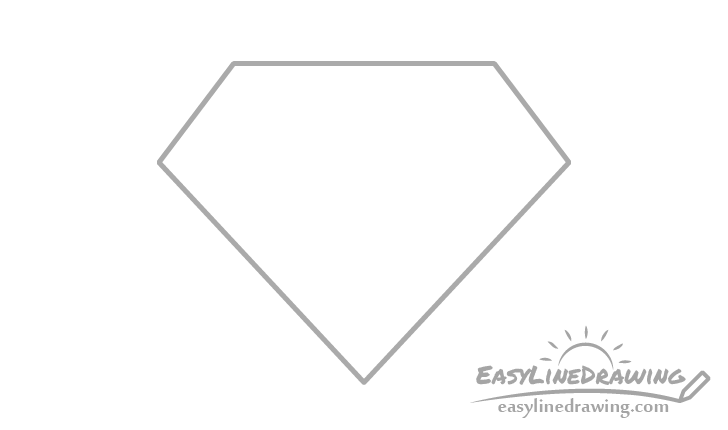
On top of the “V” from the previous step add the upper part of the diamond. Make it slightly narrower as it goes up with a flat top.
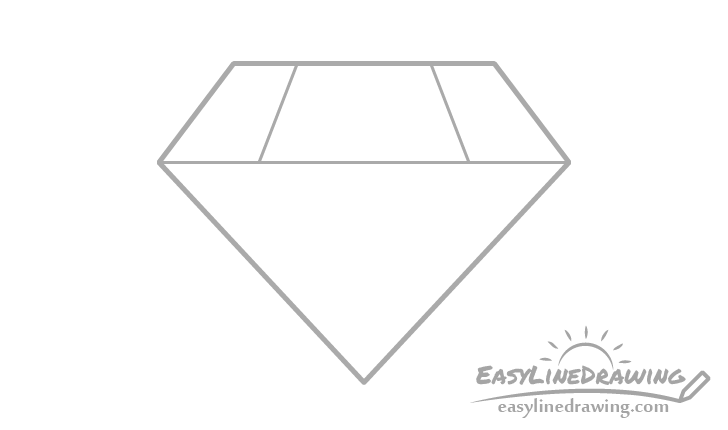
Step 3 – Draw the Horizontal Edges
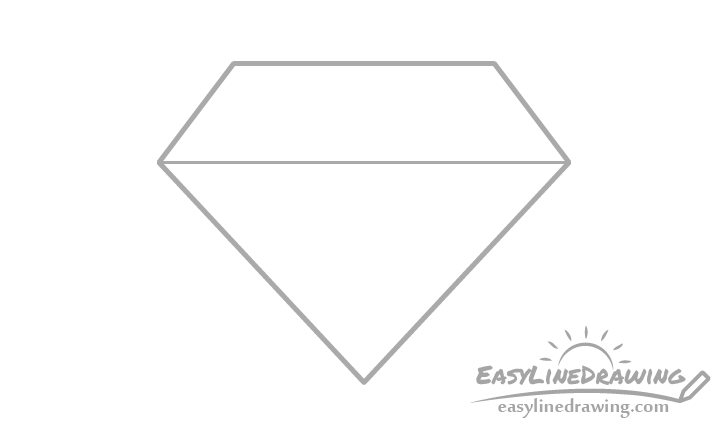
For this quick step simply draw a horizontal line between the top and bottom parts of the diamond. This will create it’s horizontal edges. Though there are technically three of them they will simply look like one line when viewed from this angle.
Step 4 – Draw the Top Edges
Add the upper edges of the diamond by drawing two angled lines through it’s top part as shown in the example above.
Step 5 – Draw the Bottom Edges & Finish the Line Drawing
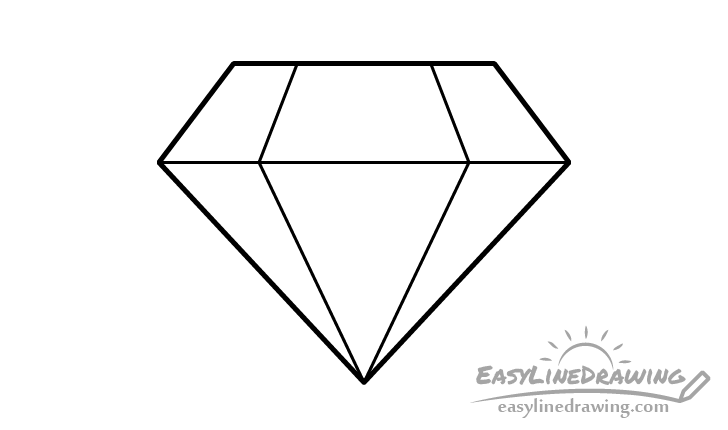
Add the bottom edges by drawing two more angled lines that start from the ends of t he two at the top and go to the bottom tip of the diamond.
Afterwards you can trace over your drawing with a black pen or marker as shown in the example above. You can also simply darken your lines with the pencil.
You may also (optionally) want to make the main outline of the diamond thicker and the lines that define it’s edges thinner.
Step 6 – Color the Diamond
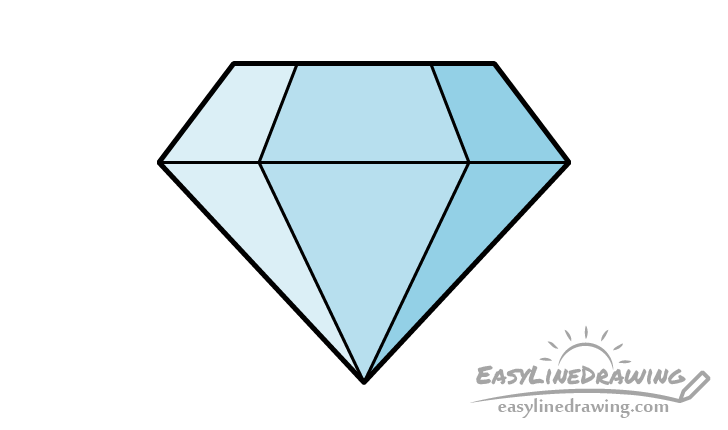
An easy way to color the diamond is to simply use a blue pencil. As shown in the example you can make one side a light blue, the middle slightly darker and the next side the darkest.
To get the different blues you can just apply more or less pressure to the pencil as you go over each side.
Once done coloring you should be finished with the drawing.
Conclusion
A simple diamond like the one in this tutorial is quite easy to draw. As was already mentioned if you find drawing the straight lines that make up it’s shape difficult you can use a ruler to help you. Though it may be good practice to try without as the lines are not very long and should not be that difficult to draw even by hand.
If you liked this tutorial you might also want to try some of the following:
- How to Draw a Necklace Step by Step
- How to Draw a Ring Step by Step
- How to Draw a Crown Step by Step
- How to Draw a Glass of Water Step by Step
- How to Draw a Heart Step by Step
- How to Draw a Pen Step by Step


