How to Draw a Necklace Step by Step
This tutorial shows how to draw a necklace in six steps with a detailed breakdown of the drawing process using illustrated examples.

In this case the necklace will be made up of round beads and an oval pendant with a gemstone. You can see a preview of the drawing steps for it above.
Start the tutorial in pencils and make light lines that you can easily erase in case you need to make a correction. You can darken them later on with a black pen or marker.
Step 1 – Draw the Outline of the Pendant
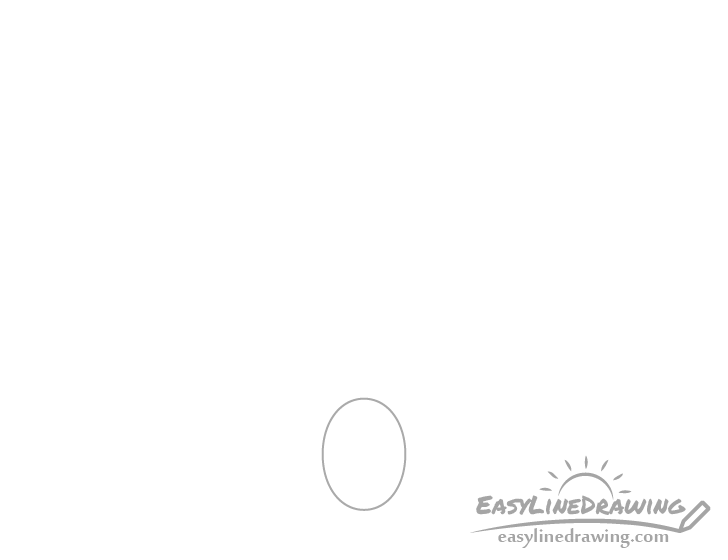
Start with a simple outline of the pendant. Make it oval in shape as in the example.
Step 2 – Draw the Upper Part of the Pendant
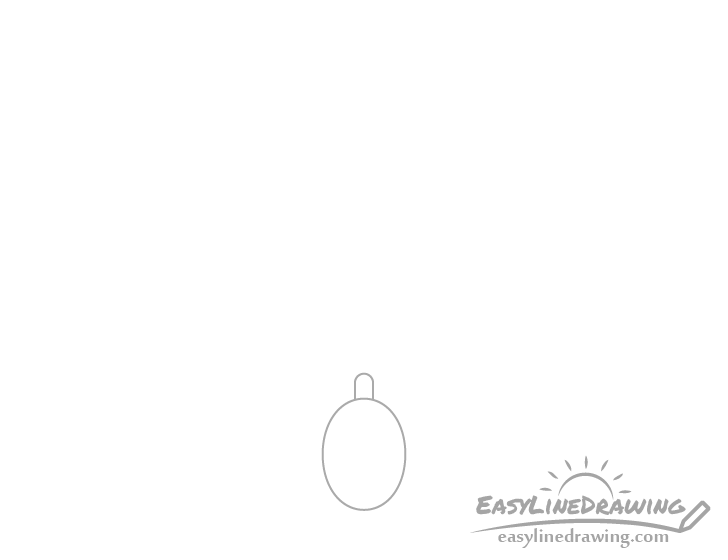
Add a small part at the top of the pendant that will attach it to the string.
Step 3 – Draw the String
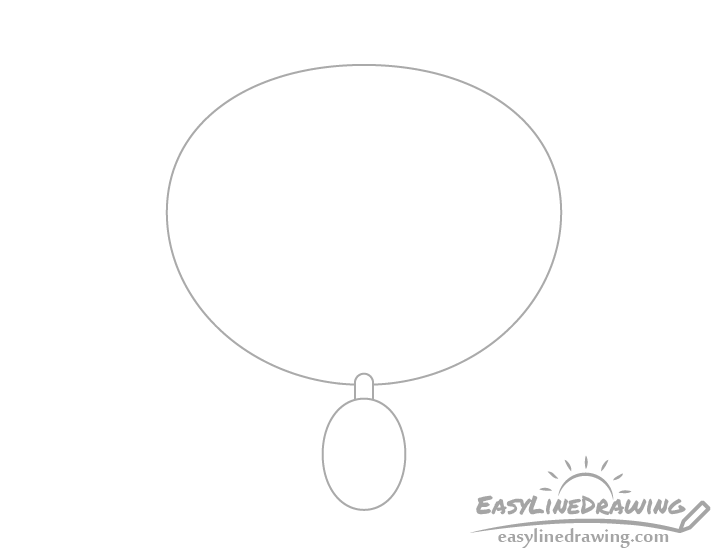
Going through the little bit in the previous step add the string. Make it’s overall shape as shown in the example and make the line for it very light (so that is barely visible) as you will actually need to erase it after drawing the beads.
The goal of the string is to act as a guide line that you will then use to help you add the beads. If you were to try and draw the beads one at a time without it properly positioning them would be a lot more difficult.
Step 4 – Draw the Beads
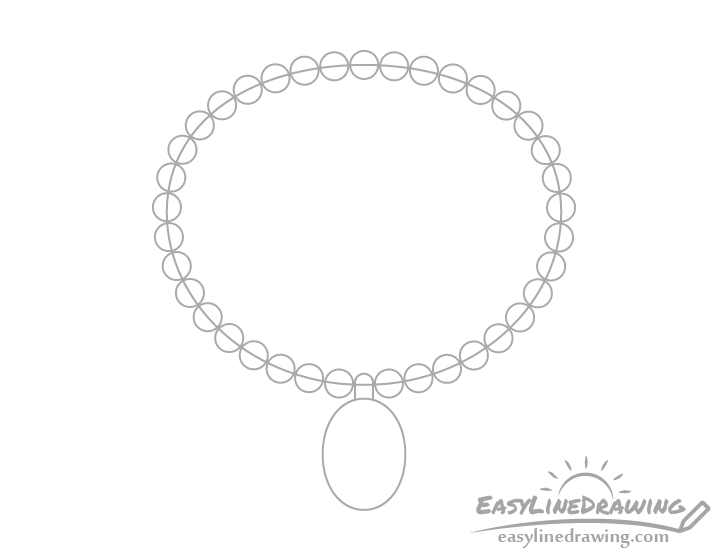
Along the string draw a series of round beads as shown in the example below.
You don’t have to be overly precise with their placement but try and place each circle in a way where the string will pass through it’s center.

You can carefully erase the string afterwards so that you have a clean drawing similar to the example.
Step 5 – Draw the Gem & Finish the Line Drawing
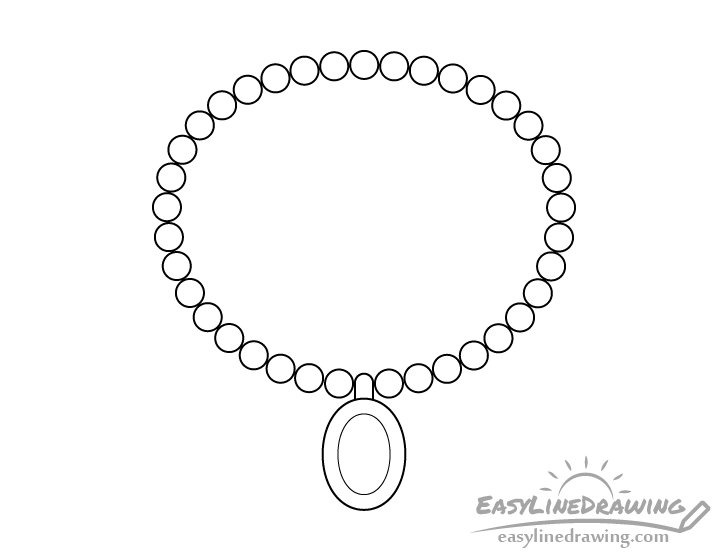
Inside the pendant draw a gem. Make it the same oval shape but smaller.
Afterwards you can trace over your entire drawing with a black pen or marker. If you don’t have one handy just darken your lines with the pencil.
Step 6 – Color the Necklace
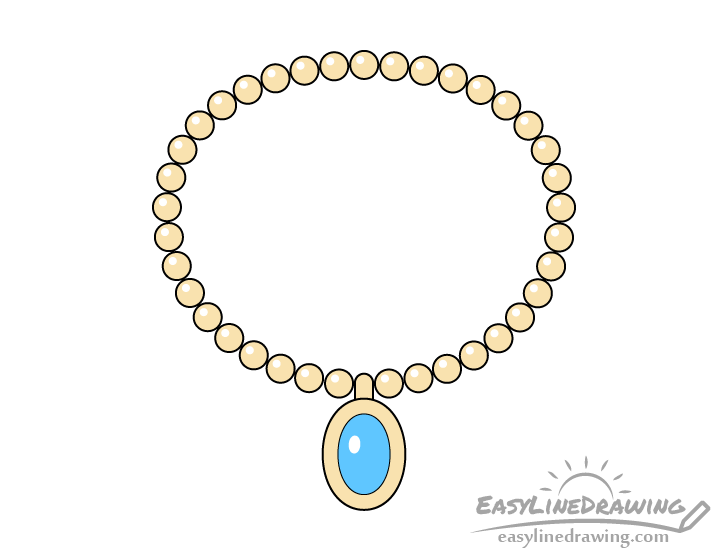
To color the necklace markers or colored pencils may be a the best options as getting the smaller details may be difficult with a paint brush.
In this case the necklace will be gold and the gemstone a blue but you can use a different color combination if you prefer.
To make the necklace look more shiny and three dimensional leave a little oval shaped highlight inside the gem and a tiny round highlight inside each of the beads (as shown in the example).
However if you find this too tedious you can simply leave this part out for at least the beads and make them one solid color.
Conclusion
The necklace in this example consists of fairly common elements such as beads and a pendant with a gemstone. If you would like to try drawing one with a different design an easy way to tweak it is by simply drawing a different shaped pendant. For example you could draw one shaped like a heart or like a different type of gem.
You can see the following tutorials for some ideas:
- How to Draw a Heart Step by Step
- How to Draw a Ruby or a Gem Step by Step
- How to Draw a Diamond Step by Step
- How to Draw Earrings Step by Step
- How to Draw Earrings Step by Step

")


