How to Draw a Bike Step by Step
This tutorial shows how to draw a bike in eight steps. It provides simple illustrated examples and clear instructions.
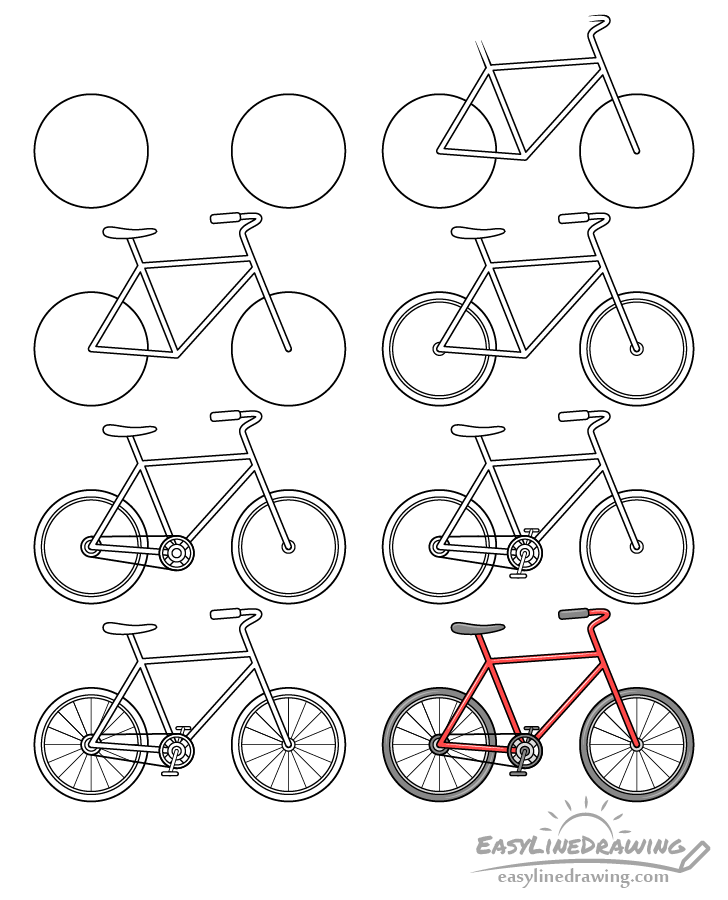
A bike consists of a lot of different parts. This can make things confusing when trying to draw one. To help this tutorial gives an easy to follow step by step breakdown of the drawing process with slightly simplified yet still fairly detailed examples. It can be great for those that like a bit of a challenge.
If you are going to be following along you should start in pencil as you will need to erase parts of the drawing in a few of the steps. Also be sure to make fairly light lines so that they don’t leave marks when erased. You can darken them later on (before coloring).
Step 1 – Outline the Bike’s Wheels
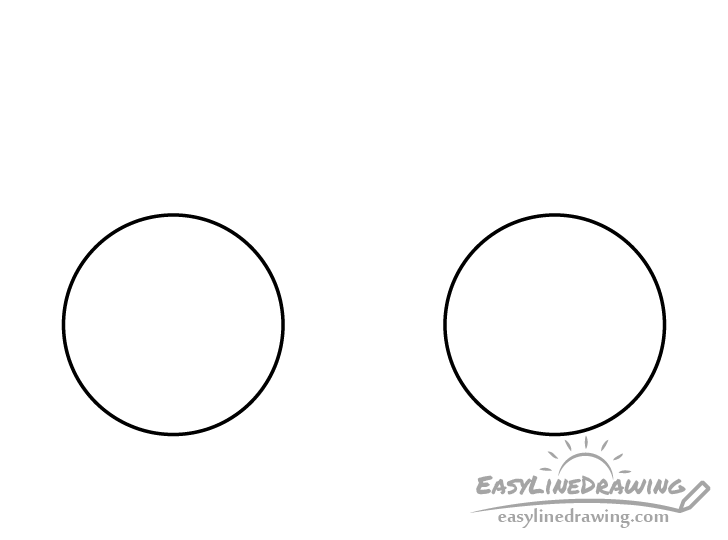
First, draw a pair of circles to get the outer shapes of the wheels. Be careful how you space these as their distance from one another will determine the length of the bike. If it becomes too long or too short your drawing can look odd.
Step 2 – Draw the Frame
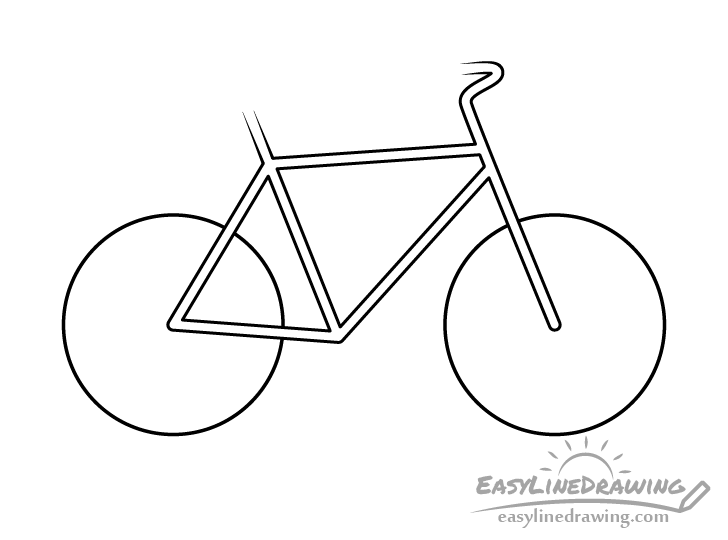
Onto the wheels add the frame (you can erase a bit of their outlines when adding it). In this example it has a fairly traditional shape that is common to many bicycles. You can simply refer to the example for how to draw it. A few thing so keep in mind are that in this case the frame has an even thickness throughout it’s entire structure and that the tube that supports the seat has the same angle as the tube that transitions into the handlebars.
Step 3 – Draw the Seat & Handle Grips
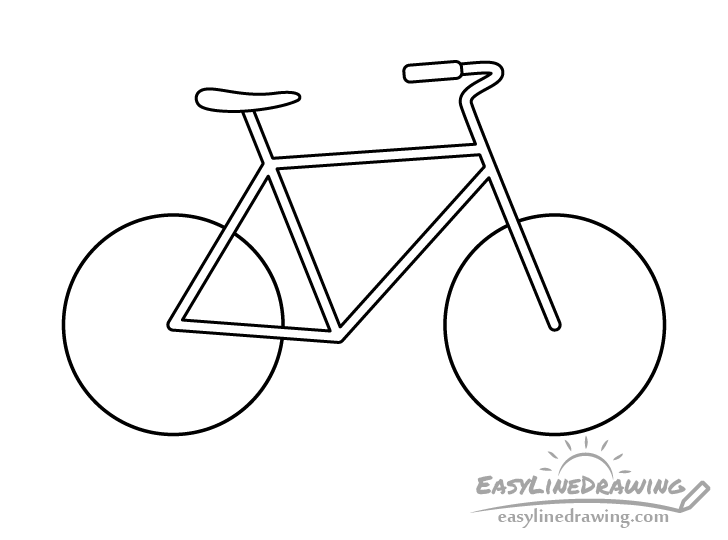
Add the seat on top of the seat tube and the grip on the end of the handlebar.
Draw the seat with a curve to it’s overall shape and make it wider towards the back. Draw the grip as a long rectangle with rounded corners.
Step 4 – Draw the Inner Parts of the Wheels
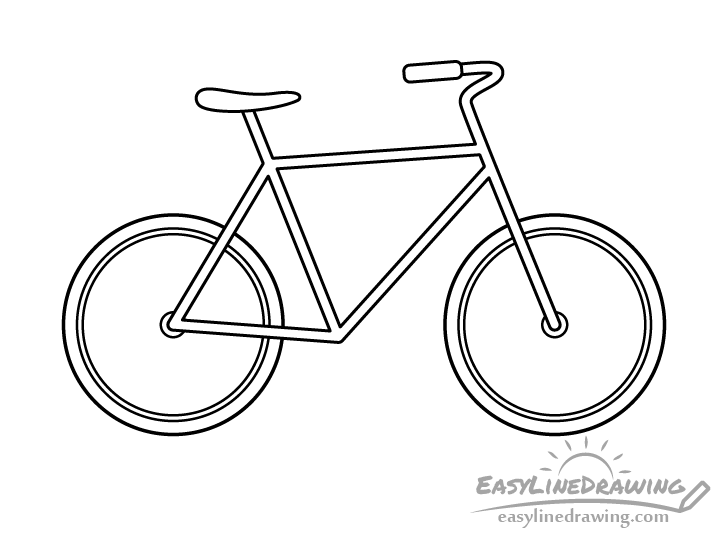
Add the rims (the inner parts along the tires) and the hubs (the center parts) to the wheels.
Step 5 – Draw the Chain
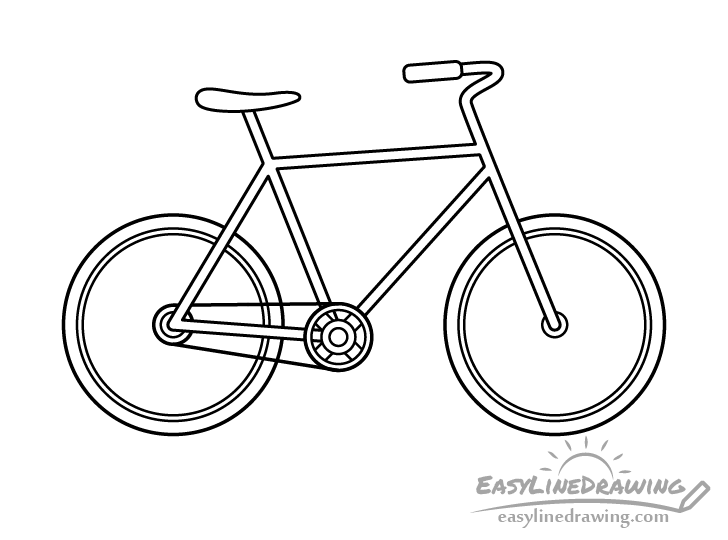
Between the middle/bottom of the frame and the center of the back wheels draw the bike chain.
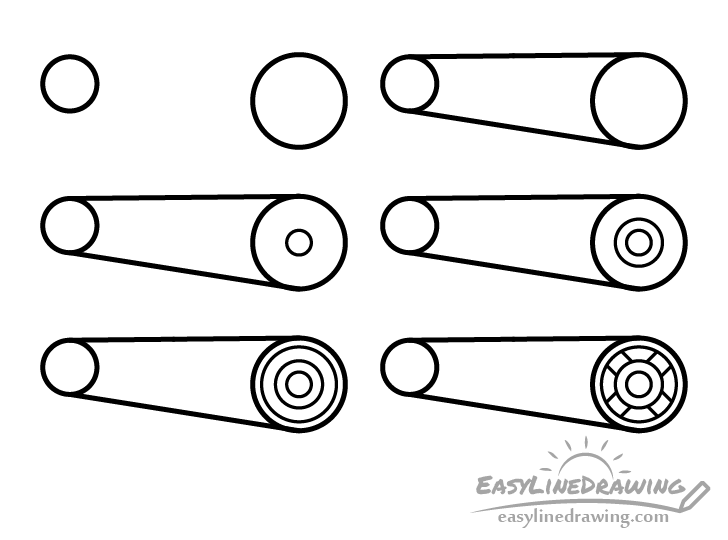
As this is a somewhat complex part you can see a step by breakdown of drawing it in the illustration above.
First, draw a pair of circles. A small one should go around the hub of the back wheel and the larger one should be attached to the bottom of the frame. You will need to erase a bit of the frame when drawing the larger circle (the chain ring). Between the two circles draw the chain. You can just make it a single line to keep things simple. Finally, add the inner details of the chain ring as shown in the example to finish this part of the drawing.
Step 6 – Draw the Pedals
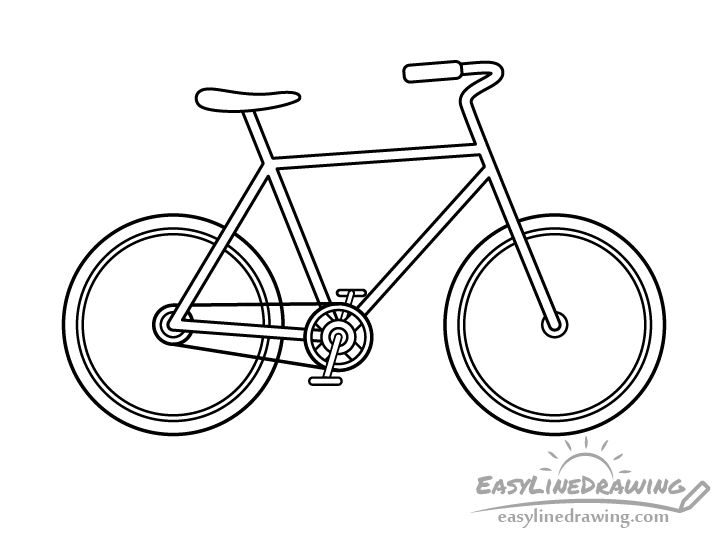
Draw the pedals and crank arms (the parts that attach the pedals to the bike) as shown in the example. Make the foreground pedal (the one in the front) and it’s arm slightly larger than the one in the back.
Step 7 – Draw the Spokes
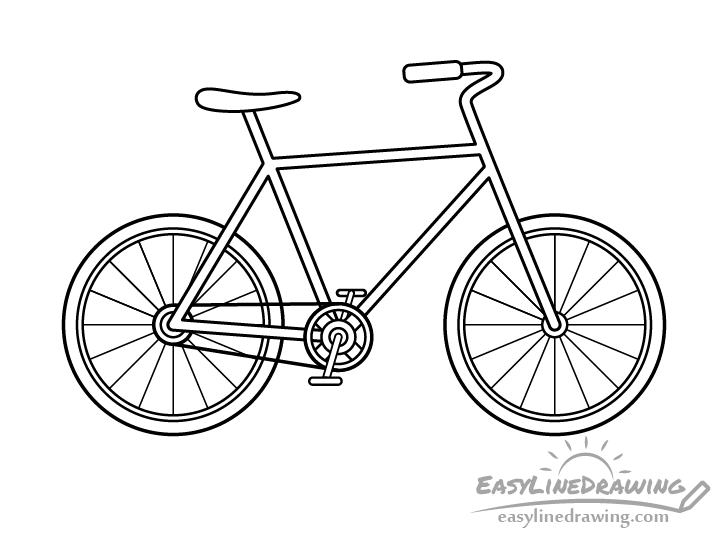
For the last part of the bike draw the spokes. These should run from the rims to the hubs of each of their respective wheels. To once again keep things simple, you can just draw each spoke as a single line.
When done adding the spokes you can trace over your drawing with darker lines. An easy way to do this is with a thin black marker. If you don’t have one around you can just darken them with the pencil.
Step 8 – Color the Bike
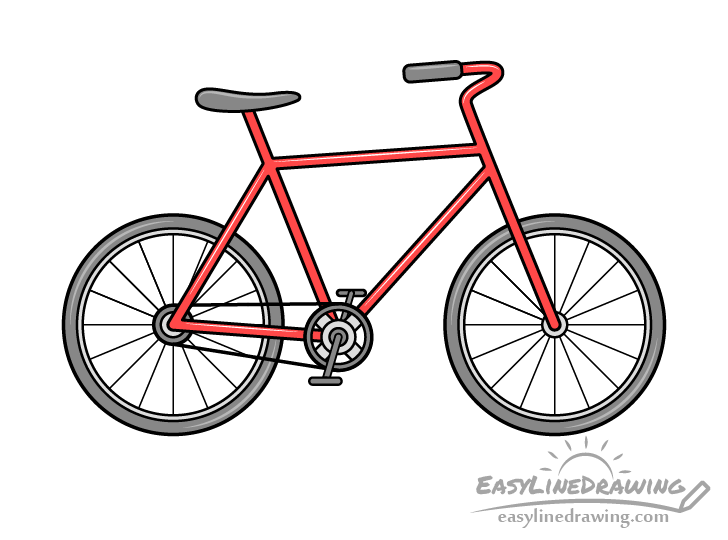
In this example the bike has a red frame but you can make it any color you like. Make the tires, seat and grips are a dark grey and make the rims, hubs, and the inner part of the chain ring a lighter grey. You can create the greys with a regular pencil. Alternatively you can make the dark grey black.
To give the bike a shiny look leave some thin white streaks along the frame to show light reflecting from it’s smooth surface. Do the same for the seat, grips and tiers. However, as these are usually not quite as smooth you can slightly darken the reflections inside of them with a bit of grey.
Conclusion
Drawing bikes can be difficult due to their many different parts. To help this guide provides a slightly simplified example but at the same time one that is not overly stylized or cartoonish.
If you like these kinds of easy to follow step by step tutorial also be sure to try some of the following:
- How to Draw a Sports Car (12 Steps)
- How to Draw Jeans (Easy 8 Step Guide)
- How to Draw a Boy Step by Step
- How to Draw a Lock Step by Step


