How to Draw a Fork Step by Step
This tutorial shows how to draw a fork in five easy to follow steps. It provides simple illustrated examples and quick instructions.
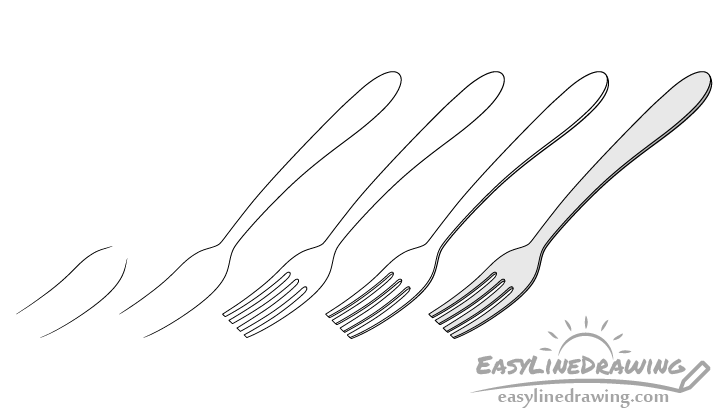
Drawing a fork can be a bit of a challenge. To help this tutorial provides an example of one with a very clean and simple design and shows a good angle to draw it from (3/4 view). You can see preview of it’s key stages in the example above.
The easiest way to do the tutorial is in pencil. Start with light lines that are easy to erase in case you make a mistake and darken them once you have all parts of the fork outlined.
For drawing a spoon see:
How to Draw a Spoon in 6 Easy Steps
Step 1 – Draw the Bottom of the Fork

First, outline the lower of the lower part of the fork. At this stage leave it’s bottom facing end open and just draw the sides running up to the neck.
Step 2 – Draw the Handle
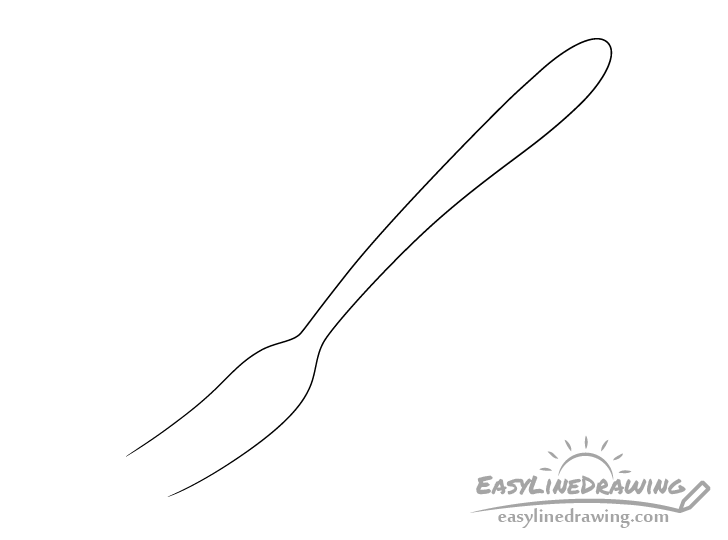
From the neck on add the handle. Make this narrower near the neck, wider as it goes up and then again slightly narrower (with a rounded end).
Step 3 – Draw the Tines
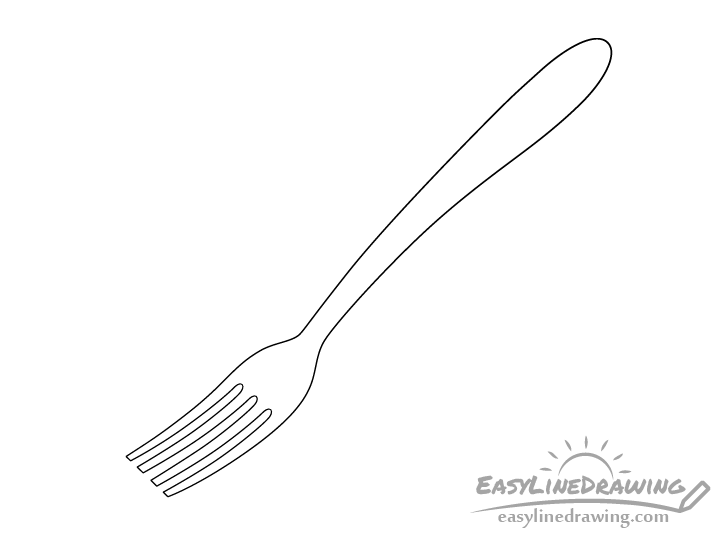
Outline the tines (the sharp ends of the fork) and the slots between them.
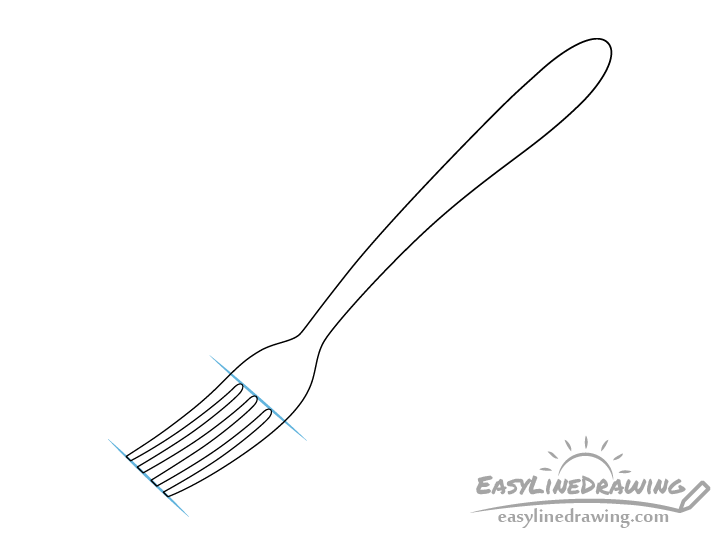
Be sure that these line up with one another as show above. If you need to you can draw a pair of lines as in the example to use as guides and erase them afterwards.
Step 4 – Draw the Side
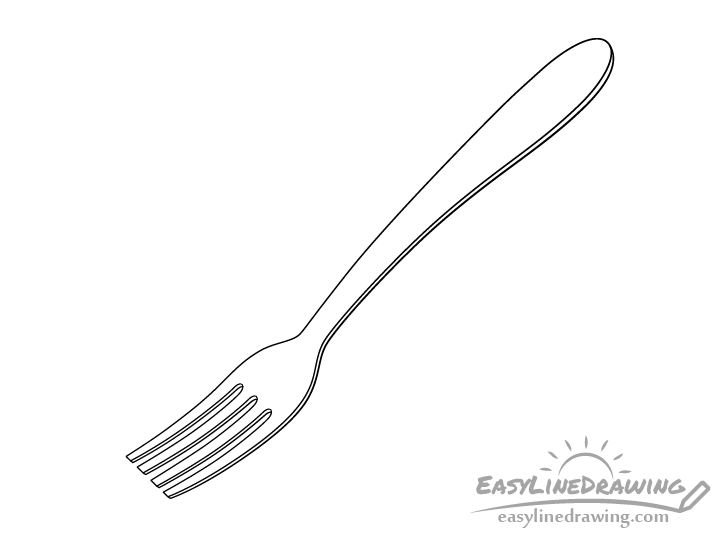
You will notice that in the previous example the fork looks like it’s paper thin. To fix this add the side running along it’s main shape as well as the sides of each of the tines. These will show the thickness of the metal and make the fork appear more three dimensional.
Once done with the above, trace over your drawing with darker lines as was mentioned at the start of the tutorial. Just be sure that everything looks right before doing so.
Step 5 – Color & Shade the Fork
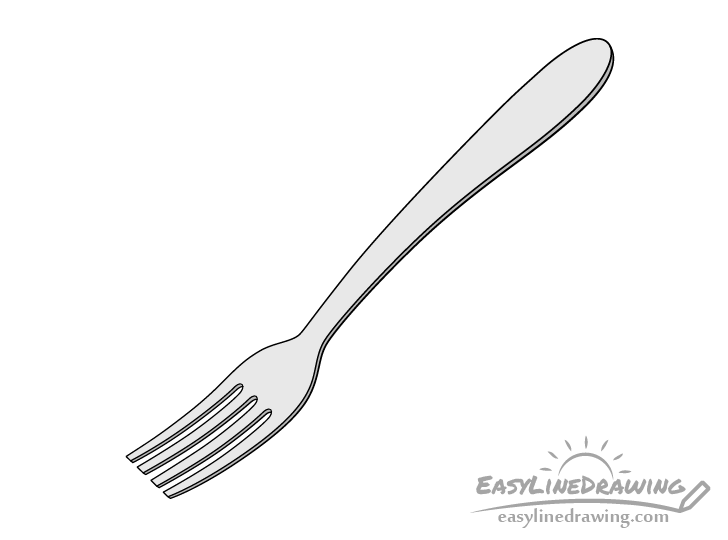
For the final step add some very basic shading. You can again do this with a regular pencil. Make the upward facing area of the fork a light grey and the sides a slightly darker grey. This will make it look like the light is coming from above the item and will again help give it a more 3d appearance.
Conclusion
This tutorial explains how to draw a fork with a shape that is very characteristic of such cutlery. It shows how by taking the time to add a little extra detail and some basic shading you can create a simple but nice looking drawing.
If you like these kinds of easy to follow step by step drawing guides also be sure to try the following:
- How to Draw a Knife Step by Step
- How to Draw a Lighter Step by Step
- How to Draw Scissors Step by Step
- How to Draw a Lightning Bolt Step by Step
- How to Draw a Nail Step by Step


")


