How to Draw a Lightning Bolt Step by Step
This tutorial shows how to draw a lightning bolt step by step. It provides easy to follow instructions and simple illustrated examples.
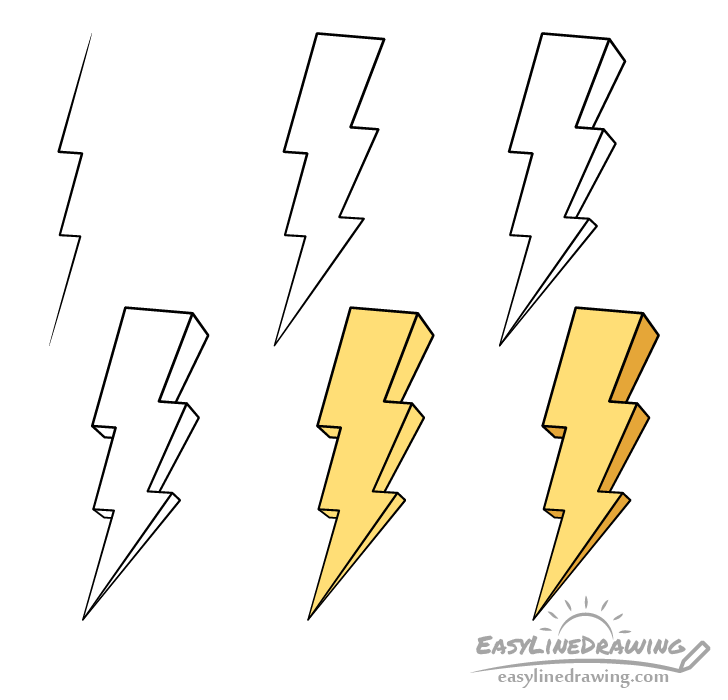
The cool part about the lightning bolt in the example is that it’s drawn to look three dimensional. Creating the 3d effect is quite easy but can make your artwork look significantly nicer. You can see how this is achieved in the preview image above but be sure to also read below for a more detailed explanation.
It’s recommended that you start the tutorial in pencil and make light lines until you have the entire lightning bolt outlined (just so you can easily correct any potential mistakes). You can darken them before coloring.
Step 1 – Draw the Zigzag of the Lightning Bolt
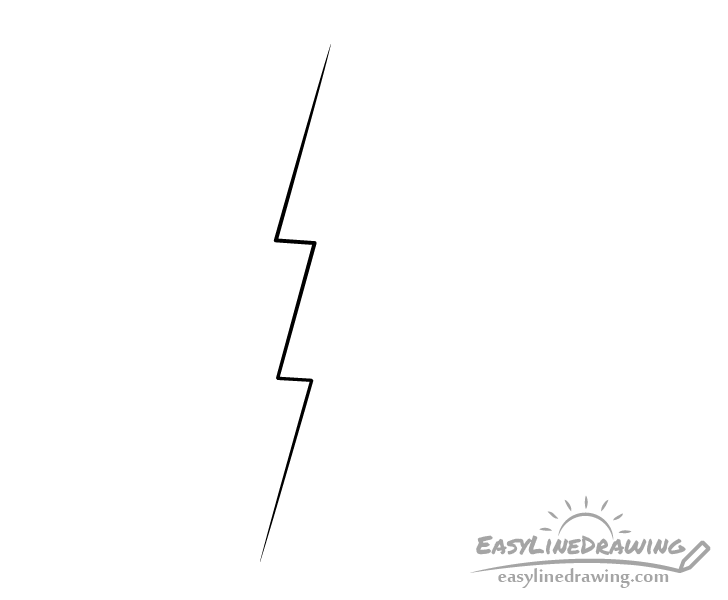
Before creating a three dimensional looking lightning bolt you first want to draw a flat one. Start this by making a zigzag line to define part of it’s shape.
Step 2 – Outline the Lightning Shape
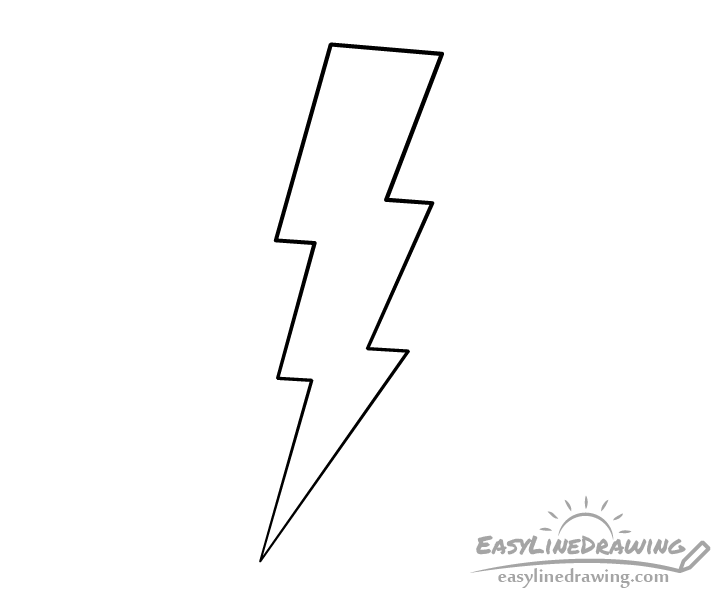
Make a second zigzag that is joined with the first one as a pointy tip at the bottom of the lightning bolt and a straight line at it’s top. This should give you the flat looking outline.
Step 3 – Add the Side
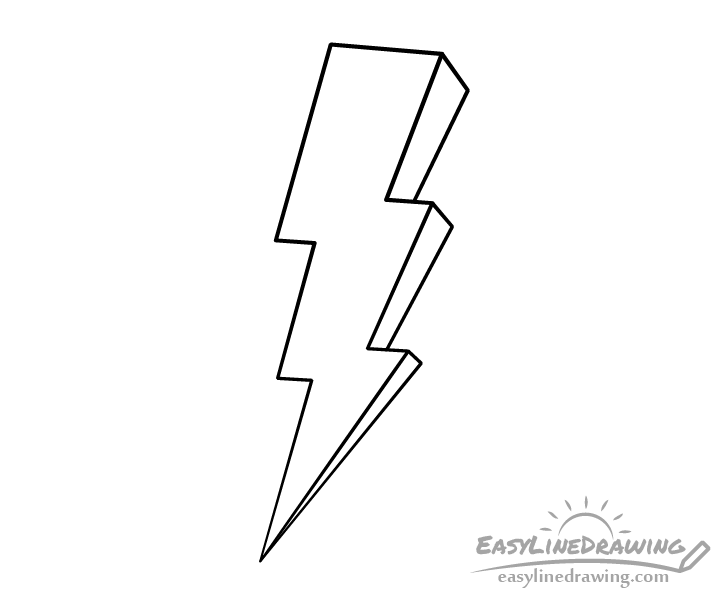
To make the lightning bolt appear three dimensional, first, add a it’s side as shown in the example. Start from the tip and make each of the side’s sections wider as they go up so that the lightning blot gets “thicker” towards the top.
Step 4 – Add the Bottom
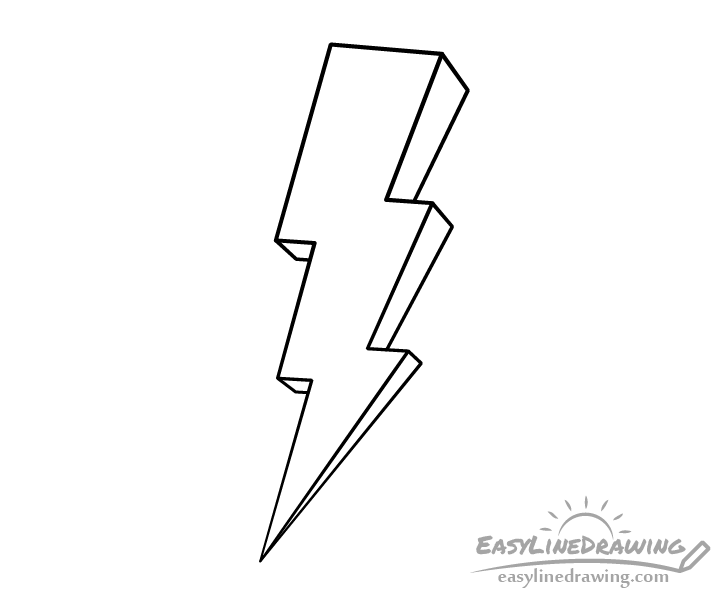
After adding the side add the bottom areas on the left. This will complete the outline of the lightning bolt’s 3d shape.
Once done with the above you can trace over your drawing with a darker pencil lines or with a black pen/thin black marker as was mentioned at the start of the tutorial.
Step 5 – Add Color
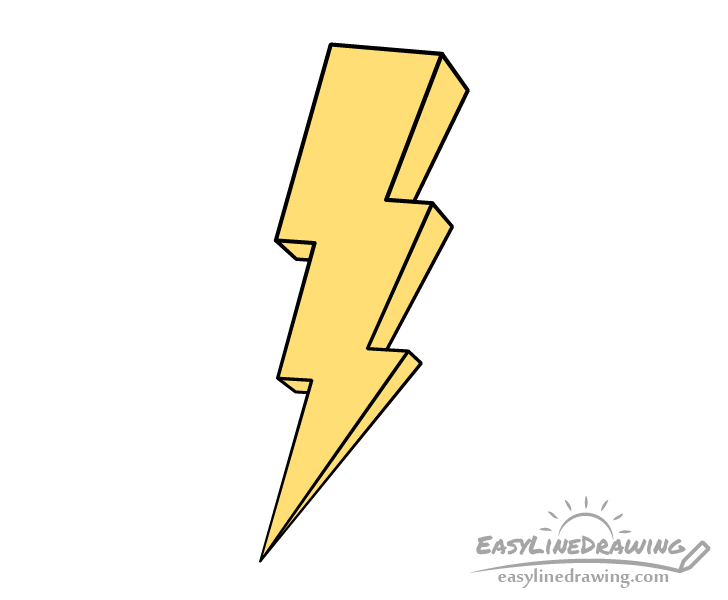
To color the lightning bolt fully fill it’s outline with yellow. A marker can be good for this as markers are generally create fairly bright colors. But if you don’t have one around you can use just about any medium you have available (yellow paint, pencil etc…).
Step 6 – Add Shading
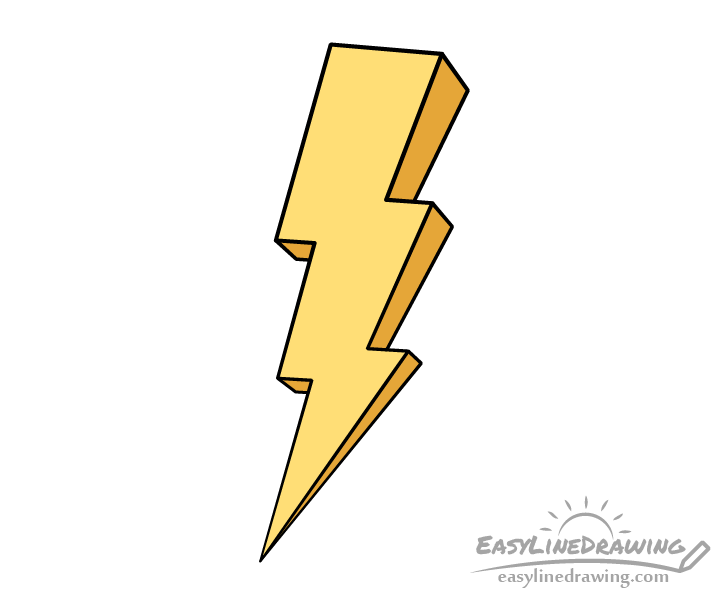
For the final but important step darken the bottom and side of the lightning bolt to give it an even more three dimensional appearance. To do this you can simply go over the yellow with a bit of orange/brown or even with just regular pencil shading.
Conclusion
This tutorial shows an easy way to create a cool 3d looking lightning bolt. Sometimes putting a little bit more effort into your art can make it significantly nicer. By making the lightning bolt three dimensional you can create a drawing that stands out far more than if it were just a flat looking outline.
For more simple but effective drawing tips and easy to follow guides also try the following:
- How to Draw a Newspaper Step by Step
- How to Draw a Rocket (8 Easy Steps)
- How to Draw a Car in 12 Steps (Easy Guide)
- How to Draw a Lighter (6 Steps)
- How to Draw a Knife Step by Step

")


