How to Draw a Car in 12 Steps (Easy Guide)
This twelve step tutorial shows an easy way to draw a car in a simplified cartoon style. It provides illustrated examples and quick instructions.
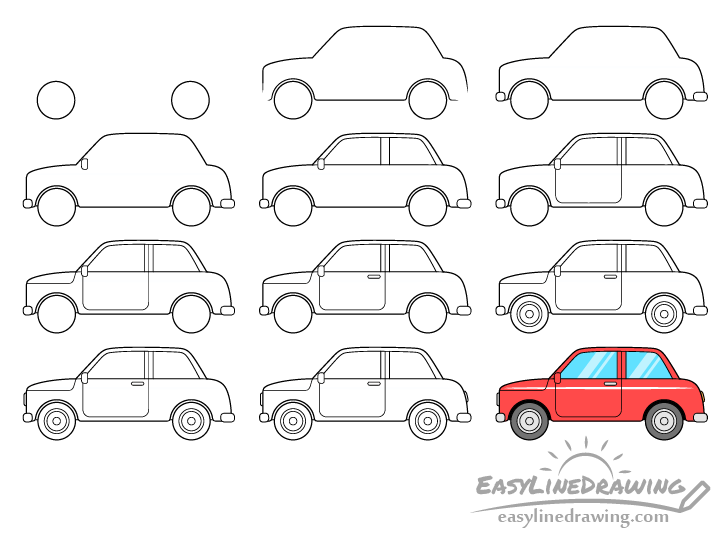
You can see a preview of each of the car’s drawing stages in the image above. As mentioned, the examples are quite simple (to make the tutorial beginner friendly). At the same time they can also help you create a nice looking art piece.
It’s recommended that you start the tutorial in pencil and make light lines that are easy to erase in case of a mistake. You can darken them later on (before coloring).
For drawing a sports car see:
How to Draw a Sports Car (12 Steps)
Step 1 – Draw the Wheels of the Car
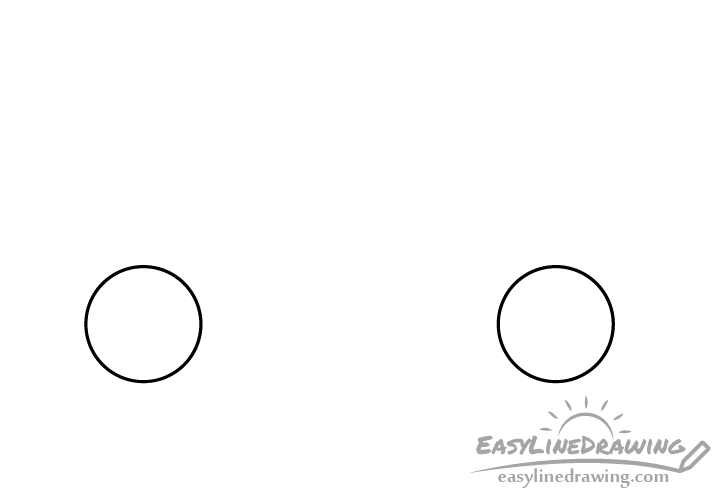
Star the car drawing with a pair of circles (one for each wheel). This fist step is very simple but also very important as the distance between the wheels will determine the length of the car. Be careful not to space the wheels to close or too far apart. Otherwise your drawing can look odd.
Step 2 – Draw the Outer Shape of the Car
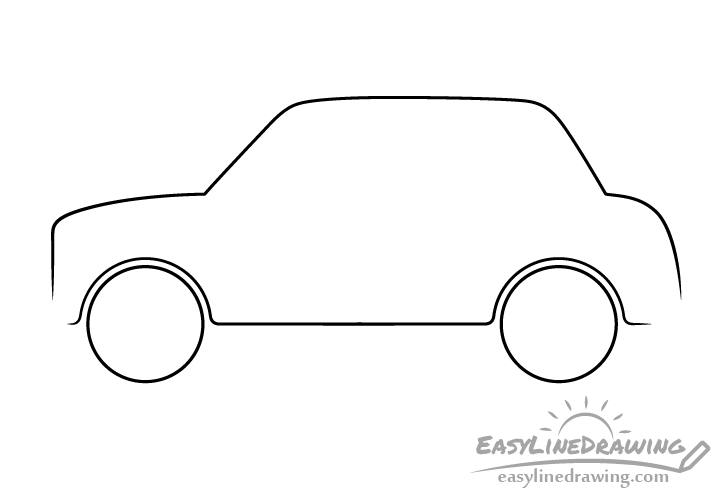
On top of the wheels draw the outer shape of the car but leave it’s outline open in two spots, one near the bottom/front and the other near the bottom/back (for the bumpers).
Step 3 – Draw the Bumpers
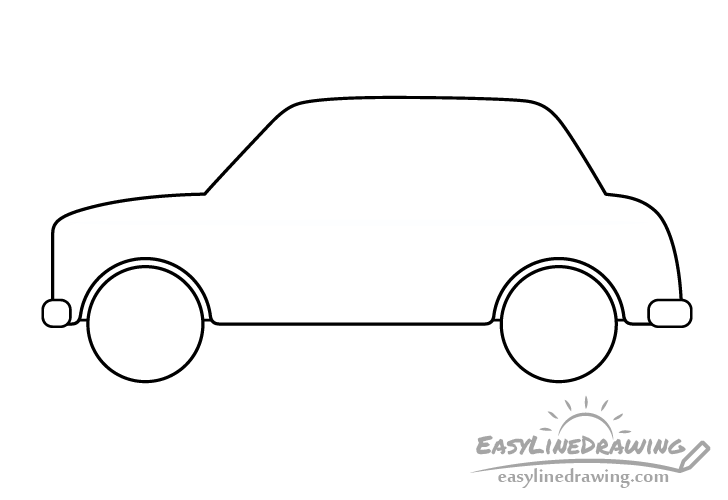
Draw the bumpers as two rectangles with rounded corners at each end of the car. You can also define the space in the back of the wheelhouse areas by drawing a few short lines to connect them to the wheels.
Step 4 – Draw the Rear View Mirror

Draw the rear view mirror towards the front of the car near the bottom of the windshield. Give it slightly more rounded corners in the front than in the back.
Step 5 – Draw the Windows
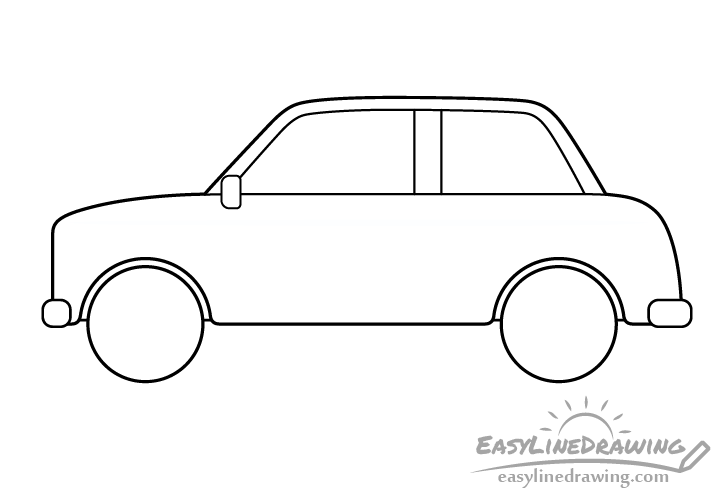
Draw the windows. Their upper outline should pretty much follow the shape of the top and bottom of the car but be slightly smaller. Make their bottoms flat and add a divider between them that is positioned slight more towards the back of the car.
Step 6 – Draw the Door
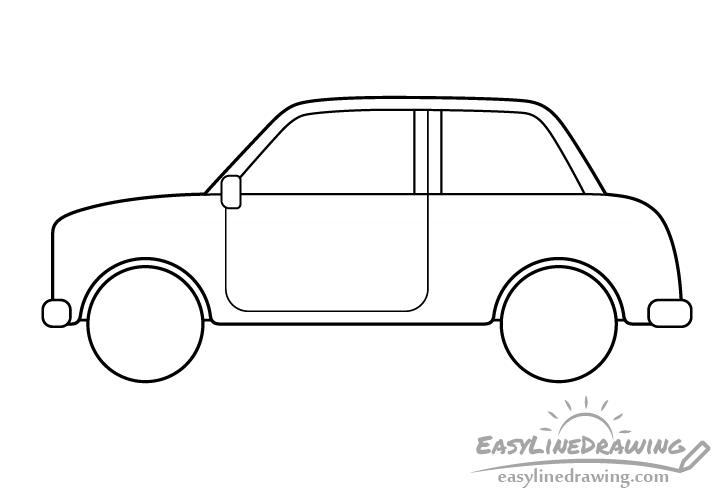
Draw the car door in a way where it creates a split between the front and back window and give it rounded corners on it’s bottom.
Step 7 – Draw the Hood
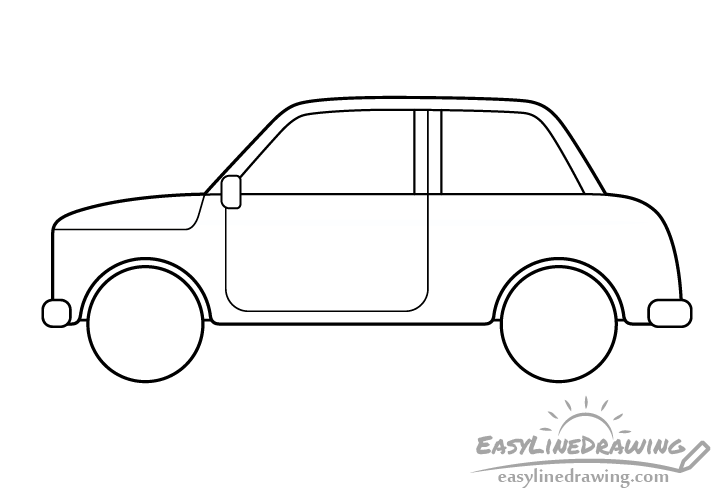
Add the hood to the front of the car as shown in the example. It’s shape should first have a slight angle going down from where the hingest are located, followed by by a small curve curve and a flat bottom.
Step 8 – Draw the Door Handle
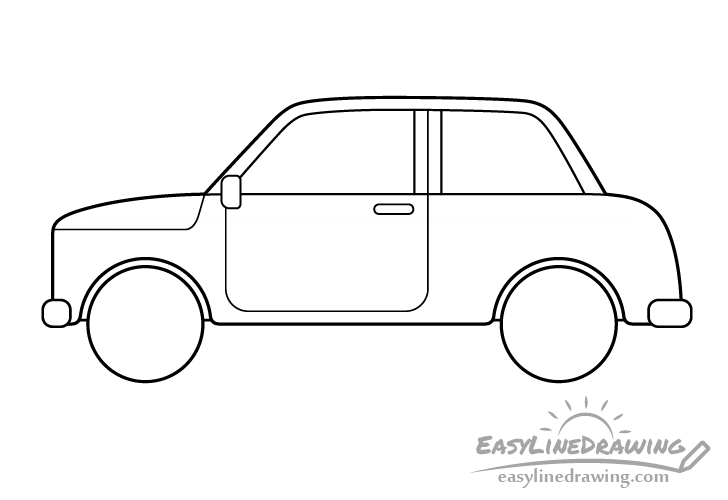
Towards the upper right of the door add the handle. You can make it fairly with rounded ends.
Step 9 – Draw the Rims
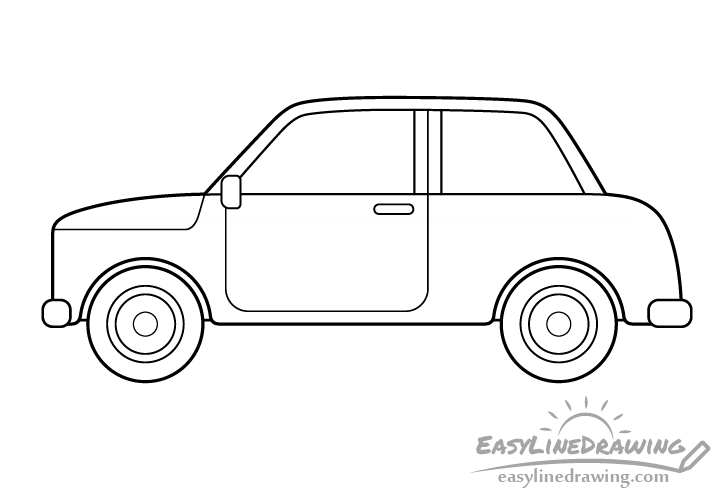
Draw the rims by first adding a pair of smaller circles inside the outlines of the wheels. Next, add another even smaller pair of circle inside those followed by a really small circle in the middle of each rim.
Step 10 – Draw the Headlight
At the front of the car (just above the bumper) add the headlight. Make it’s shape a tiny rectangle with rounded corners on it’s forward facing side.
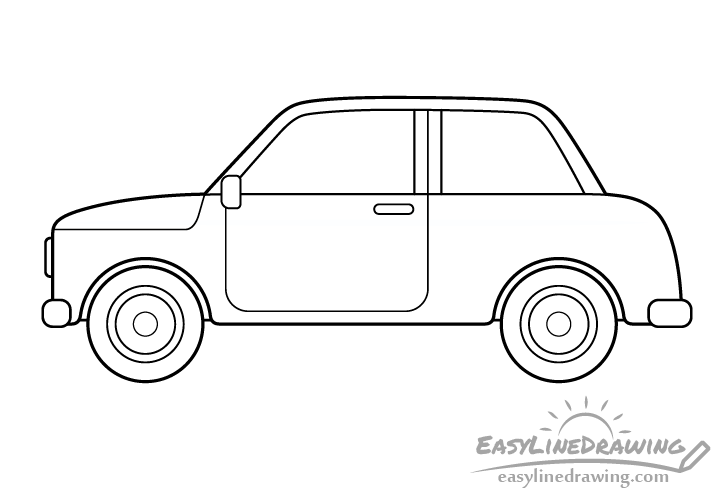
Step 11 – Draw the Tail Light & Finish the Line Drawing
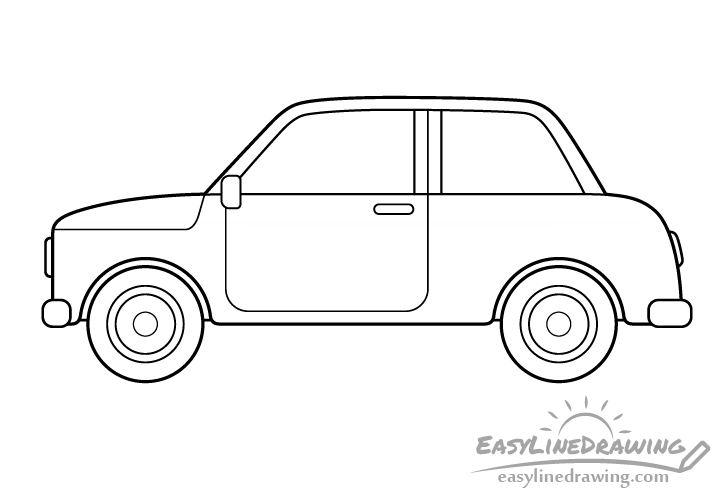
At the back of the car add the tail light. It’s shape should follow the shape of the back of the car where it’s attached. You can make it’s top and bottom slightly rounded.
Once you have all parts of the car outlined and are happy with how things look, you can trace over your drawing with a black pen or marker. If you don’t have one around then simply darken them with the pencil.
Step 12 – Color the Car Drawing
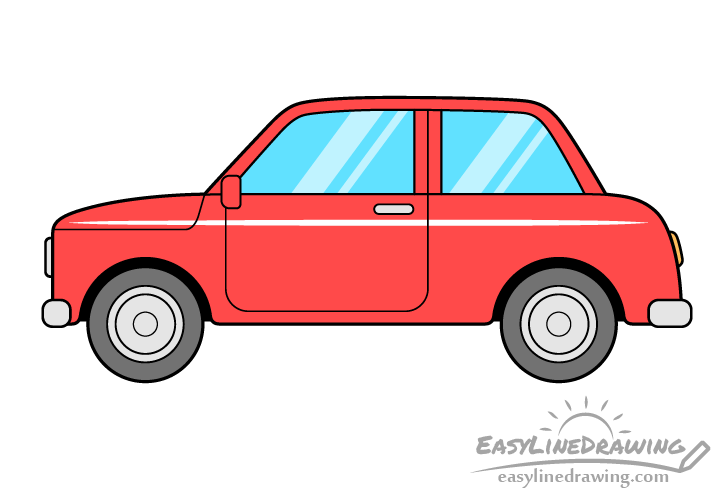
Color the drawing as follows:
- Car (main body) – red (or any color you like)
- Windows – blue
- Wheels – dark grey
- Bumpers/Rims/Headlight – light grey
- Tail Light – orange
- Wheelhouse Areas (above wheels) – black
When coloring the car you can leave a white streak running across it (a little bit below the windows) to show some light reflecting from it’s smooth surface. This will help make it look shiny. You can also leave a few lighter streaks in the windows to show some reflections there as well. Leave these white as you color and then go over them with a lighter blue.
Conclusion
Drawing a car can sometimes be difficult (due to its many parts). To help this tutorial provides a design that is simple and breaks down the drawing stages into several easy to follow steps. Hopefully you’ve not had much trouble following along.
If you would like to try some more simple step by step tutorials also see the following:
- How to Draw a Bike Step by Step
- How to Draw A Boat Step by Step
- How to Draw an Airplane Step by Step
- How to Draw a Fighter Jet Step by Step
- How to Draw a Traffic Light Step by Step
- How to Draw a House Step by Step


")