How to Draw a Traffic Light Step by Step
This tutorial shows how to draw a traffic light in eight illustrated steps, each with short, simple and easy to follow instructions.

There is a bit of variation in the design of traffic lights but generally most tend to look like the example in this tutorial. You can see a preview of it along with all of the included drawing steps in the above.
Start the drawing in pencil and make light lines that are easy to erase in case you make a mistake. You can use a black pen or marker to darken them later on.
Step 1 – Draw the Outline of the Traffic Light
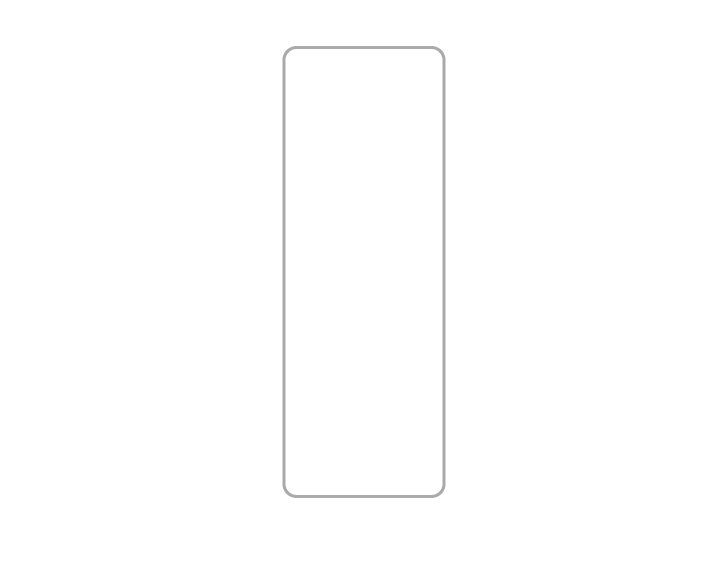
First draw a long vertical rectangle with rounded corners to get the main shape of the traffic light.
Step 2 – Draw the Sections
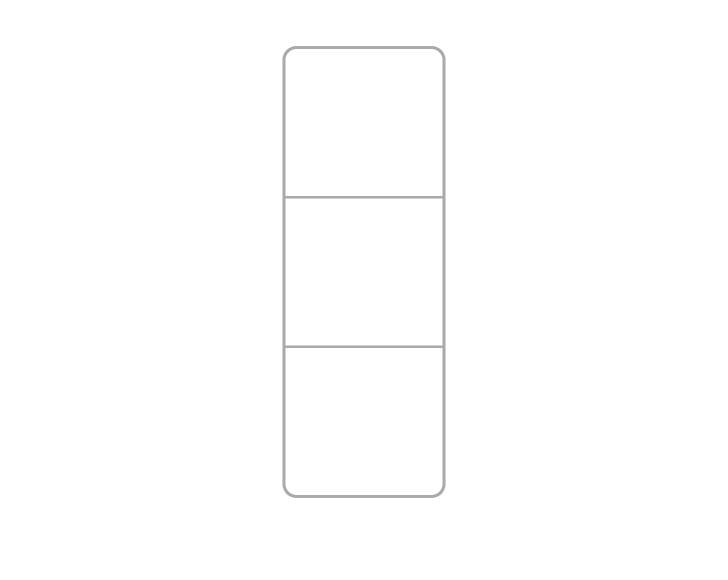
Divide the rectangle from the preview step into three equally spaced sections. Each of these should be square (or close to one) in shape. In case you find the rectangle to short or too long to properly fit these you can extend or shorten it as needed.
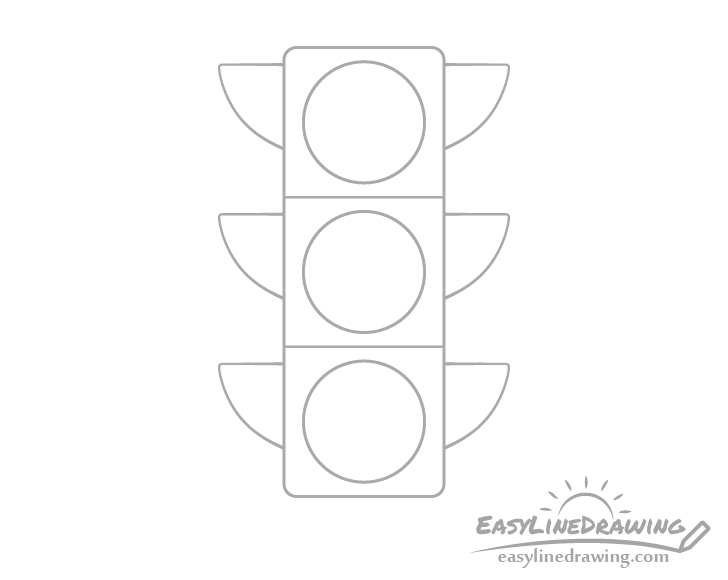
Step 3 – Draw the Lights
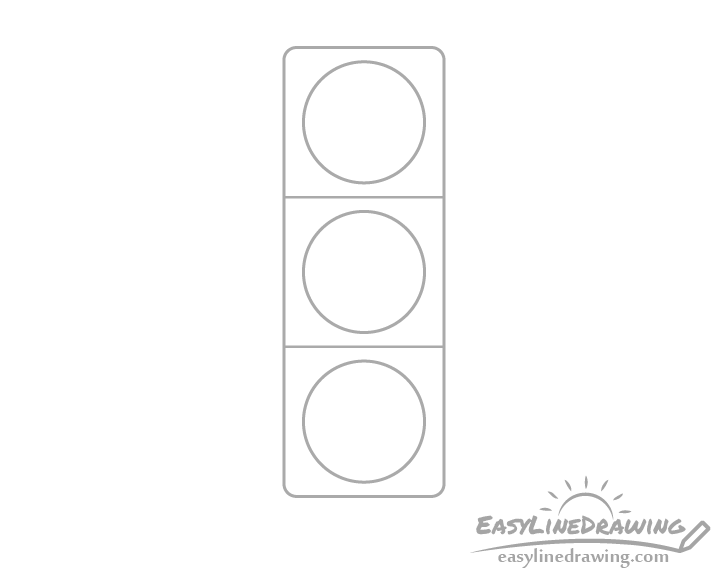
Inside each of the square sections draw a circle to show the forward facing traffic lights.
Step 4 – Draw the Side Lights on One Side
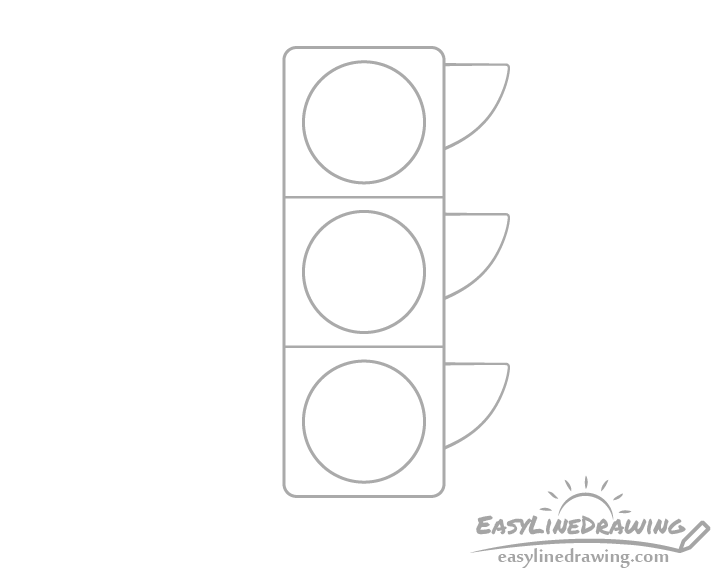
Draw a set of visors on one side of the traffic light to show that there are lights facing in that directions as well. You don’t need to draw these over the forward facing lights as they are as they will be barely visible when looking directly at them.
Step 5 – Draw the Side Lights on the Other Side
Draw a second set of visors facing in the opposite direction on the other side of the traffic light. Try and make them symmetrical with the first set.
Step 6 – Draw the Top Cap
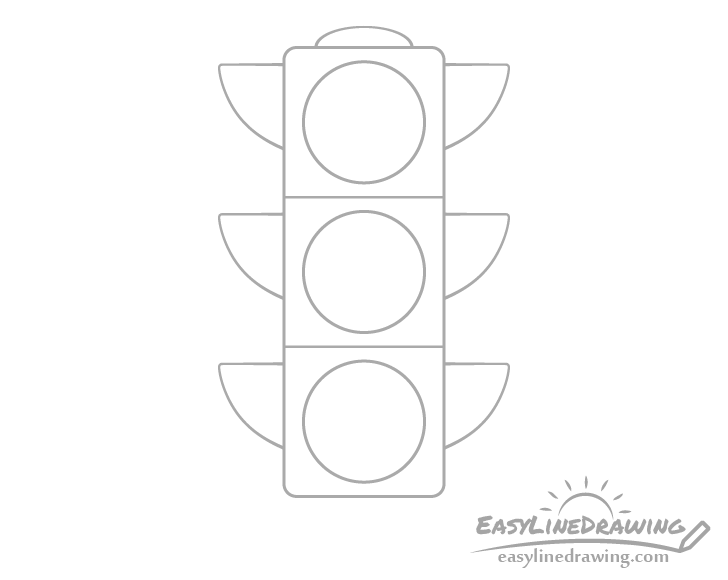
On top of the traffic light add a little “cap” like section as shown in the example.
Step 7 – Draw the Pole & Finish the Line Drawing
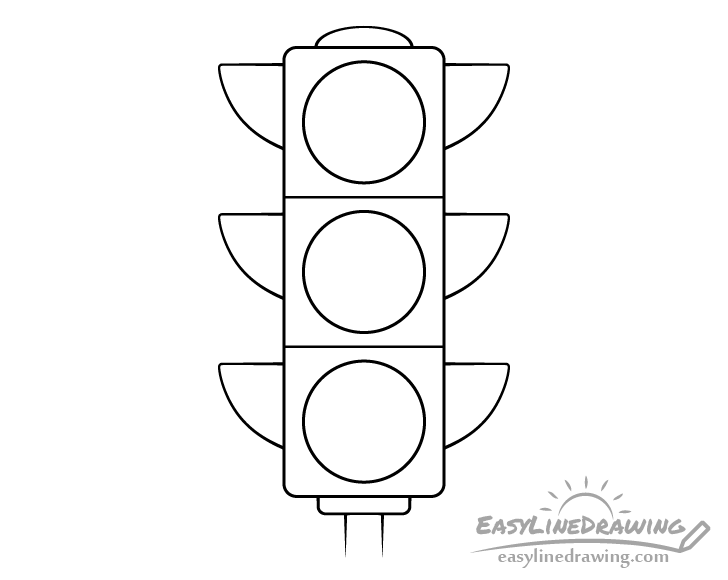
In this case the traffic light will be sitting on a pole (instead of hanging down like they often do). Show some of the pole by first drawing a little section that it will be coming out of and then add just a hint of the pole itself. Leave it’s bottom open to help indicate that it goes further down.
Once you have all of the parts outlined trace over your drawing with a black pen, marker or darker pencil lines. Just be sure to make any corrections (if required) beforehand.
Step 8 – Color the Traffic Light
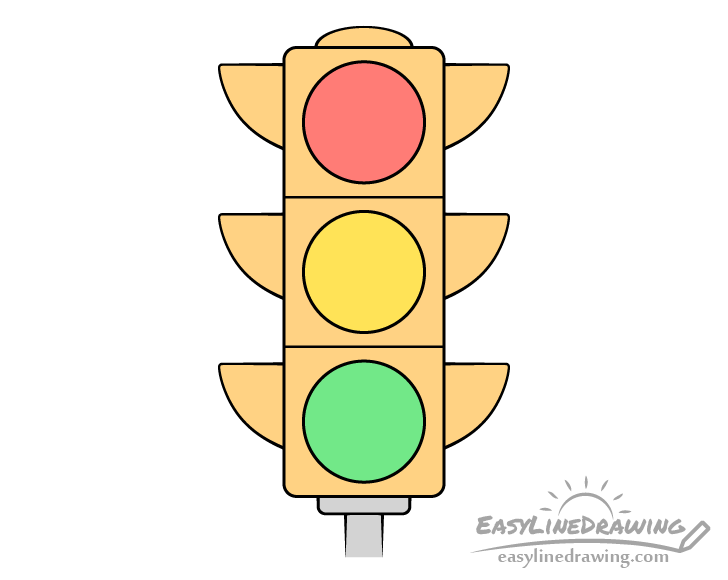
Finally to color the traffic light you can make it yellow with a bit of orange. Make the lights red, yellow and green (top to bottom). An easy way to get the yellow/orange is with colored pencils. First make the light yellow and then go over it with a bit of orange. You can use markers for the lights to make them appear brighter but colored pencils can also work.
Once done coloring you should be finished with the drawing.
Conclusion
Traffic lights are not particularly difficult to draw but it can still be helpful to have some reference like that provided in this tutorial. Hopefully you’ve found the detailed step by step breakdown of the drawing process helpful.
For more similar tutorials also see the following:
- How to Draw a Cartoon Car in 12 Steps
- How to Draw a Tree Step by Step
- How to Draw a Cloud Step by Step

")


