How to Draw a Scarf Step by Step
This tutorial shows how to draw a scarf in eight steps with detailed but easy to follow illustrated examples and simple instructions.
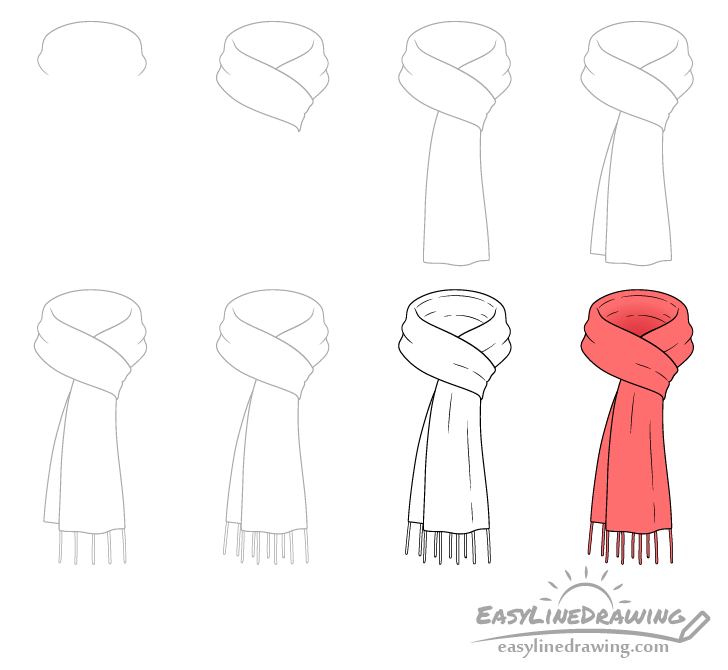
You can see a preview of the drawing steps for for the scarf in the image above.
Start the tutorial in pencil and make light lines that are easy to erase in case you make a mistake. You can darken them later on with a black pen or marker.
Step 1 – Draw the Top of the Scarf
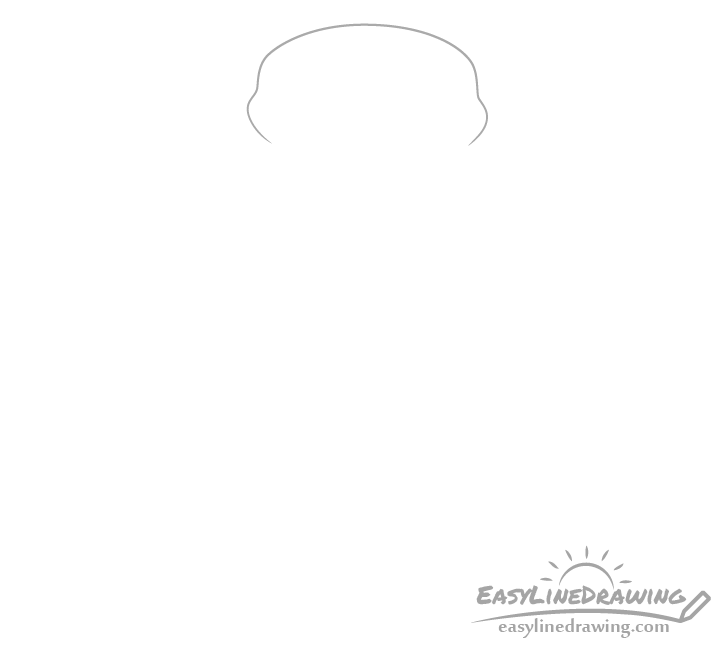
In this case the scarf will be wrapped as though it’s being worn.
Begin by outlining it’s upper part. Draw the very top with a smooth curve followed by two little bumps (folds) on each side.
Step 2 – Draw the Overlap
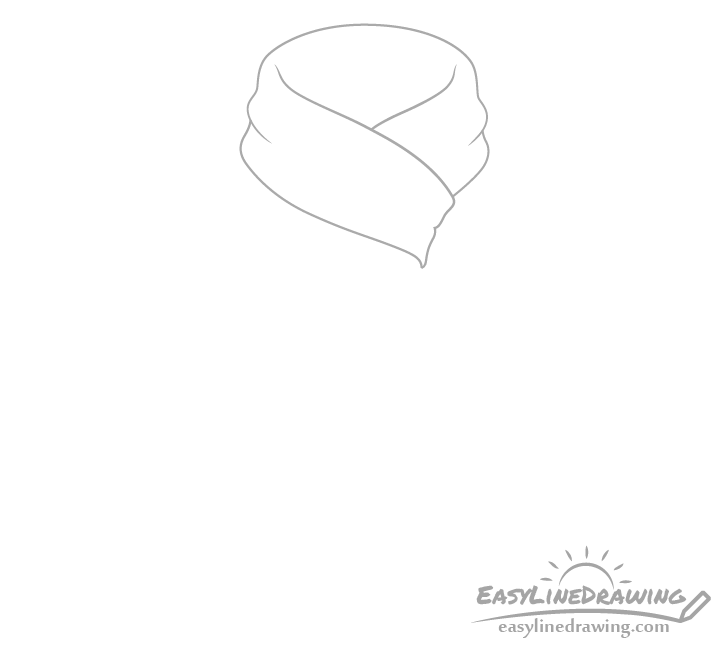
Going down from the upper part draw the sections where the scarf starts to overlaps itself as shown in the example.
Step 3 – Draw One End of the Scarf
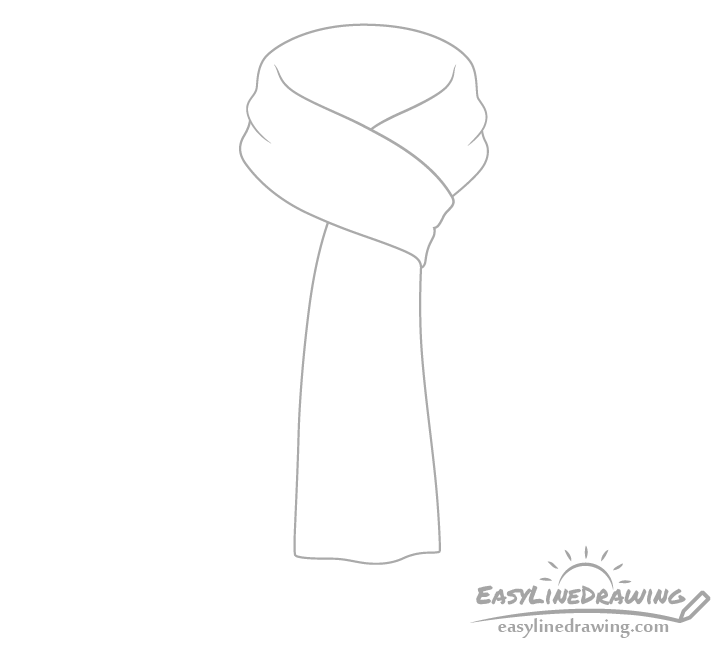
Coming out of the overlapping part and hanging downwards add one end of the scarf . Draw it narrower towards the top (as it will be slightly squeezed there) and wider as it goes down.
Step 4 – Draw the Second End of the Scarf
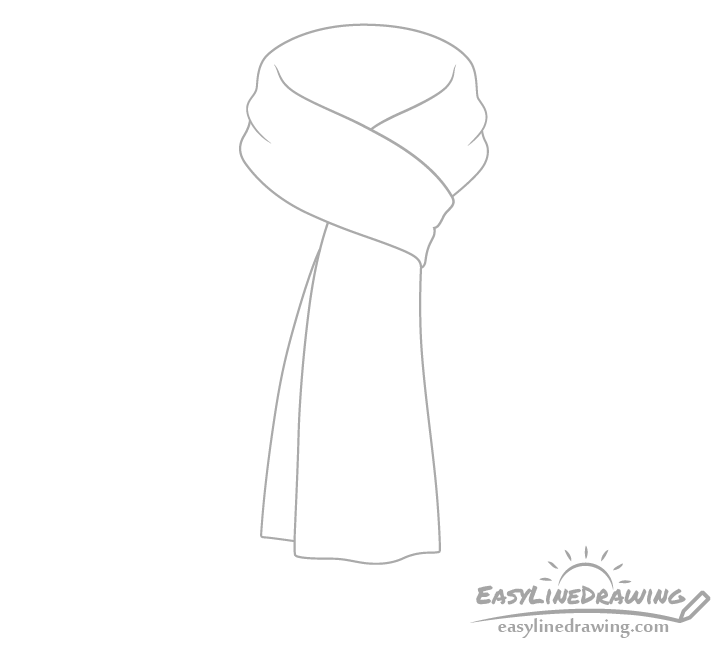
Coming out form beneath the first end of the scarf add the second.
Step 5 – Add a Fringe on One End
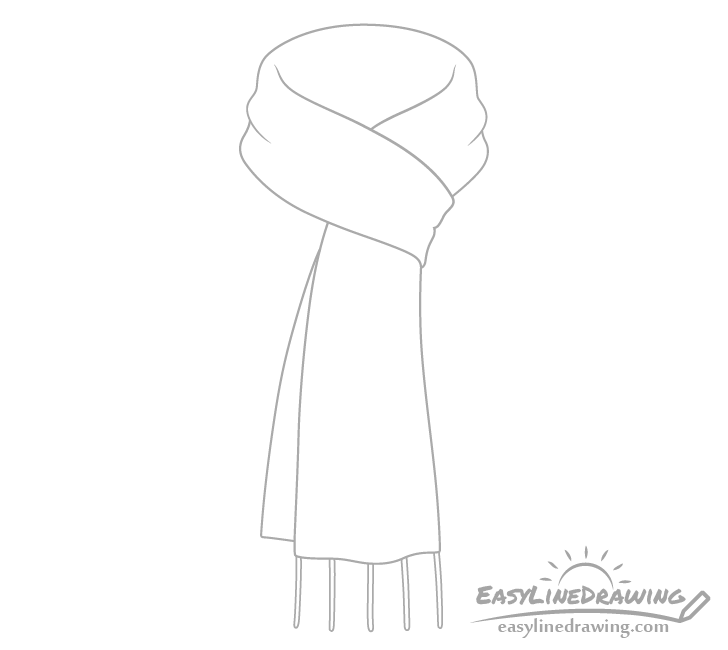
Add a fringe (the little strings that scarfs tend to have) to the first end of the scarf. To make it easier to get even spacing between the them first draw the one in the middle, then the two on the sides and finally the two between them.
Step 6 – Add a Fringe on the Other End

Adding a fringe to the second end is a bit more complex as it’s overlapped by the first one but you can use the provided examples for reference.
Step 7 – Draw the Folds & Finish the Line Drawing
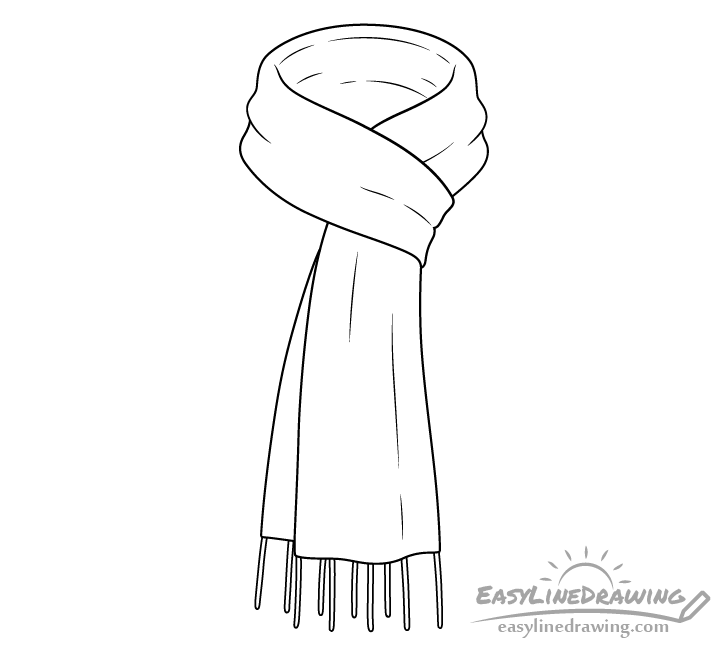
With the main parts of the scarf outlined give it a few smaller folds as in the example. After adding those you can trace over your drawing with a black pen or marker. If you don’t have one around simply darken your lines with the pencil.
Step 8 – Color the Scarf
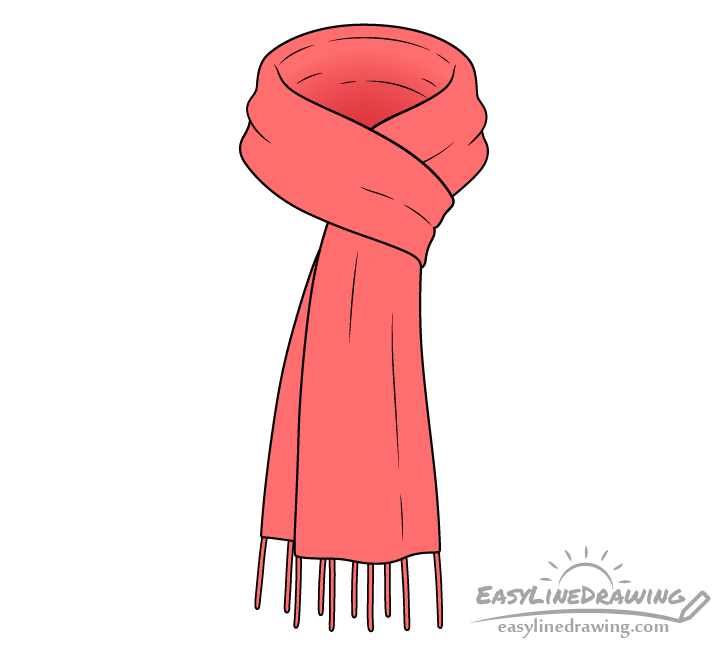
You can make the scarf any color you like or even give it some sort of a pattern. In this case it will just be a solid red.
You can also slightly shade the inner side of the upper end of the scarf (the part that would go around the neck if it was worn). Make this area darker at the bottom and lighter as it goes up.
Pretty much any coloring method can work (paints, colored pencils, markers) but an easy way to create the gradient for the shadow is with pencils.
Conclusion
The scarf drawing in this example has a good amount of detail to it but at the same time is still fairly simple. A good approach to drawing such an object (as was shown in this tutorial) is to generally start with it’s larger parts and then work your way down to the smaller and less important details.
Hopefully you’ve enjoyed the tutorial and found it helpful. For more similar guides also see the following:
- How to Draw Mittens Step by Step
- How to Draw a Santa Hat Step by Step
- How to Draw a Beanie Hat Step by Step
- How to Draw a Suit Step by Step
- How to Draw a Dress Step by Step


