How to Draw a Santa Hat Step by Step
This tutorial shows how to draw a Santa hat in six steps. It provides simple example and quick instructions to make it easy to follow along.
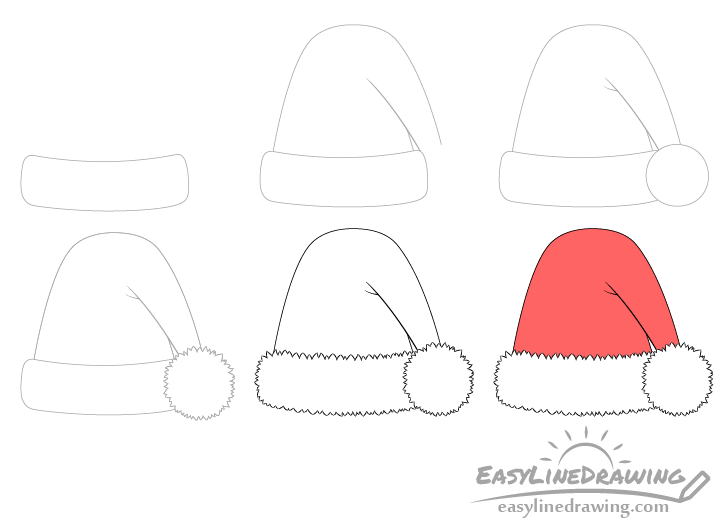
You can see a preview of the main drawing stages of the hat in the example above. Though it may take a bit of time to add the fluff around it’s bottom and pom pom parts, overall the tutorial is fairly easy. If you want to make it even simpler you can also leave the fluff out all together.
As you will need to do some erasing in a few of the steps start the drawing in pencil and try to make light and thin lines. You can darken them before coloring.
Step 1 – Draw the Bottom of the Hat
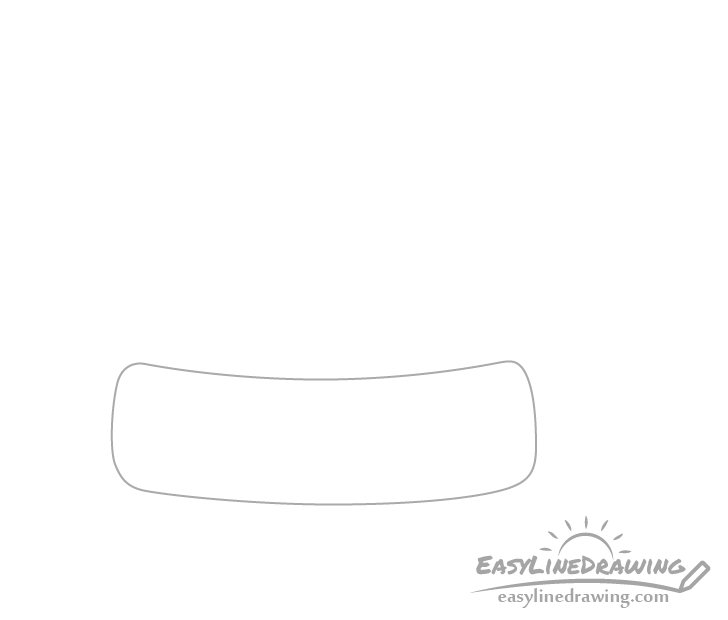
Begin by outlining the bottom part of the hat. Draw it slightly curved and position it at the lower part of the page/drawing area so that you have enough space for the taller portion above.
Step 2 – Draw the Top of the Hat
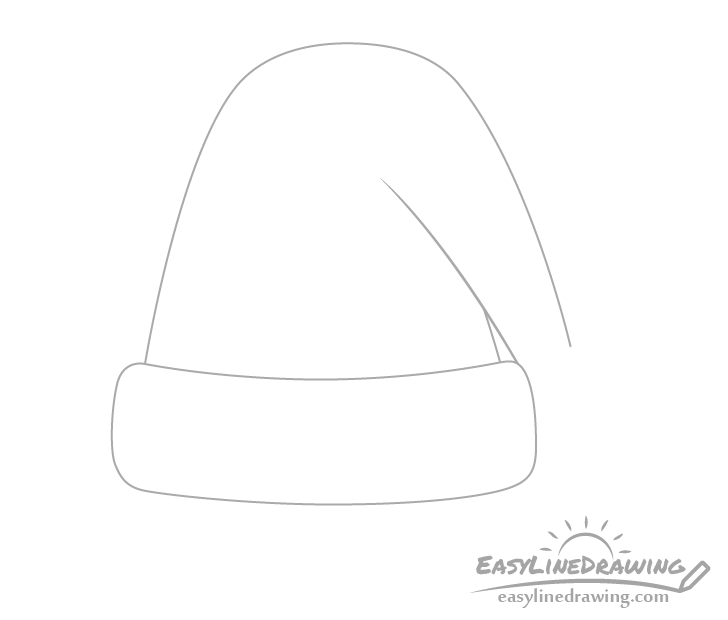
The main part of the hat is basically a long cone that will be bent at roughly the halfway point. It will then hang down. You can draw this as shown in the example.
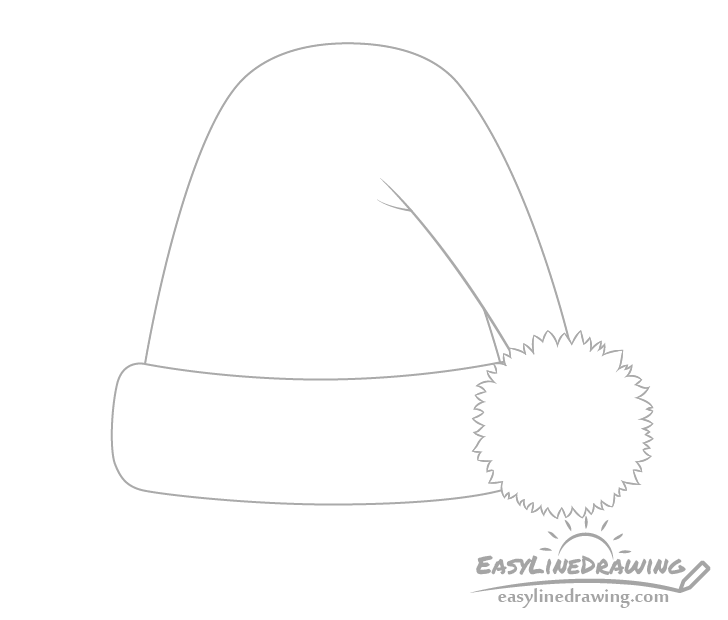
Step 3 – Add the Pom Pom
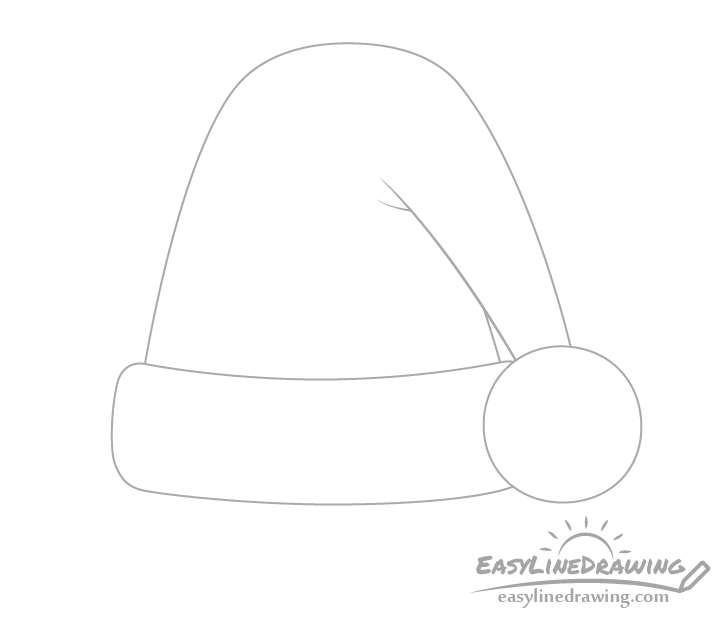
At the tip of the hat draw a circle (or close to one) for the pom pom. It will overlap the bottom of the hat so you can simply erase that part after you have the pom pom outlined. You can also add a little line near the bend to show a fold in the fabric.
Once done you should have the basic outline of the Santa hat. As mentioned at the start, if you want a simpler drawing you can keep the hat’s shape as is, go over your lines with a black pen or maker and then color it (see step 6). If you want a more interesting drawing move on to the next step.
Step 4 – Add the Fluff of the Pom Pom
To make the pom pom look fluffy you can add some tiny fur clumps surrounding it. Use the circle drawn in the previous step as a guide and place these around it like rays around the sun. Outline each clump with just two lines that are either a curve or a wave.
To keep the fluff looking natural draw each of the clumps of slightly different size and length. You can can carefully erase the circle once all of the clumps are in place.
Step 5 – Add the Fluff of the Bottom & Finish the Line Drawing
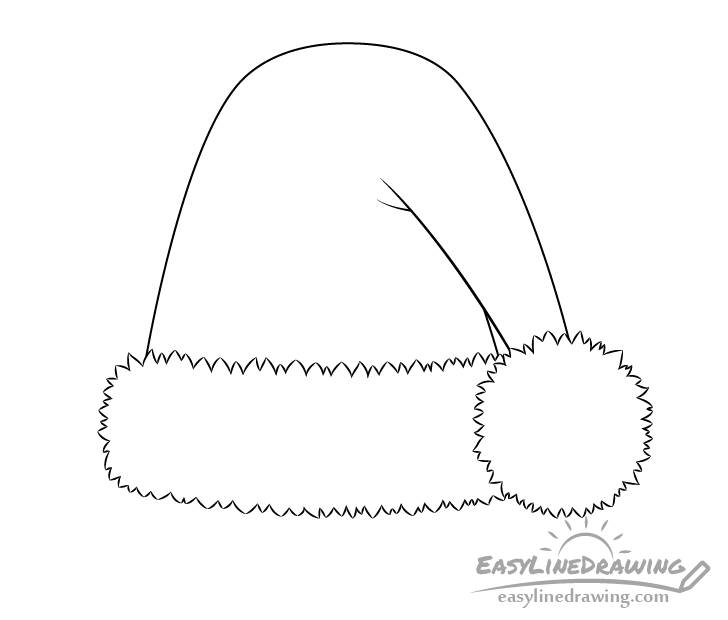
After adding the fluff to the pom pom you can do the same thing for the bottom part of the hat. Again, use it’s outline as a guide for adding the clump and erase it afterwards.
Once you finish the above go over your drawing with a black pen, maker or darker pencil lines.
Step 6 – Color the Hat
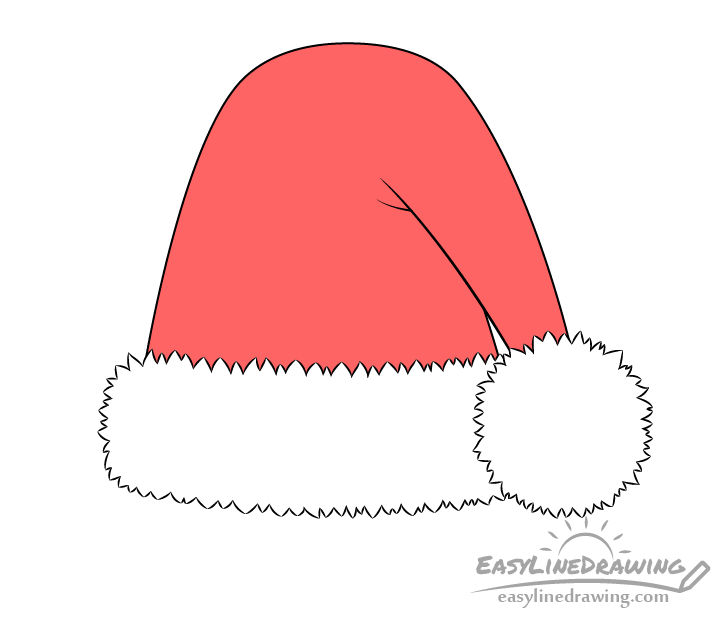
There really is not much to coloring the Santa hat but some color can definitely make it look much nicer. Simply keep the fluff white and fill in the rest with red. For a bright red like that in the example a marker can be a good option.
Conclusion
As mentioned at the start of the tutorial a Santa hat is not very difficult to draw. The main challenge is in adding the small details of the fluff (if you decided to do that). While you can leave these out it can certainly make for a much nicer looking hat if you do take the time to draw them.
Whatever option you decided to go with hopefully your happy with how things turned out.
If you like simple drawing guides like this one you may also want to try some of the following tutorials:
- How to Draw Mittens Step by Step
- How to Draw a Snowflake Step by Step
- How to Draw a Snowman Step by Step
- How to Draw a Baseball Cap Step by Step
- How to Draw a Ribbon Step by Step
- How to Draw a Beanie Hat Step by Step


