How to Draw a Snowflake Step by Step
This simple tutorial shows how to draw a snowflake in six steps. It includes basic illustrated examples and quick drawing tips.
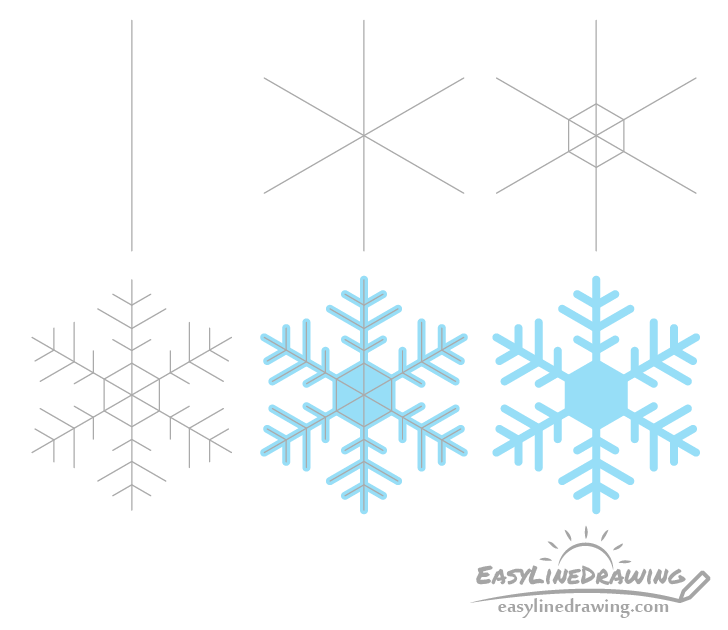
You can see a preview of the drawing stages for the snowflake in the image above.
Start the tutorial in pencil but also have a blue marker (recommended) or alternatively a blue pencil handy for the final steps. Try and keep your initial lines as light as possible. The examples have been made slightly darker just so that they are easier to see.
As the snowflake is made up of so many straight lines you may also wish to use a ruler to help you. However, if you want to improve as an artist it’s better to at try drawing without one.
Step 1 – Draw the Center Line for the Snowflake
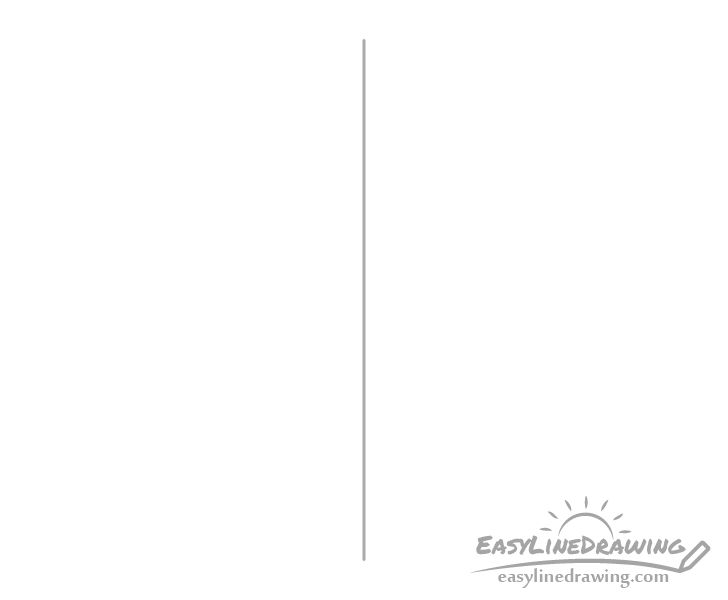
Start by making a straight vertical line where you want to have the center of the snowflake. This line can also help you set it’s size (longer line for bigger snowflake).
Step 2 – Draw the “Arms”
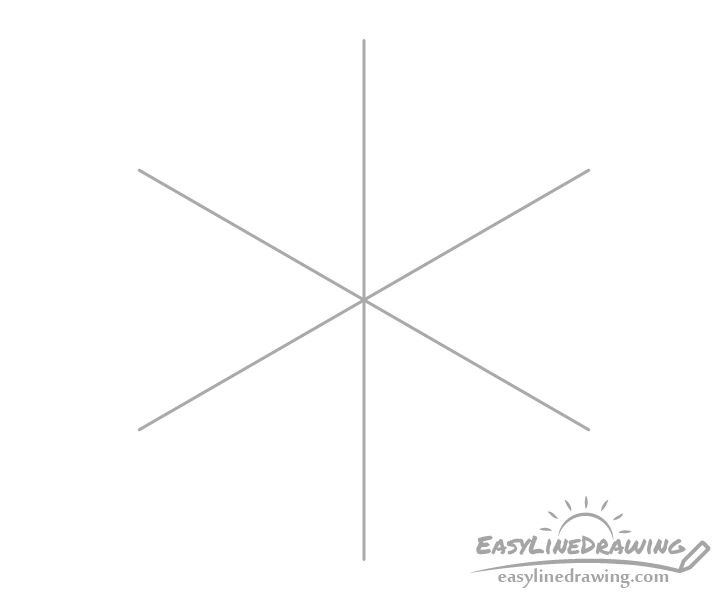
Through the middle of the previous line draw two angled lines to create an “X” like shape. Try and make these close in length to the first one and also try and keep the distance between each one roughly the same to so that the snowflake looks symmetrical.
Step 3 – Draw the Center
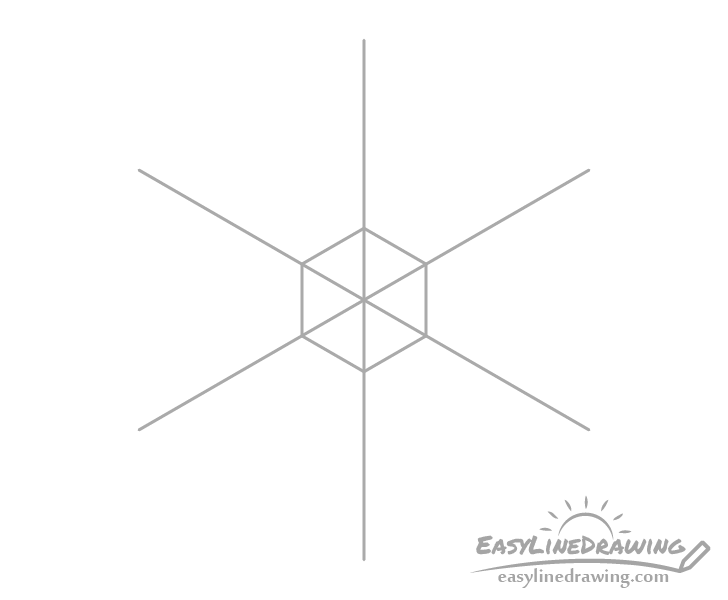
In the middle of the snowflake draw a hexagon. This should be fairly easy as you can now use the other lines as guides.
Step 4 – Draw the “Branches”
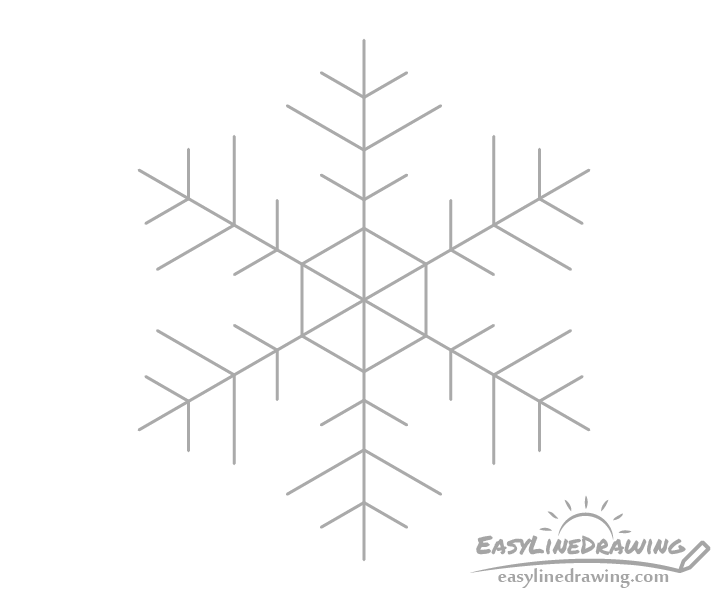
To finish the snowflake’s shape add some lines to each of it’s ends to make them look a bit like branches (see example). In this case they will be short at the base, long in the middle and again short near the tips.
Step 5 – Trace Over Your Lines With a Blue Marker or Pencil
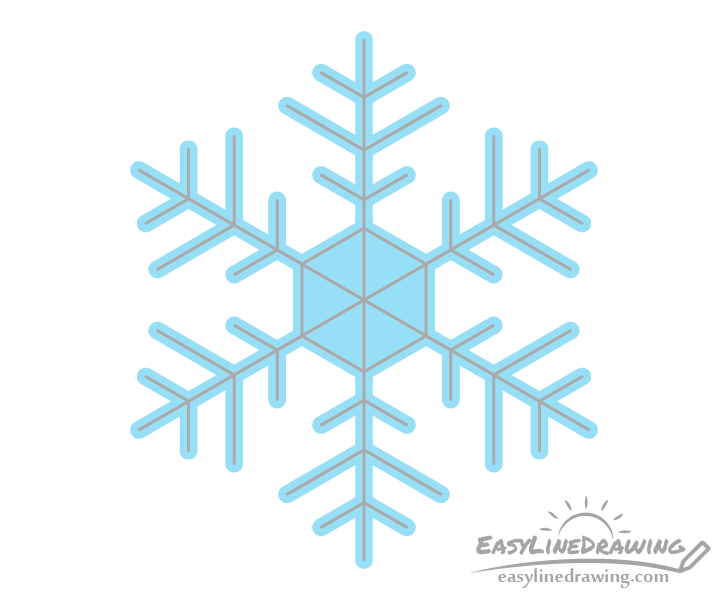
The easiest way to color the snowflake and to give it some volume is by using a thick light blue marker. Simply use one to trace over the pencil lines.
Alternatively you can use a blue pencil and color around the lines from the previous step to make them thicker. If you kept them light as was suggested at the start of the tutorial they should pretty much blend into the blue.
Step 6 – Clean up the Snowflake Drawing
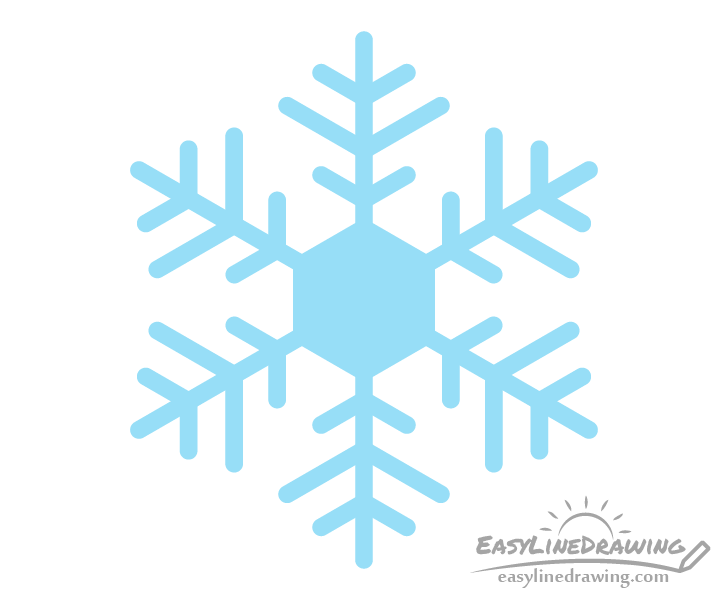
If you’ve gone with the marker wait for it to dry and use an eraser to remove the pencil lines. You should have a nice and clean blue snowflake afterwards.
Conclusion
Drawing a snowflake like the one in this example is fairly easy. You can also try and create your own designs using pretty much the same step by step approach. First make a line line drawing of whatever shape you want and then go over it with a marker or pencil.
For more similar tutorials also see:
- How to Draw a Snowman Step by Step
- How to Draw a Santa Hat Step by Step
- How to Draw Mittens Step by Step
- How to Draw a Ribbon Step by Step
- How to Draw a Candle Step by Step
- How to Draw an Ice Cube Step by Step


")


