How to Draw a Ribbon Step by Step
This quick tutorial shows an easy way to draw a ribbon in just six steps. It provides simple example and basic drawing tips.
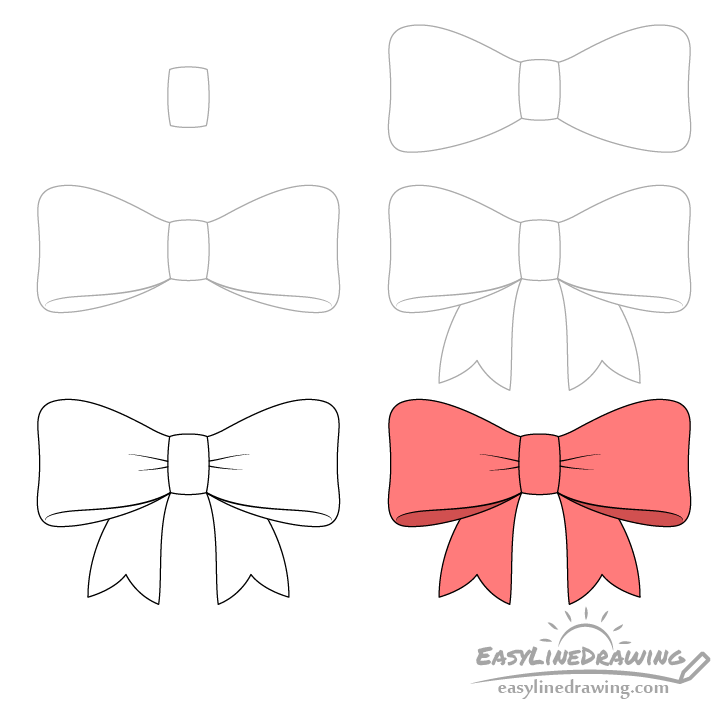
You can see a preview of the drawing steps above.
While the tutorial may be very basic you should still start the drawing in pencil just in case you make a mistake. You can trace over your drawing with a black pen or marker once you like the way it looks (right before you color).
Step 1 – Draw the Knot of the Ribbon
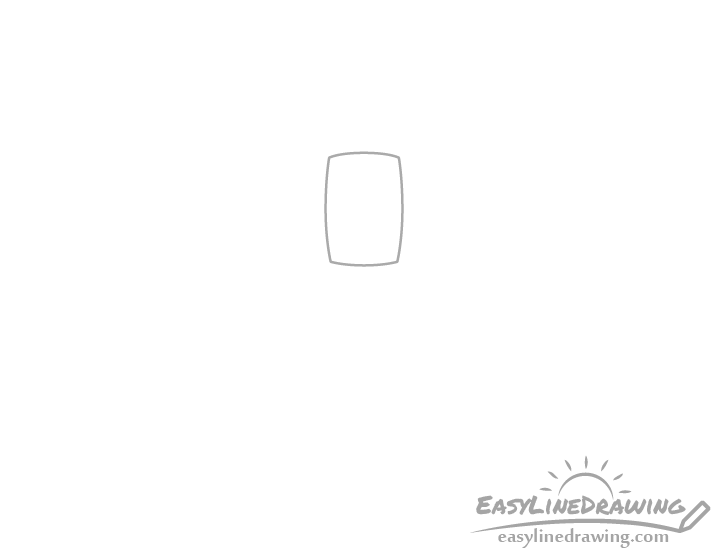
Begin by drawing the knot of the ribbon that ties it all together. This should be shaped somewhat like a pillow or a rectangle with curved sides.
If the ribbon if the only thing you plan on drawing on that particular page/drawing area you may want to make sure that you position the know in such a way that the rest of the ribbon will fit in nicely as well.
Step 2 – Draw the Outlines of the Loops
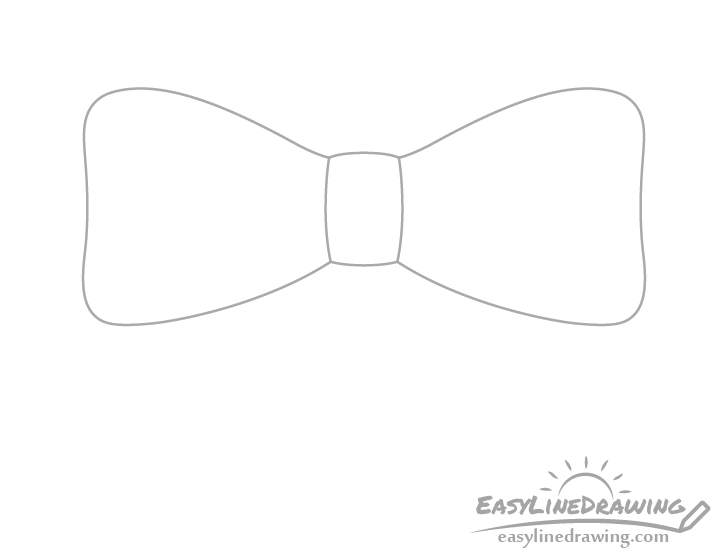
Add the two loops with one on each side of the knot. Draw these narrower as they come out of the know and wider as they go off to the sides.
Step 3 – Show the Folds
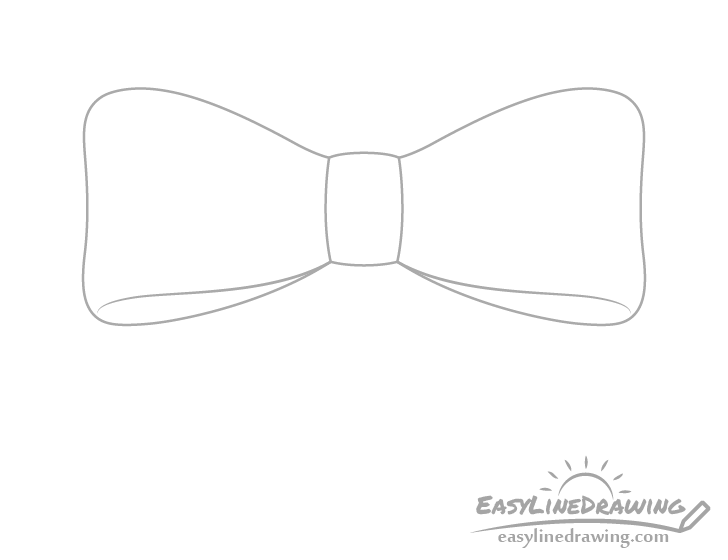
Inside each of the lops draw a curve to show that the fabric is folded in two.
Step 4 – Draw the Ends
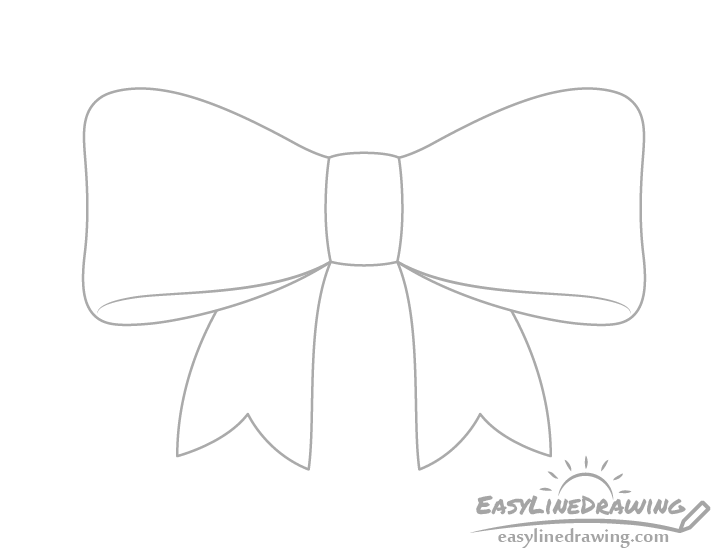
Hanging down from behind the knot add the ends. Make these narrower towards the top and wider as they go down with curved overall shapes and little splits on their bottoms.
Step 5 – Add Some Wrinkles
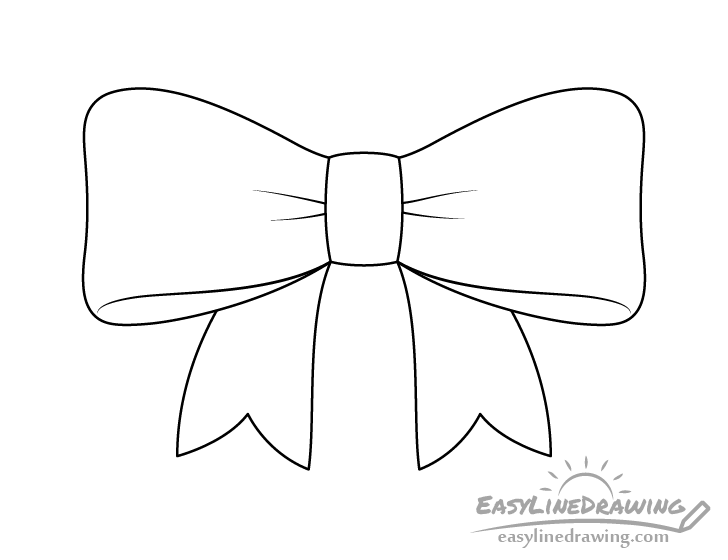
Add a hint of some small folds at the base of each loop where the fabric will be squeezed by the knot causing it to wrinkle. Draw these as just a pair short lines coming out from the knot on each side of the ribbon.
Once done with the light line drawing you can trace over it with either darker pencil lines or a black pen/marker.
Step 6 – Color the Ribbon
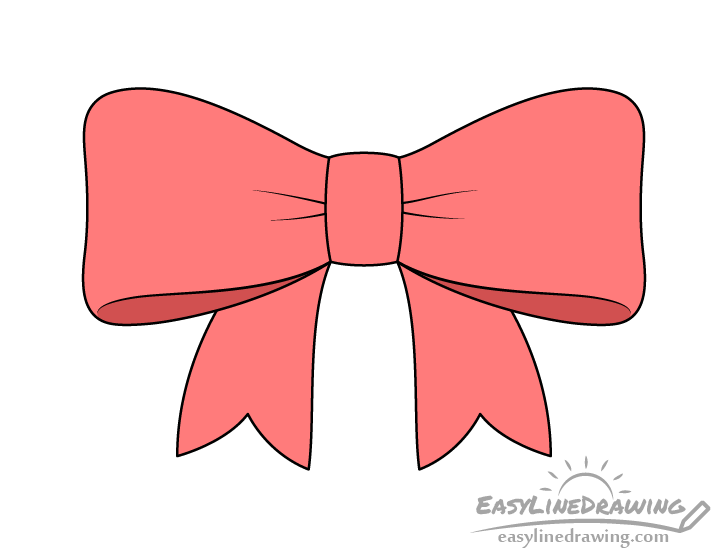
You can make the ribbon any color you like but in this case it will be a slightly pinkish red. You can also make the inner sides of the loops slightly darker then the rest of the ribbon as those areas will usually have less light reach there making them appear darker.
Conclusion
Drawing a bow ribbon like the one in this tutorial is fairly easy but it can still be helpful to have some reference. Hopefully this tutorial helped by providing you with some easy step by step drawing examples. If you found it fun and helpful you may also want to try a few similar ones below:
- How to Draw an Umbrella Step by Step
- How to Draw a Tie Step by Step
- How to Draw Mittens Step by Step
- How to Draw a Baseball Cap Step by Step
- How to Draw a Bow Tie Step by Step
- How to Draw a Dress Step by Step


