How to Draw a Hazelnut Step by Step
This really easy tutorial shows how to draw a hazelnut in just four steps with illustrated examples and quick explanations for each of them.

You can see the drawing steps in the preview image above. While the shape of the hazelnut is very simple it’s still recommended that you start the tutorial in pencil. Make light lines that are easy to erase just in case you make a mistake. You can darken them by tracing over your drawing later on.
Step 1 – Draw the Outline of the Hazelnut
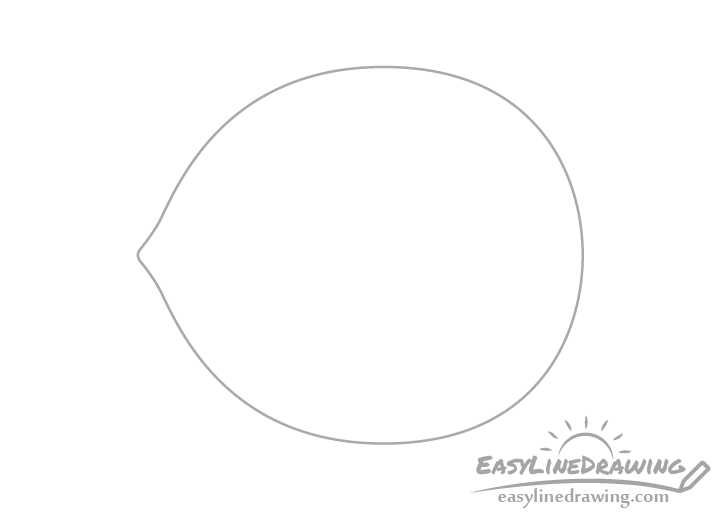
Start the drawing with an outline of the hazelnut. Basically it’s silhouette.
Make it’s overall shape somewhat close to a circle/oval but with a pointy tip on one end.
Step 2 – Outline the Tip
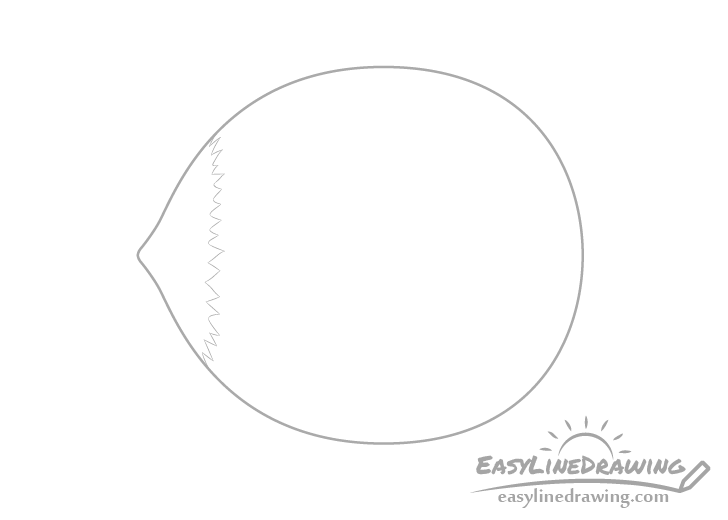
Usually hazelnuts have a bit of a lighter area near their tip. You can draw this with a jagged outline sort of like a series of teeth of slightly varying lengths and sized as shown in the example above.
Step 3 – Outline the Cap
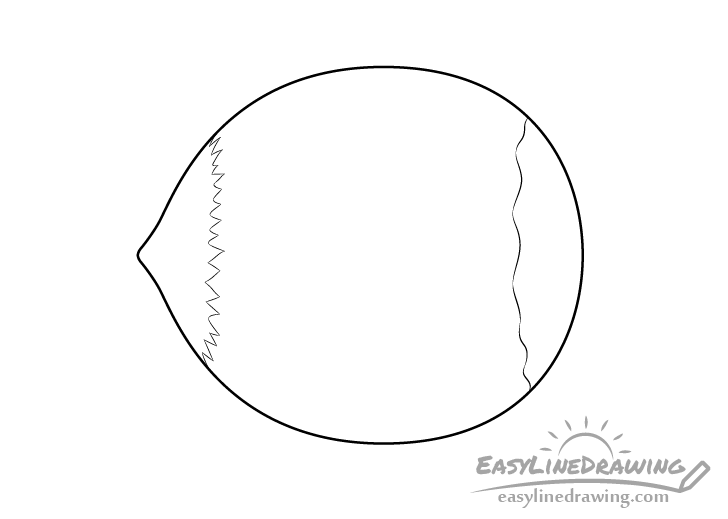
Add what looks like a little cap to the end opposite the tip (where the hazelnut was attached to the tree/branch). Unlike the tip outline the cap with a wavy line that consists of a series of smooth small curves.
Once done you can trace over your lines to darken them (as was mentioned at the start). An easy way to do this is with a black pen or marker but you can also simply use the pencil.
Optionally you can also try and make the outline around the hazelnut slightly darker than those for the tip and cap.
Step 4 – Color the Hazelnut
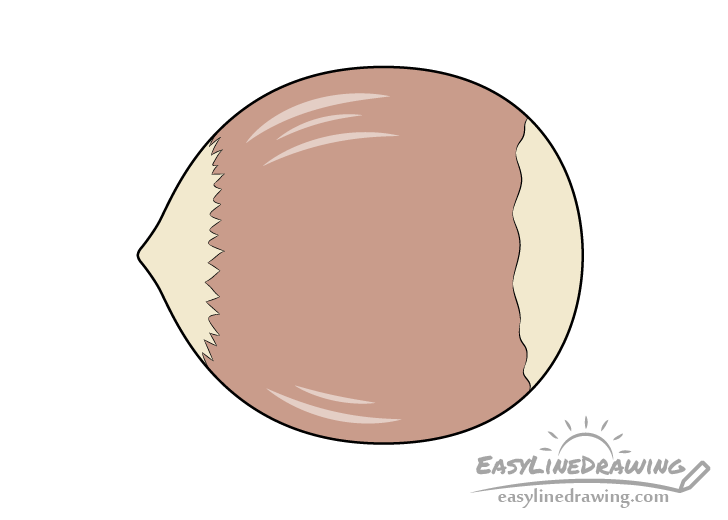
An easy way to color this particular drawing is with colored pencils.
Make hazelnut brown and the tip/cap a light yellow/grey.
Also leave a couple of white stripes along the surface. You can outline these with a brown pencil before applying color to the hazelnut just so you don’t accidentally shade over them.
Make draw these in a way where they flow along the upper and lower curve of the hazelnut. If you look at a photos of actual hazelnuts you will see they often tend to have these types of lines.
One done coloring around them you can also shade the stripes a very light brown.
Conclusion
A simple hazelnut like the one in this tutorial is fairly easy to draw. However it can still look quite nice even with fairly minimal amount of detail as long as you highlight it’s main characteristics.
If you like this tutorial you may also want to try the following:
- How to Draw a Walnut Step by Step
- How to Draw a Peanut Step by Step
- How to Draw an Acorn Step by Step
- How to Draw an Almond Step by Step
- How to Draw an Onion Step by Step
- How to Draw a T-Shirt Step by Step

")


