How to Draw a Walnut Step by Step
This tutorial shows an easy way to draw a walnut in four steps. It provides simple illustrated examples and quick drawing tips.
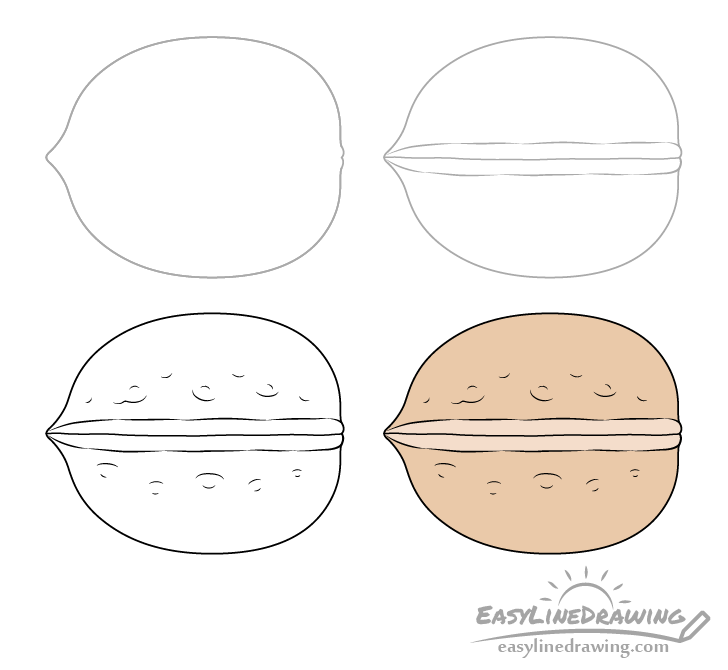
You can see the different stages of the tutorial in the preview picture above. As most tutorials here on EasyLineDrawing this one is fairly simple. It shows how you can create a drawing of a walnut without needing to add many small details or complex shading.
Star the tutorial in pencil and make light lines that you can easily erase in case you make a mistake. You can darken them by trace over your drawing with a black pen or marker at the end of step three.
Step 1 – Draw the Outline of the Walnut
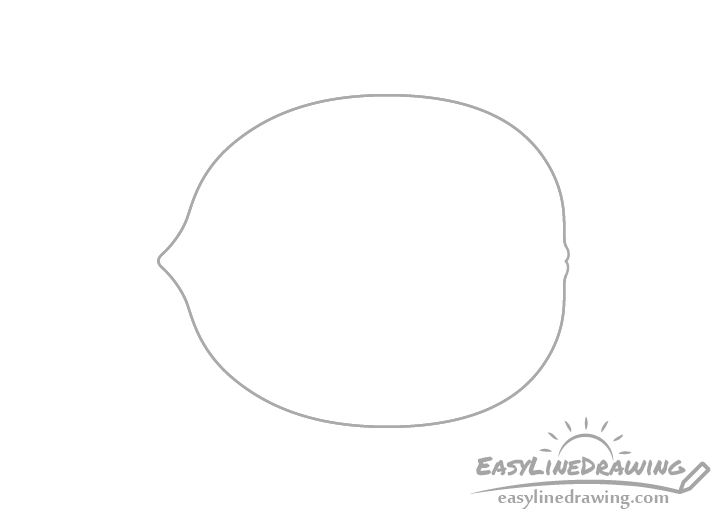
Begin by drawing an outline (silhouette) of the walnut. A good way to do this is to draw one half at a time while trying to keep them somewhat symmetrical (they don’t need to be perfect).
Overall it should be shaped somewhat like an oval but with a pointy tip on one end and a somewhat flattened area on the other.
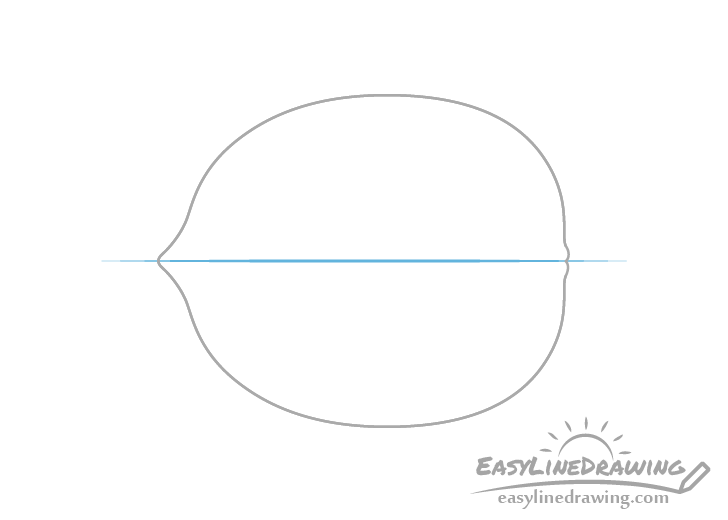
You can optionally draw a horizontal line (in pencil) through the middle of the walnut to help you see if both halves are equal in width (shown in blue).
Make this line very light so that you can just barely see it.
Step 2 – Draw the Split in the Shell
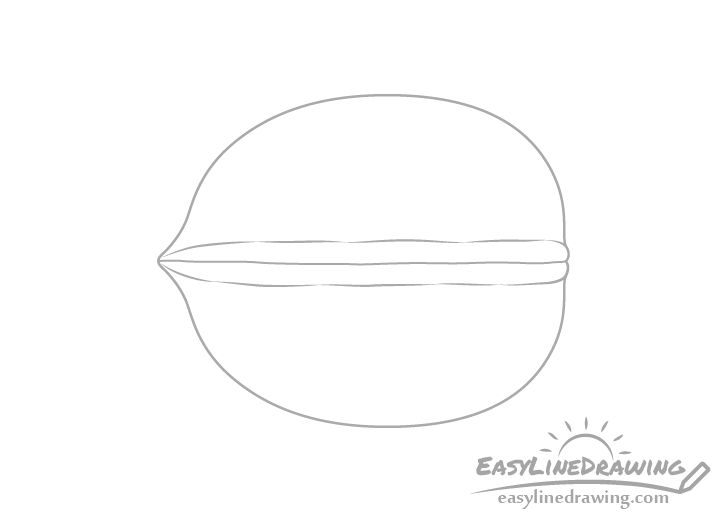
Through the middle of the walnut draw the split where the two halves of the shell are joined together. Make the actual split line somewhat wobbly/wavy.
If you chose to draw the centerline in the previous step it can act as a nice guide for this line as well.
Next draw another pair of broken up lines below and above the main split line to create sort of “lips” that walnuts tend to have around this area.
If you drew the centerline you can erase any left over parts of it after finishing this step.
Step 3 – Draw the Details & Finish the Line Drawing
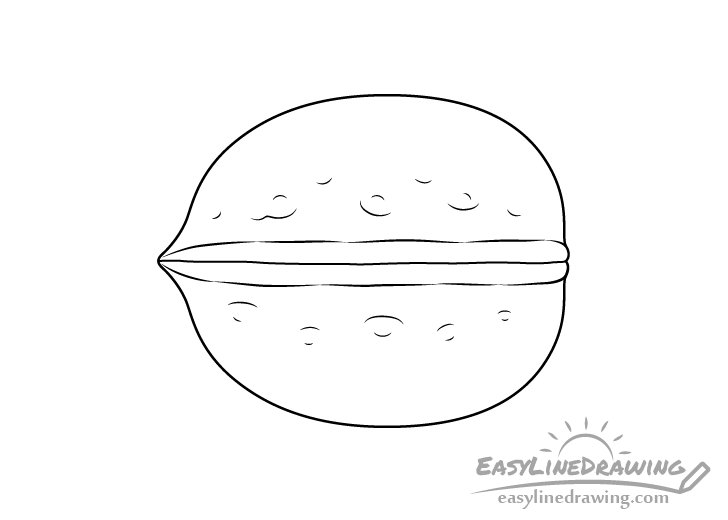
The surfaces of walnut shells are usually somewhat uneven. To show this add some hints of the little dips in the shell. You can draw these as a bunch of small curves around the “lips” (as shown in the example).
After you draw the smaller detail of the walnut you can trace over your drawing with a black pen or marker. You an also simply darken your lines with the pencil.
Step 4 – Color the Walnut
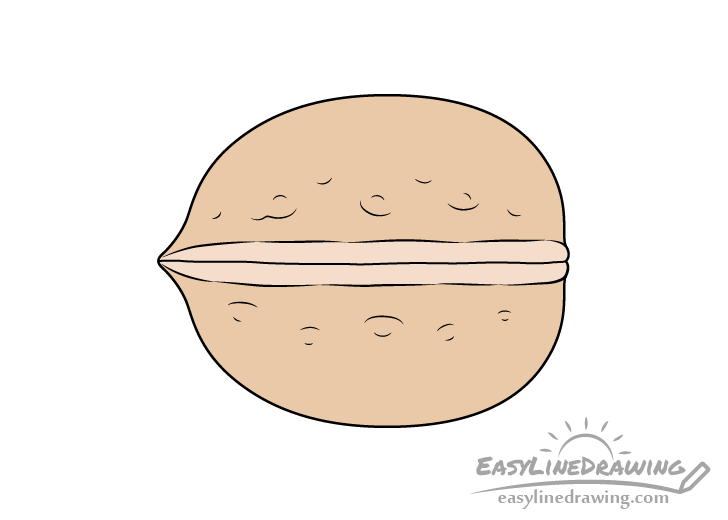
An easy way to color the walnut is with colored pencils. Make it a light yellow brown color with the “lips” around the split slightly lighter than the rest of it’s surface.
To get these colors you can simply go over the walnut with a brown pencil and then a yellow one.
Once done coloring you should be finished with the drawing.
Conclusion
As shown with the example of the walnut you don’t need to have too many details or complex shading to get a nice looking drawing. As long as you have the correct shape and the important details it can still look like the object you are trying to show without having to spend too much time on it.
If you liked this tutorial you might also be interested in:
- How to Draw a Hazelnut Step by Step
- How to Draw a Peanut Step by Step
- How to Draw an Almond Step by Step
- How to Draw an Acorn Step by Step
- How to Draw Grapes Step by Step
- How to Draw Shells Step by Step


