How to Draw an Acorn Step by Step
This six step tutorial shows an easy way to draw an acorn with simple illustrated examples and basic drawing instructions.
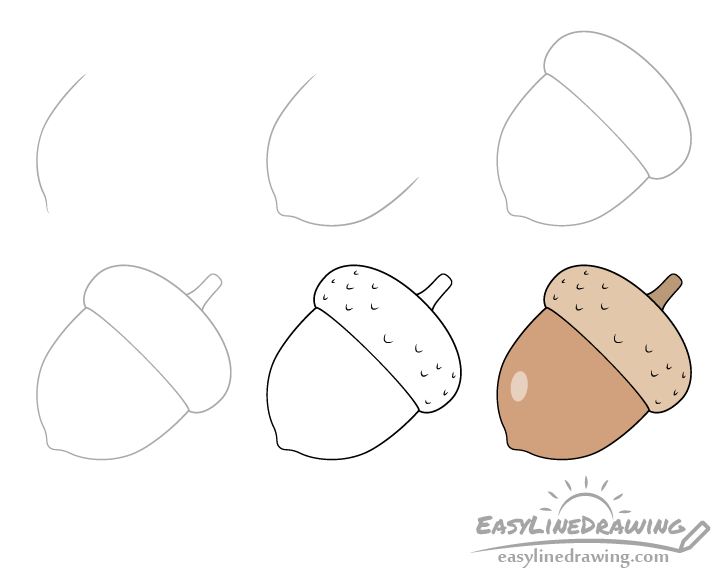
You can see a preview of the acorn in the image above. Start the drawing in pencil and make light lines that you can easily erase. You can darken them later with a black pen or marker.
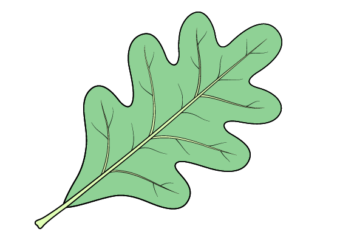
As acorns grow on an oak tree you may also want to see the following tutorial along with this one:
How to Draw an Oak Leaf Step by Step
Step 1 – Draw the First Half of the Acorn Nut
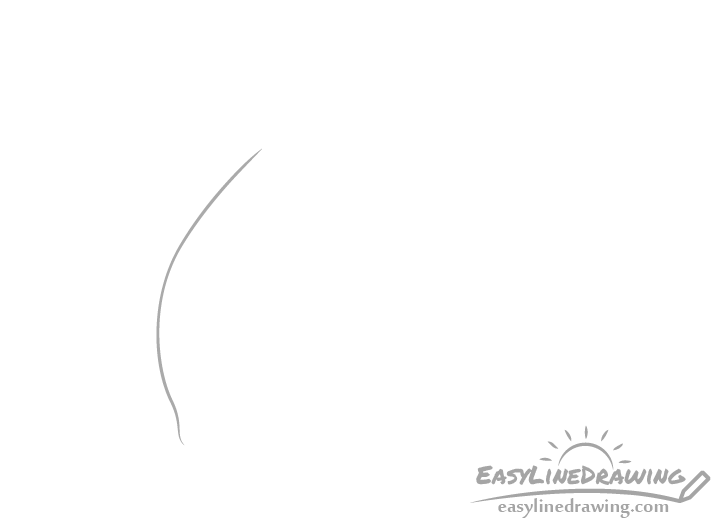
Begin by drawing the first half of the acorn nut. The overall shape will be similar to the letter U with a pointy tip. So you will want to draw the first half of that as in the example.
Step 2 – Draw the Second Half of the Acorn
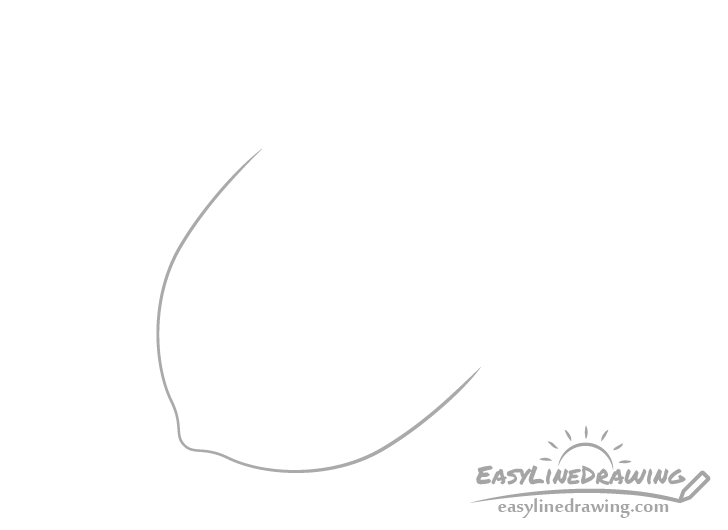
The acorn does not need to be perfectly symmetrical but try and make both halve similar in width and shape. If it looks like the two halves don’t go well together you can simply erase the entire thing and start over.
Leave the upper part of the nut outline open as it will have the cap on top.
Step 3 – Draw the Cap
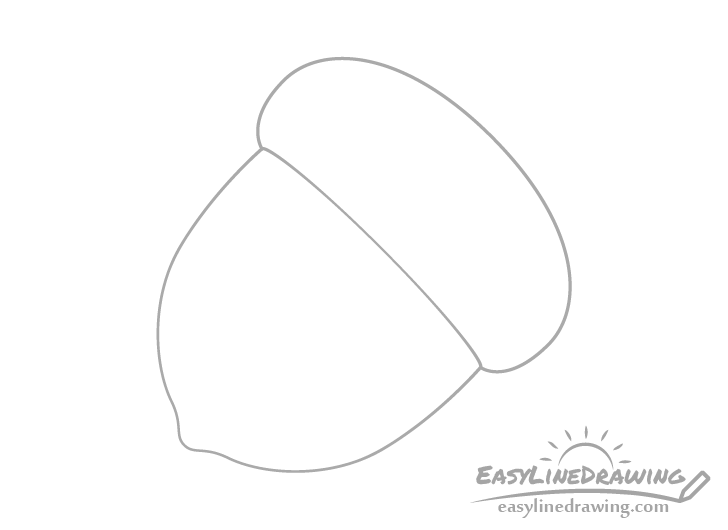
Once you have the shape of the nut add the cap as shown in the example. You can draw it as pretty much two curves where the first one connects the two sides of the nut and the second one wraps around the first one.
Step 4 – Draw the Stem
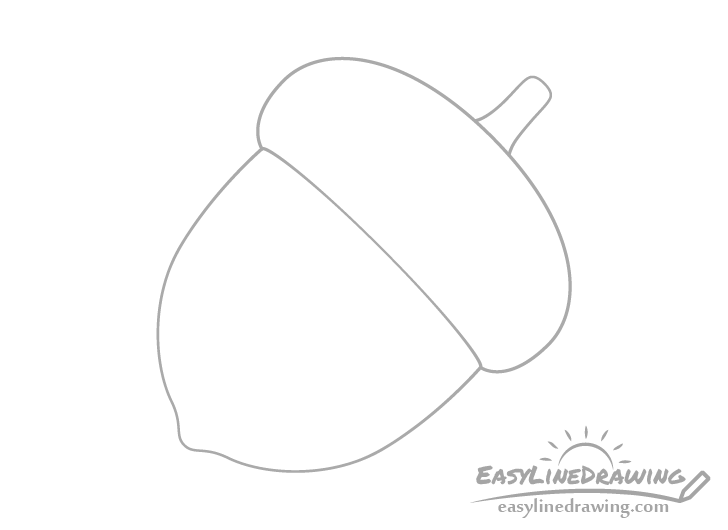
Coming out of the top/middle of the cap draw a short bit of the stem. Make it wider towards the cap and narrower as it goes away from it.
Step 5 – Give the Cap Some Texture & Finish the Line Drawing
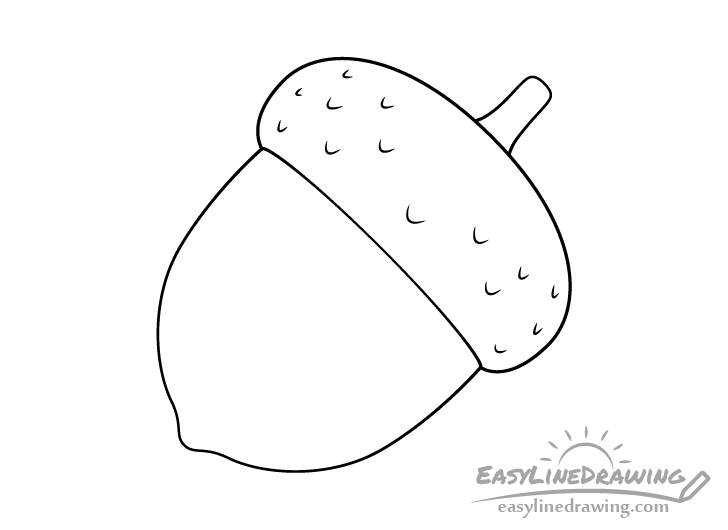
Acorn caps usually has a texture that looks a bit like tiny scales. However, you don’t need to draw these in great details. Instead you can draw just a few as shown in the example to give a hint of them being there. Draw these again as little “U” shapes that are wider towards the middle of the cap and narrower towards the sides. Drawing in this way will help show the curvature of the cap.
You can make the placement of the little “scales” somewhat random but try and make their overall distribution fairly even on both sides. Once done adding the these trace over the whole drawing with a black pen or marker. If you don’t have one around simply darken your lines with the pencil.
Step 6 – Color the Acorn
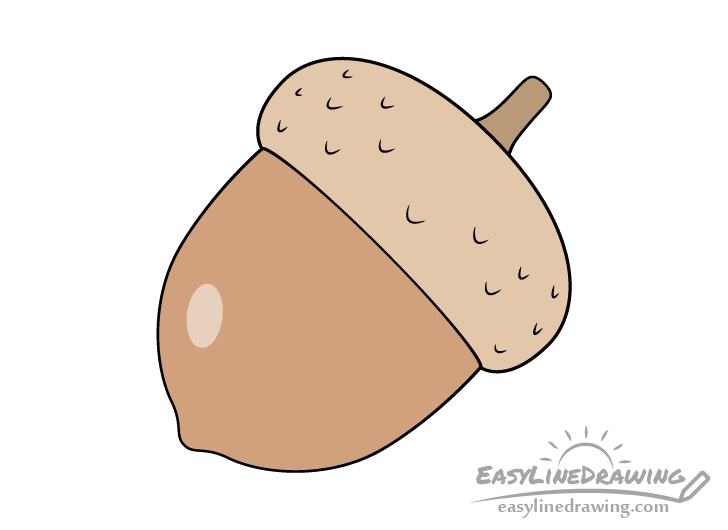
To color the acorn you can make all of it’s parts different variations of brown. Colored pencils or paint may be good coloring options for this as they make it fairly easy to mix colors.
Make the nut a brown with a bit of orange mixed into it. Make the cap a lighter brown with some yellow and make the stem a brown/grey.
Before coloring also outline a little oval shaped highlight (light reflection) near the tip of the nut. You can do this very lightly in pencil just so that you don’t accidentally cover over this spot. The highlight will help show that the acorn nut has a smooth and reflective surface. You can very lightly go over the highlight with brown as well just so that it does not appear overly bright.
Once done coloring you should be finished with the acorn drawing.
Conclusion
If done right even a simple drawing can still look quite nice and interesting. By giving the acorn just a bit of details such as a hint of the texture and a small highlight you can can quickly show smooth or rough surface. Small things like this can make an otherwise plain looking drawing a lot more interesting.
For more similar tutorials also see:
- How to Draw a Hazelnut Step by Step
- How to Draw a Walnut Step by Step
- How to Draw a Peanut Step by Step
- How to Draw an Almond Step by Step
- How to Draw a Pistachio Step by Step


