How to Draw a Paper Airplane Step by Step
This short and simple tutorial shows how to draw a paper airplane in six steps. It provides illustrated examples and quick drawing instructions.
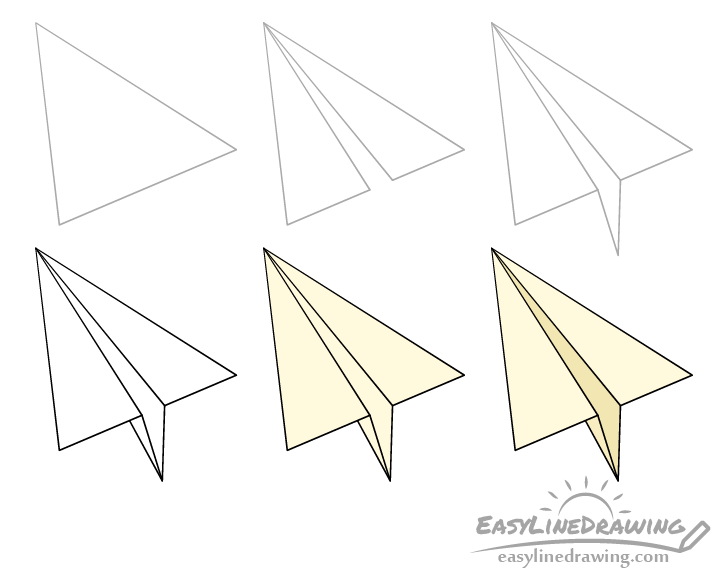
You can see the four drawing stages for the airplane in the preview image above. While the tutorial is very easy you may want to use a ruler if you have trouble making long straight lines.
Even with a ruler you should start in pencil and make light lines that you can easily erase in case you need to make a correction. You can trace over with with a black pen or marker later on.
Step 1 – Outline the Top of the Paper Airplane
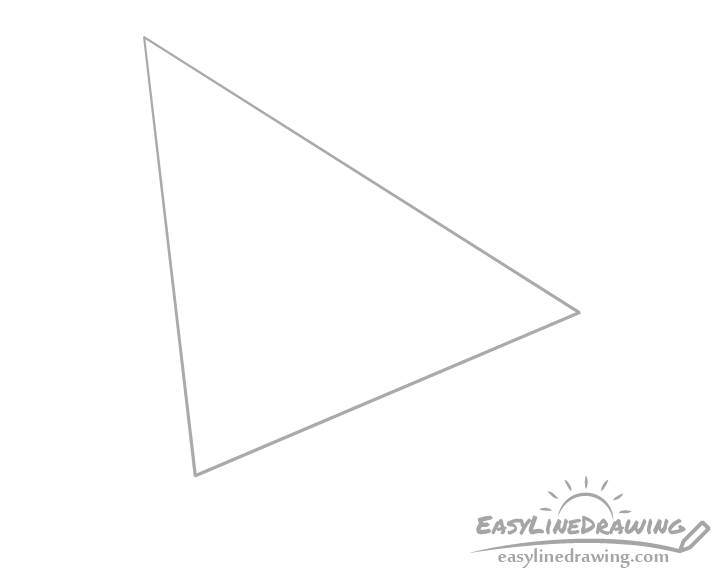
The top of the airplane will basically just be a long triangle drawn on an angle (as shown in the example). Start your drawing with that.
Step 2 – Draw the Wings
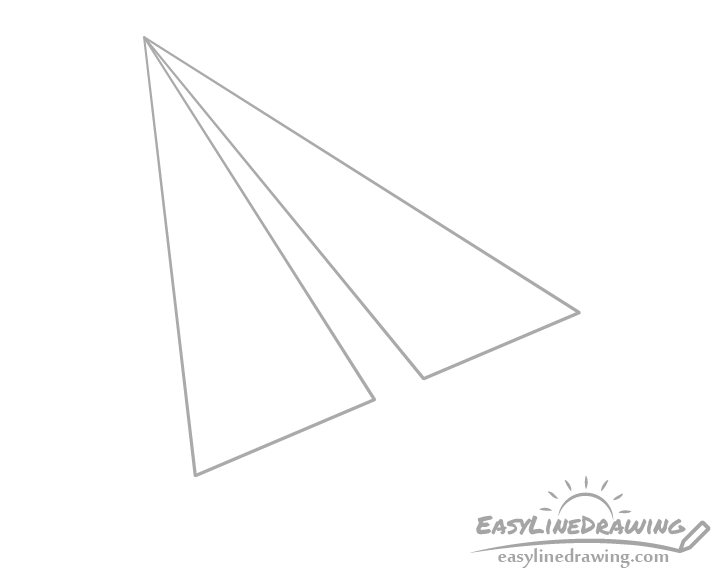
Show the individual wings of the paper airplane by adding a little split in into the triangle. You can erase a little bit of the previous outline in between them.
Step 3 – Draw the Bottom Fold
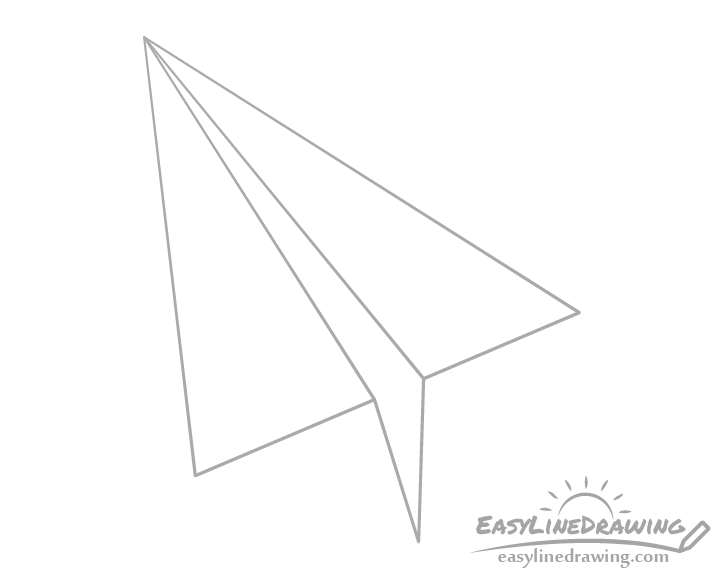
Add the downwards fold between the two wings shaped similar to a long letter “V” (as in the example).
Step 4 – Draw the Bottom & Finish the Line Drawing
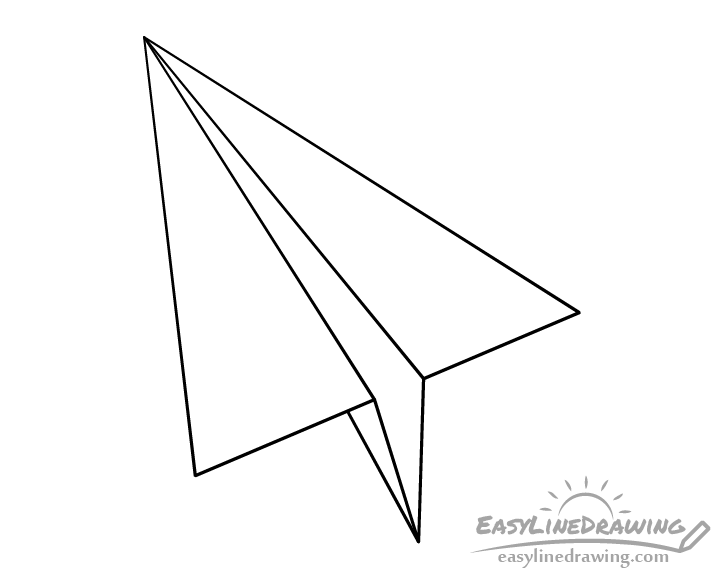
Draw a line to define the bottom of the paper airplane going from the bottom tip of the “V” fold towards the front tip. Most of this part of the plane will be covered by one of the wings but you can take a look at the “see through” drawing below.
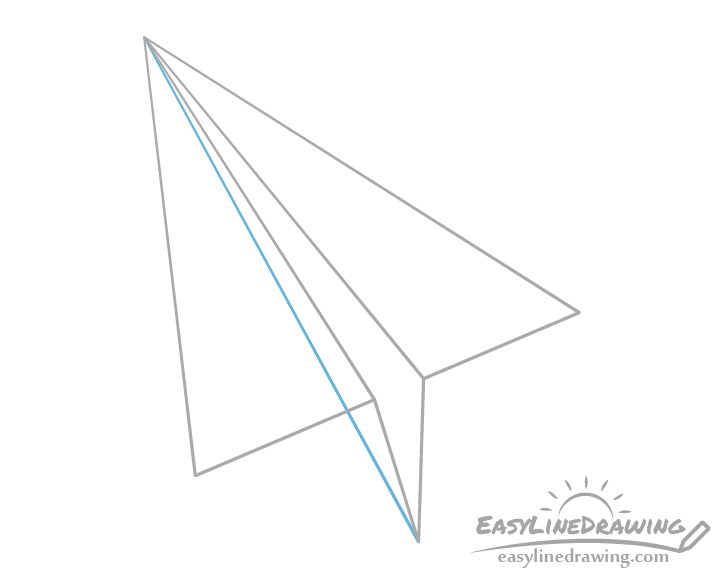
You want to try and draw the little visible bit of the bottom of the airplane in such a way that if you were to extend the line (as shown in blue above) it would go to the tip of the plane. You don’t need to be as precise with this as the example but it’s something to aim for.
When done withe the light line drawing make sure you are happy with the way everything looks and trace over it with a black pen or marker. If you don’t have one simply darken your lines with the pencil. You can again use a ruler to help you if needed (especially for the pen/marker as you usually can’t simply erase them).
Step 5 – Add Color
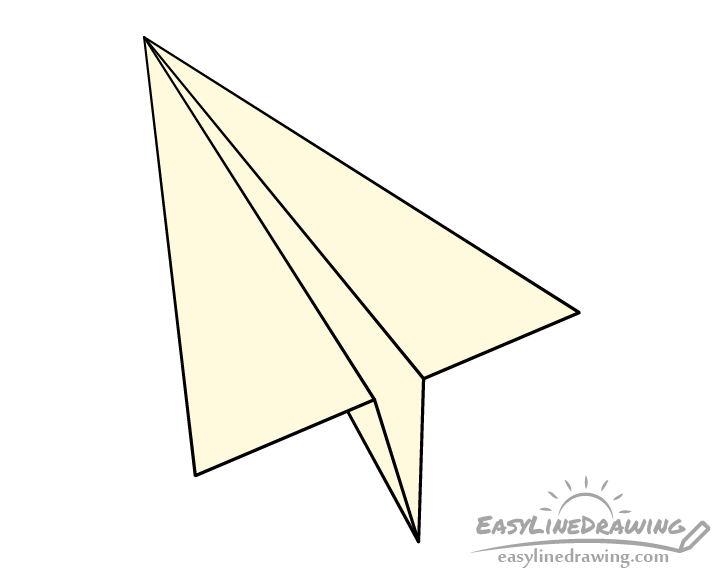
Paper airplanes tend to be white (being made form paper). However, in this example it will be a light yellow just to make it stand out a bit more from the white background.
Water based paints or a yellow pencil can be an easy way to get this color.
Step 6 – Add Shading
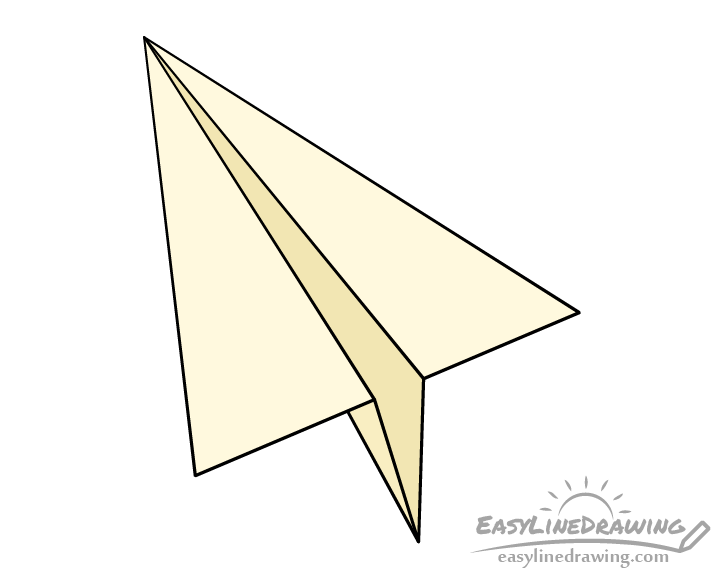
After coloring you can also give the airplane a bit of shading to make it appear a more three dimensional. Do this by darkening it’s inner part of the fold between the wings as well as well as lightly darkening the outer side of that same fold. An easy way to add the shading is either with a regular or a brown pencil. Once done you should have a finished drawing of a paper airplane.
Conclusion
Drawing a paper airplane like the one in this tutorial is quite easy. If you need some help making the straight lines you can always use a ruler but you may also want to do it by hand for practice. Even if your drawing doesn’t come out right the first time it’s quite easy to start over because the airplane has such a simple shape.
For more similar tutorials also see:
- How to Draw an Airplane Step by Step
- How to Draw a Fighter Jet Step by Step
- How to Draw Paper Step by Step
- How to Draw a Pencil Step by Step
- How to Draw a Scroll Step by Step
- How to Draw a Picture Frame Step by Step