How to Draw an Ice Pop Step by Step
This tutorial shows how to draw an ice pop or ice cream on a stick in just four steps with simple examples and easy to follow instructions.

You can see a preview of the drawing steps for the ice pop in the image above but there are also some extra examples near the end of the tutorial.
Start the tutorial in pencil and make light lines that you can easily erase in case you make a mistake. You trace over them with a black pen or marker before coloring.
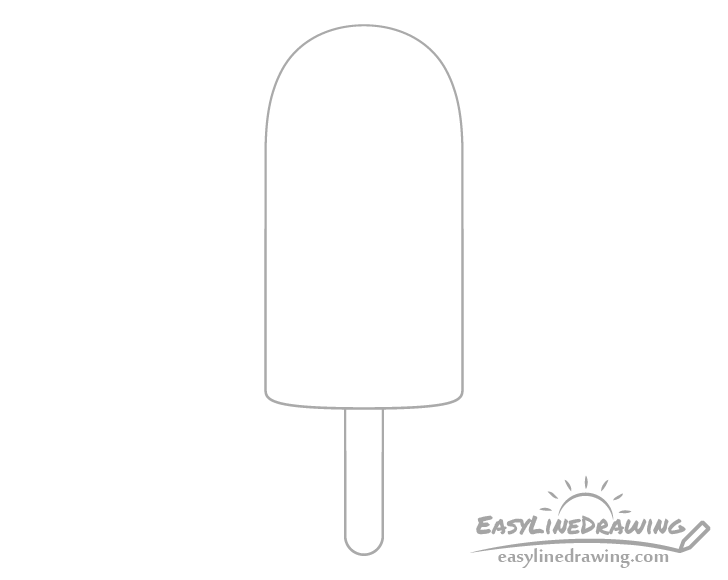
Step 1 – Draw the Top of the Ice Pop

Begin by outlining the ice part of the pop. Draw it as shown in the example with a rounded top, straight lines for the sides and a slightly rounded bottom.

To make sure that both halves of the ice pop are close in width you can draw a guide line as shown in the in the above example. If you choose to use this make it very lightly in pencil and keep it until you draw the stick in the next step.
Step 2 – Draw the Stick
Coming out of the bottom of the ice add the stick. Again draw it’s side with straight lines and give it a rounded bottom.
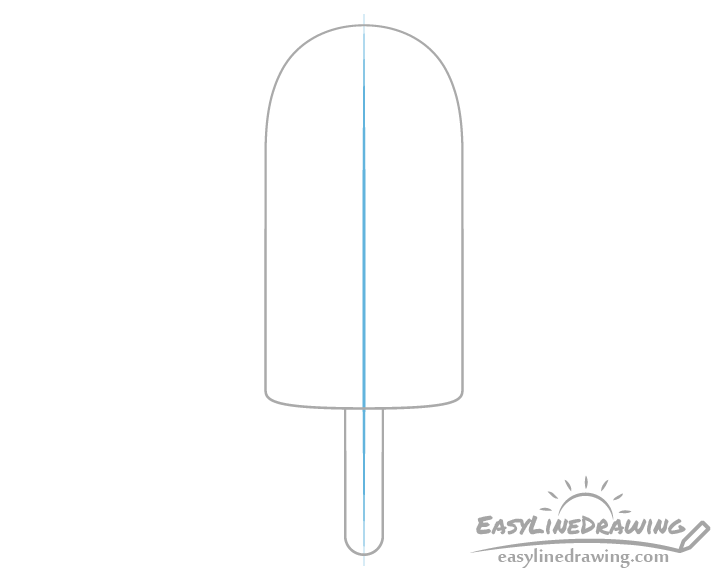
You can also use the centerline to help you see if the pop is vertically aligned with the stick (so that it doesn’t look like one or the other is bent to one side).
If you did draw it you can erase it after finishing this part of the drawing.
Step 3 – Draw the Details & Finish the Line Drawing
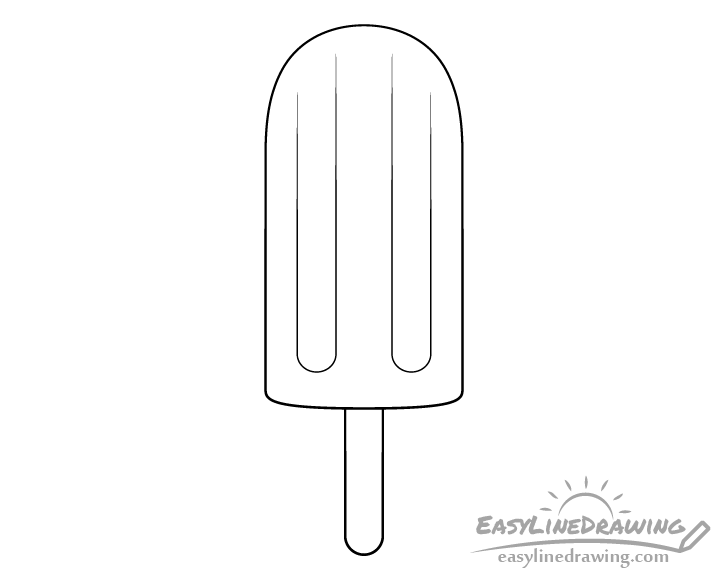
Inside the main outline of the pop you can add some details as shown in the example. These will be pair of indents that are pretty much shaped like the stick (ice pops often tend to have these). However, you can also leave them out, especially if you want to draw an ice cream on a stick instead of an ice pop.
Once done confirm that your drawing looks the way you want it to and trace over your lines with a black pen or marker. If you don’t have one around simply darken them by pressing harder on the pencil.
Step 4 – Color the Ice Pop
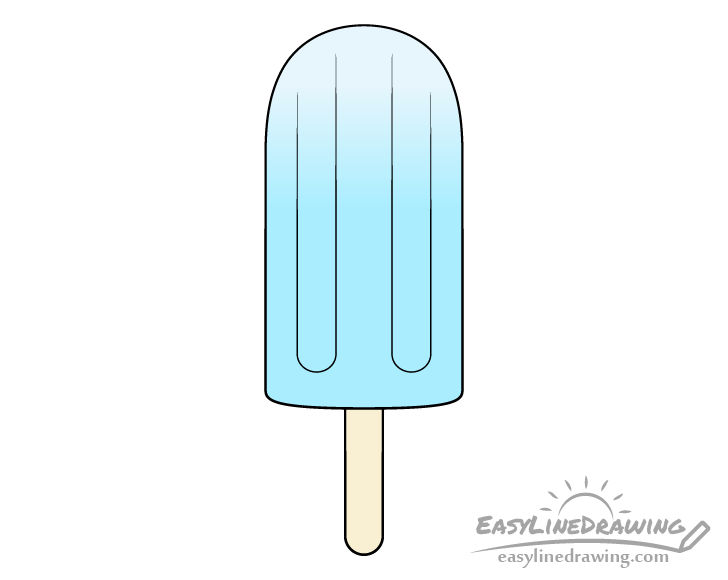
To color the pop colored pencils may be one of the best options. The one in this first example will be a light blue with a smooth transition to an even lighter blue (almost white) at the top.
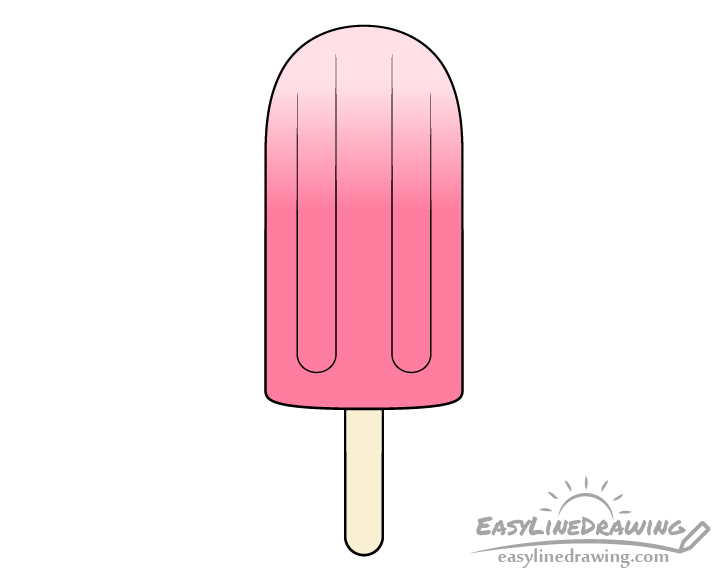
You can of course use a different color if you prefer. If for example you want to draw a strawberry flavor ice pop you can make it pink as in this next example above.
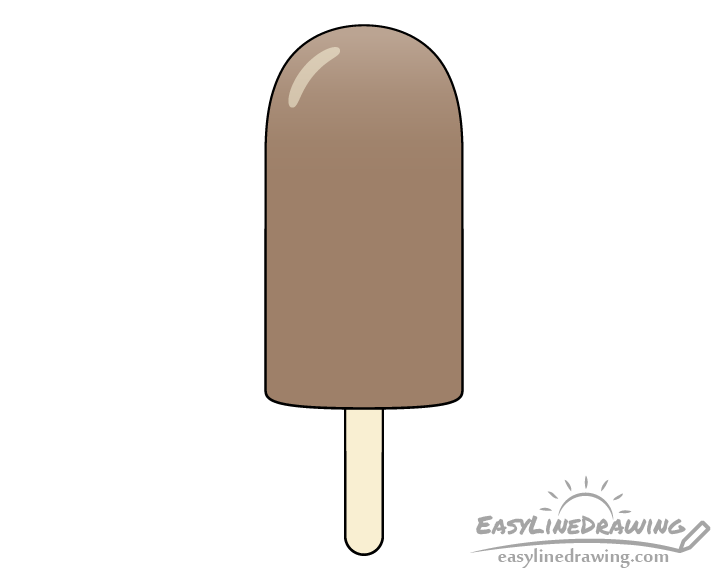
If you want an ice cream on a stick you can draw it with a chocolate coating as shown above (color it brown). In this case you can also give it a bit of a curved highlight near the top. Outline the highlight in regular or brown pencil and color around it. You can then also lightly go over the white area with brown (so that it doesn’t stand out too much).
Conclusion
This tutorial shows how to draw an ice pop or an ice cream on a stick. As shown in the examples you can make just some small changes in your drawing to show one or other. You can also use a color that helps emphasize the flavor you want the pop to have.
For more similar tutorials also see:
- How to Draw an Ice Cream Cone Step by Step
- How to Draw a Soda Cup in 6 Steps
- How to Draw a Cake Slice Step by Step
- How to Draw a Doughnut Step by Step

")


