How to Draw a Cake Slice Step by Step
This tutorial shows how to draw a cake slice with a cherry. It consists of six steps in total with illustrated examples and quick instructions for each stage.
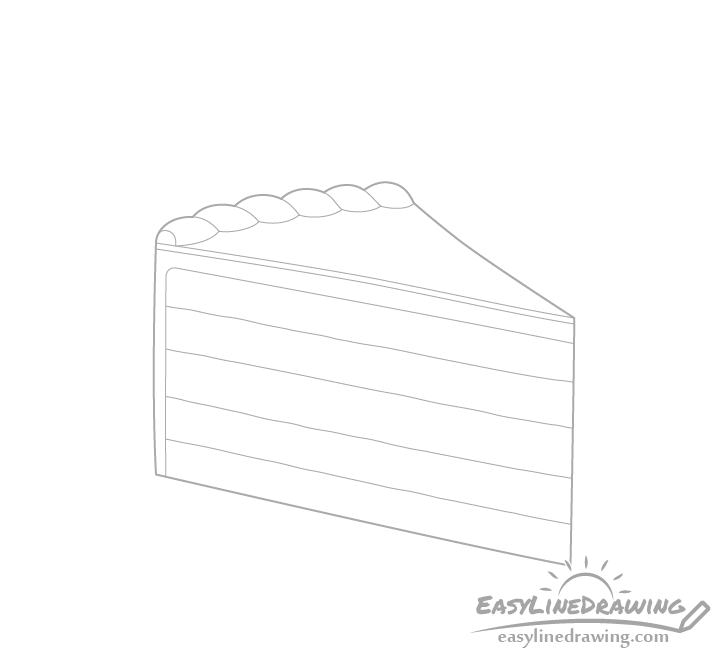
The cake slice will be drawn similar to how a cake is made, starting with the base layer and adding the decorations afterwards. To do this you will have to erase some of your lines in a few of the steps. For this reason it is recommended that you start in pencil and keep them light. The lines in the examples are a little darker just to make them easier to see. You can darken yours once all of the parts of the cake are in place.
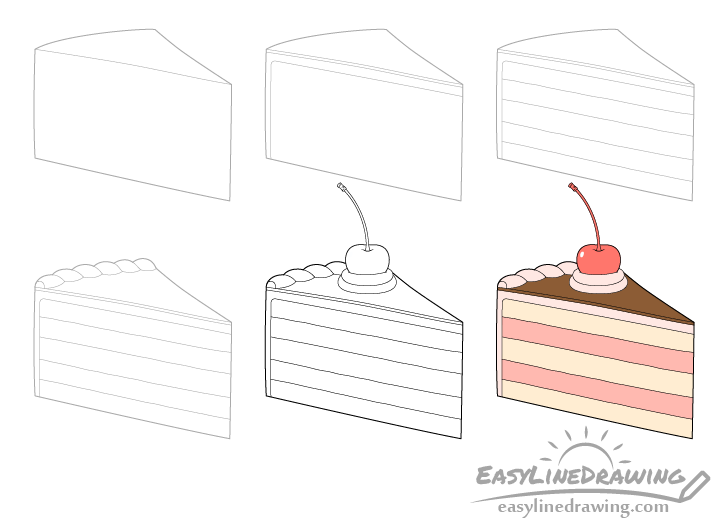
Step 1 – Draw the Basic Outline of the Cake Slice
Start by drawing the basic outline of the cake slice as in the example above.
Be sure to leave some room at the top of your drawing area for the cherry that will be added later.
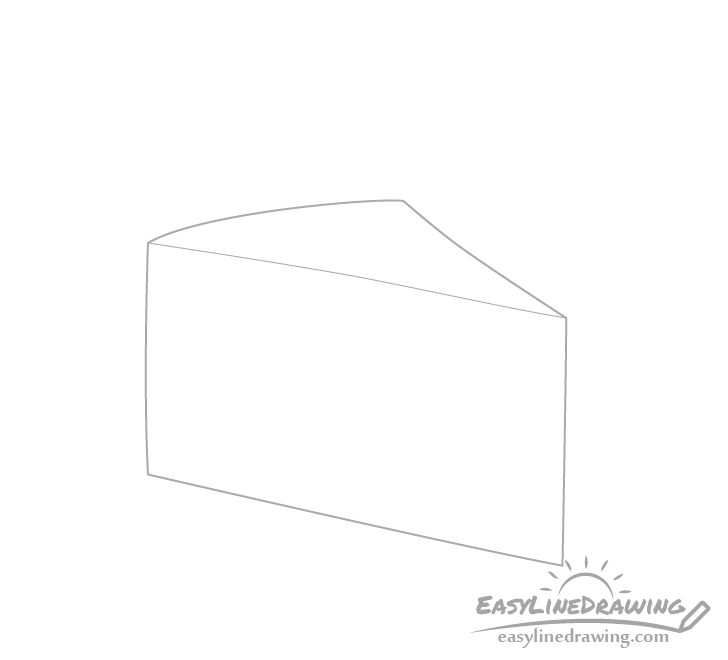
Step 2 – Draw the Frosting
Along the forward facing part of the slice draw two divider lines. Make one line just below the top for the chocolate layer and one more slightly lower down to define the icing. The icing line should then curve down and also run along the back of the slice.
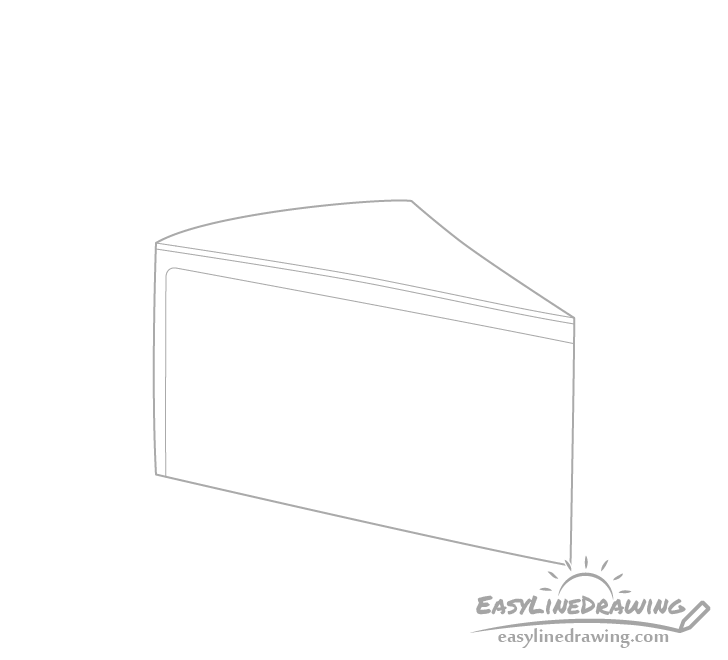
Step 3 – Draw the Filling
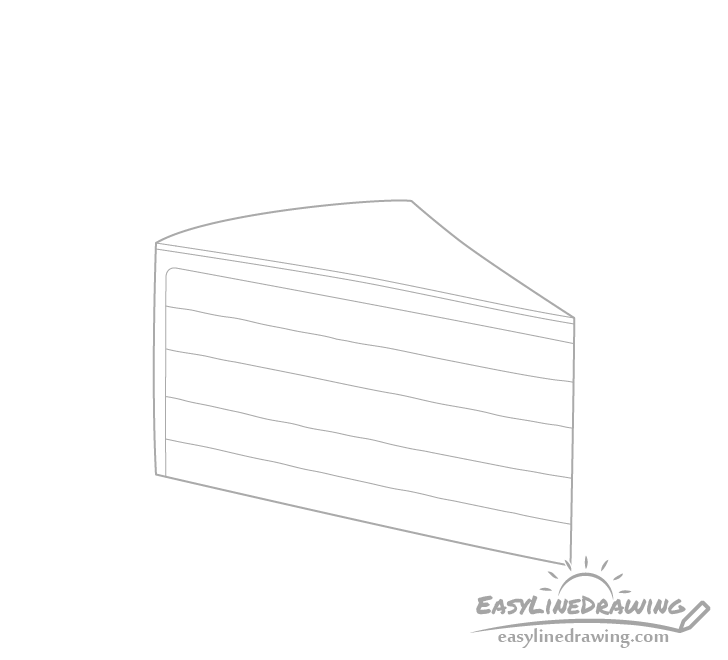
Draw two more sets of lines running through the upper and lower half the cake slice to show the filling. Try and make these a little wobbly to so that it looks more natural.
Step 4 – Draw the Decoration
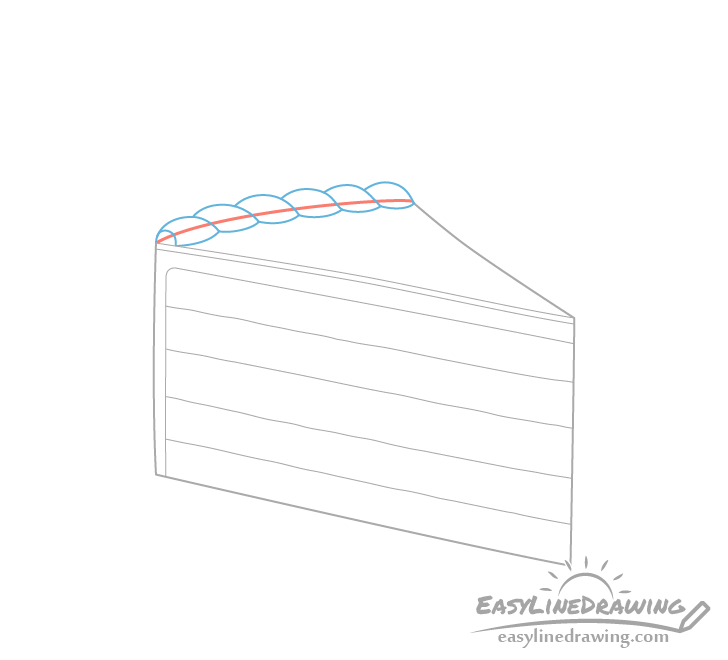
Draw the decoration along the back of the cake as shown in the example above. Use the line that defines the back part of the slice (drawn in step 1) as a guide and draw the decorations right over top of it.
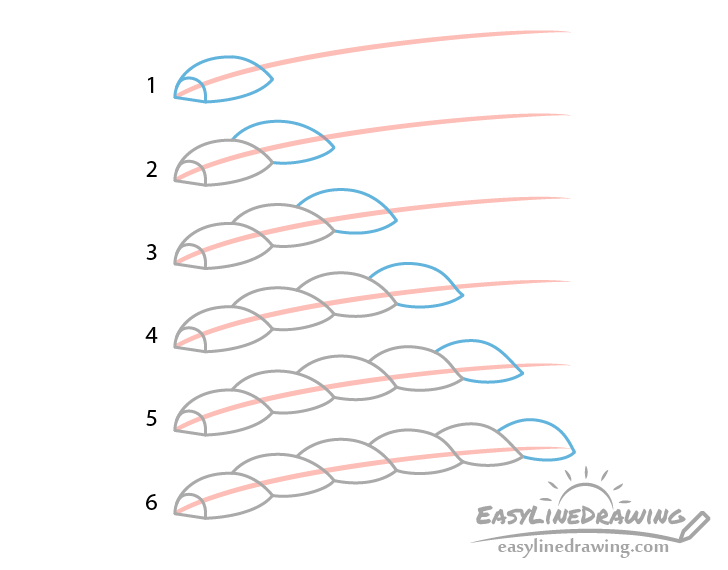
You can see the drawing steps for the frosting in the example above.
After you are done you can erase the part of the slice hidden by the newly added frosting so that you have a clean drawing.
Step 5 – Draw the Cherry & Finish the Line Drawing
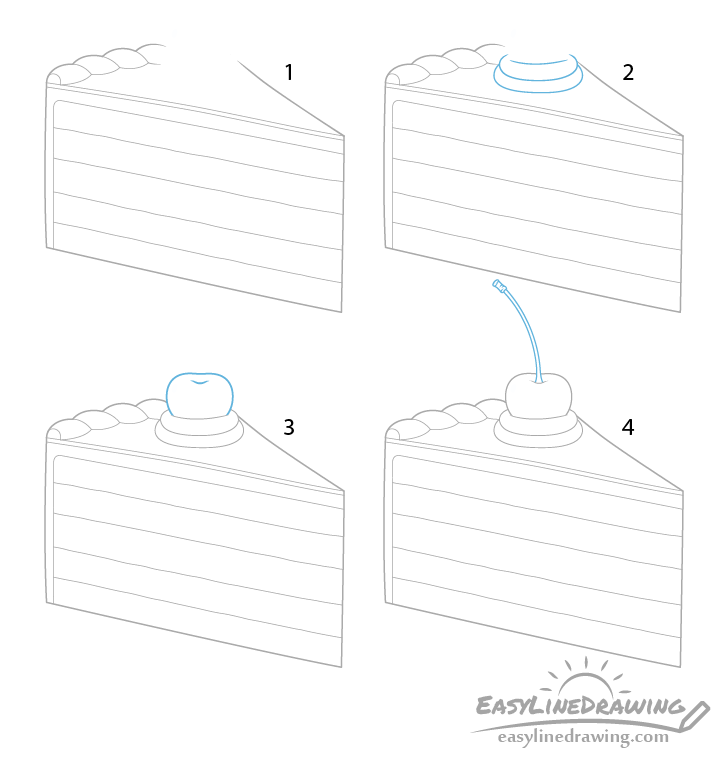
For this step first erase a little bit of the drawing to make room for the cherry and the icing it sits on. Next draw the icing in two layers stacked on top of one another and add the cherry on top. To make the cherry look like it’s actually embedded in the icing draw it’s bottom part slightly covered by it.
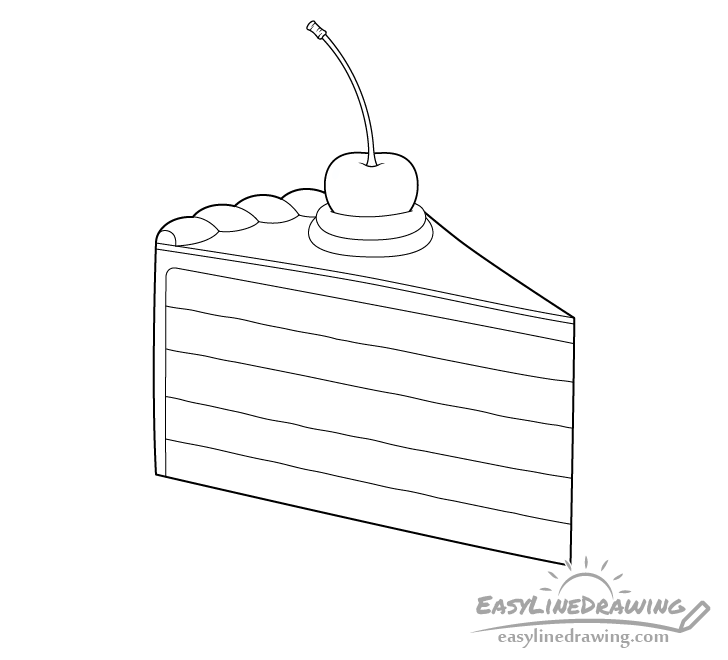
Once you have all of the parts of the cake outlined and are happy with how things look you can darken your lines by tracing over them. A good option for doing this can be a thing black marker. If you don’t have one around you can just do it with the pencil.
For a tutorial on drawing cherries see:
How to Draw Cherries Step by Step
Step 6 – Color the Cake Slice
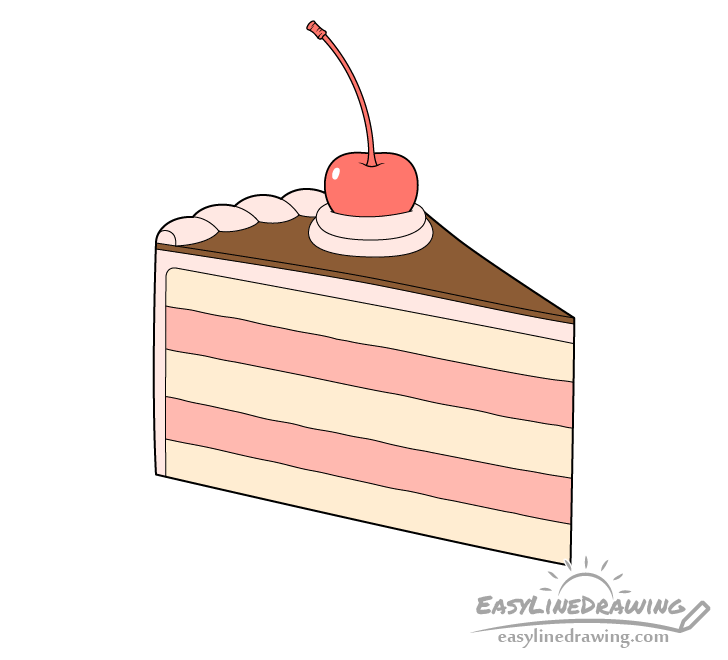
To color the cake slice you can use just about any colors you prefer but in this case they will be as follows:
- Red for the entire cherry
- Light pink for the frosting
- Dark brown for the chocolate
- Yellow/brown for the cake
- Pink for the filling
You make every area one solid color but leave a little white spot on the cherry for the reflection (to show that it has a smooth and shiny surface).
The easiest way to color the slice is probably with colored pencils or water based paints. You can also mix different mediums. For example markers might be too bright for some parts but can be good for the cherry and chocolate.
Conclusion
Drawing a cake slice is somewhat similar to making one. You can start by drawing the cake itself and then add in the filling and decorations.
For more similar tutorials also see:
- How to Draw a Doughnut Step by Step
- How to Draw a Cupcake Step by Step
- How to Draw a Pizza Step by Step
- How to Draw an Ice Cream Cone Step by Step
- How to Draw a Burger Step by Step
- How to Draw a Chocolate Bar Step by Step

")


