How to Draw a Pizza Step by Step
This tutorial shows how to draw a pizza in nine steps and provides examples and simple explanations for each stage of the drawing.
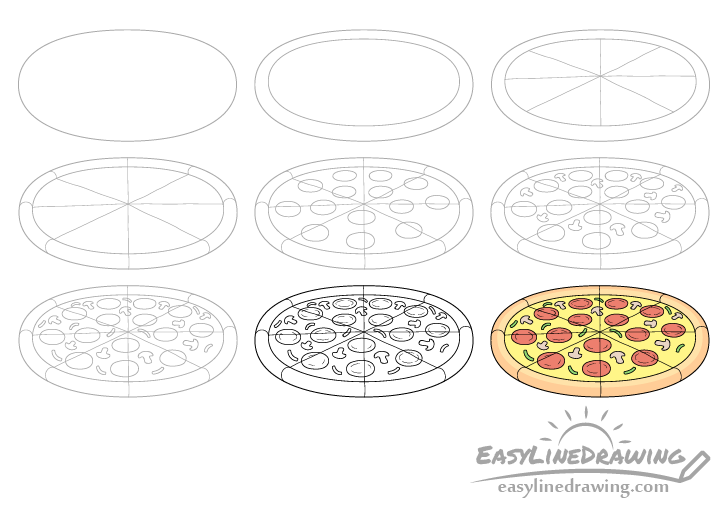
Drawing a pizza in some ways similar to making one. The various parts/toppings will be added in different steps of the tutorial. It’s recommended that you use a pencil and draw light lines for most of the stages. You can darken them once everything is in place.
Step 1 – Draw the Outline of the Pizza
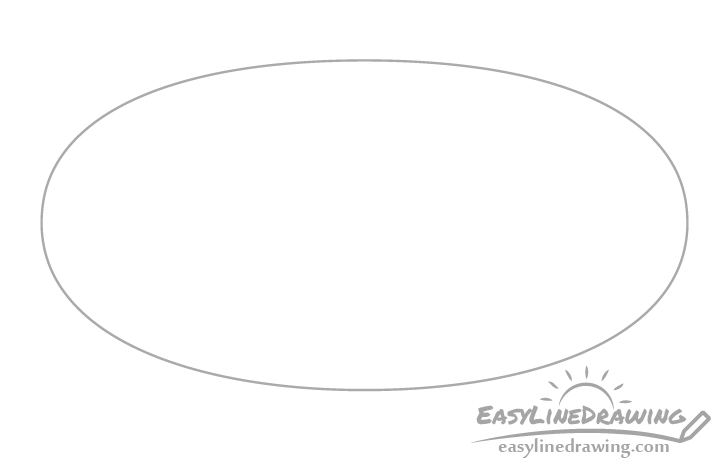
Start by drawing an outline of the pizza. In this case basically the dough. As it’s draw on an angle it should be similar to an oval but you can make the top slightly flatter (to show some perspective) than the bottom. You can also deliberately make it somewhat uneven as generally pizza dough is not perfect in shape.
Step 2 – Draw the Crust
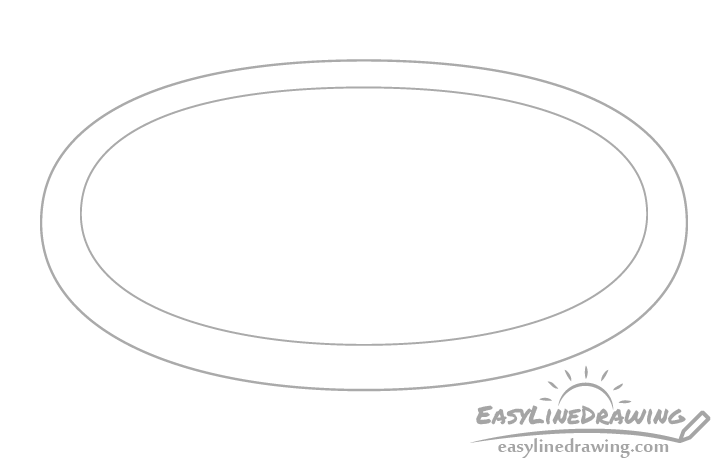
Draw a smaller oval inside the previous one to create the crust. It’s shape should be similar to the one in the previous step but does not need to be exactly the same.
Step 3 – Draw the Slices
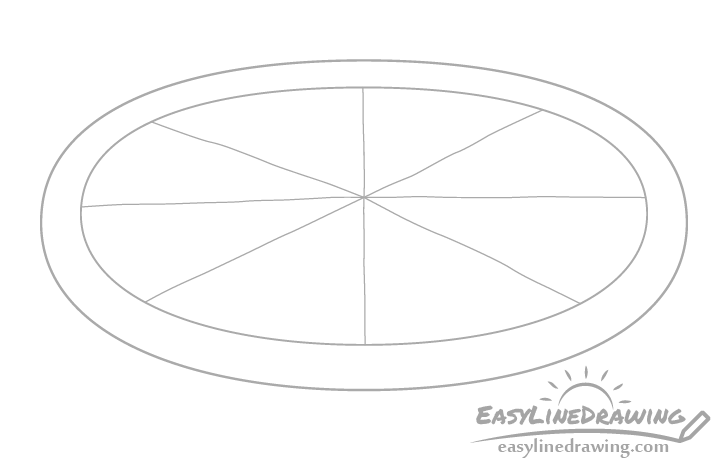
To show the slices first add horizontal line. Position it slightly above the halfway point in the pizza. Next draw another line that (roughly) divides the pizza in half vertically. Afterwards draw two angled lines going through the point where the previous ones intersect, similar to the letter “X”.
As the surface of a pizza is generally uneven you can deliberately make your lines slightly wobbly to show this.
Step 4 – Draw the Slices Across the Crust
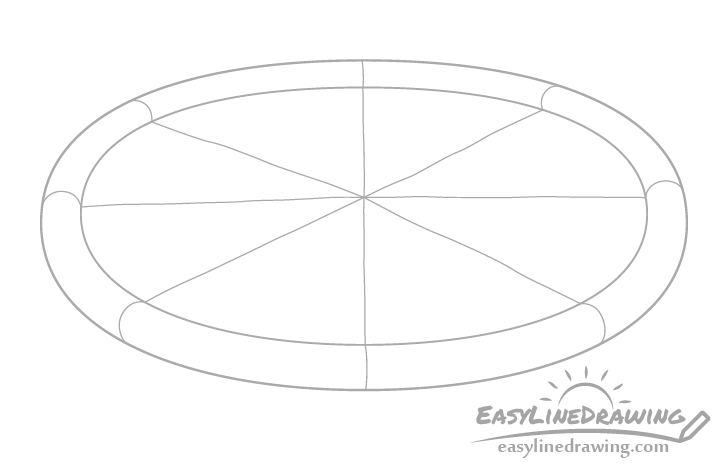
Now draw the slice lines across the crust. Make these curved to help emphasize it’s shape.
Step 5 – Draw the Pepperoni

For the first topping add some pepperoni. You can draw it’s slices as little ovals (similar to the dough in step one) scattered across the pizza. Draw the slices larger in the front and smaller as they go towards the back (again to show some perspective).
Step 6 – Draw the Mushrooms
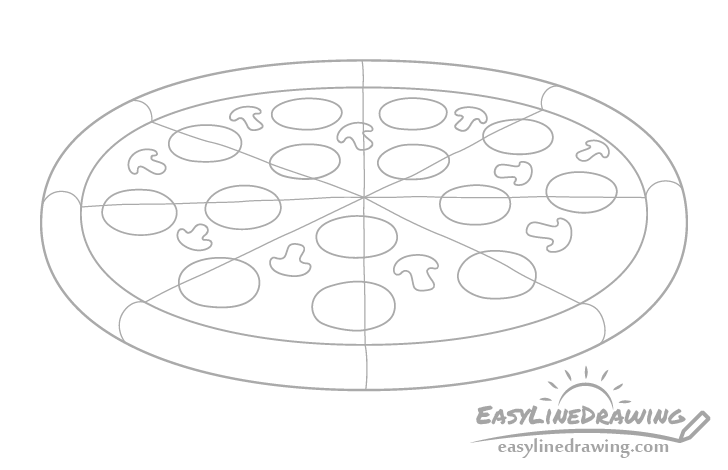
Add some mushroom and again try and draw the ones near the back slightly smaller than those at the front.
Step 7 – Draw the Peppers
Finally add some slices of pepper to finish the toppings.
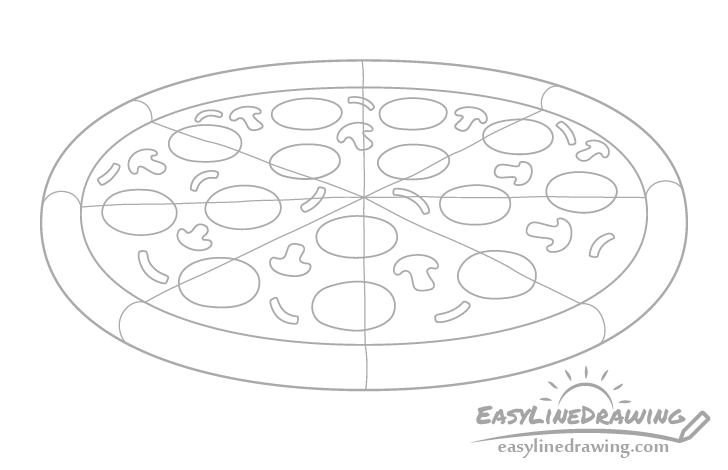
Step 8 – Finish the Line Drawing

To give the pepperoni a little more detail draw some broken up curved lines that loosely trace the outer shapes of the slices.
Once this is done you can go over your drawing with darker pencil lines or a black pen/marker.
Step 9 – Color the Pizza
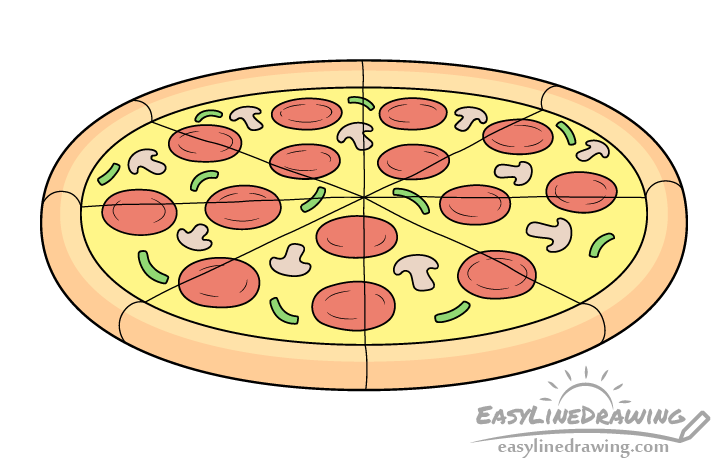
You will probably want to use either paints like gouache/water colors or colored pencils to color the pizza. As markers may be a little too bright.
Make the crust an orange/brown, the cheese yellow, the pepperoni a red/brown, the mushrooms grey and the peppers green.
Conclusion
As already mentioned drawing a pizza is somewhat similar to making one. You will want to first draw the dough and then gradually add in the different toppings. The toppings shown as examples in this tutorial are fairly common on a “Supreme” but you can of course experiment with other kinds for a different type of pizza.
For more similar tutorial see:
- How to Draw a Burger Step by Step
- How to Draw an Ice Cream Cone Step by Step
- How to Draw a Doughnut Step by Step
- How to Draw Fries Step by Step
- How to Draw a Slice of Bread or Toast Step by Step
- How to Draw a Cracker Step by Step

")


