How to Draw Cherries Step by Step
This six step tutorial shows how to draw cherries for beginners. It provides simple but detailed illustrations and quick instructions.
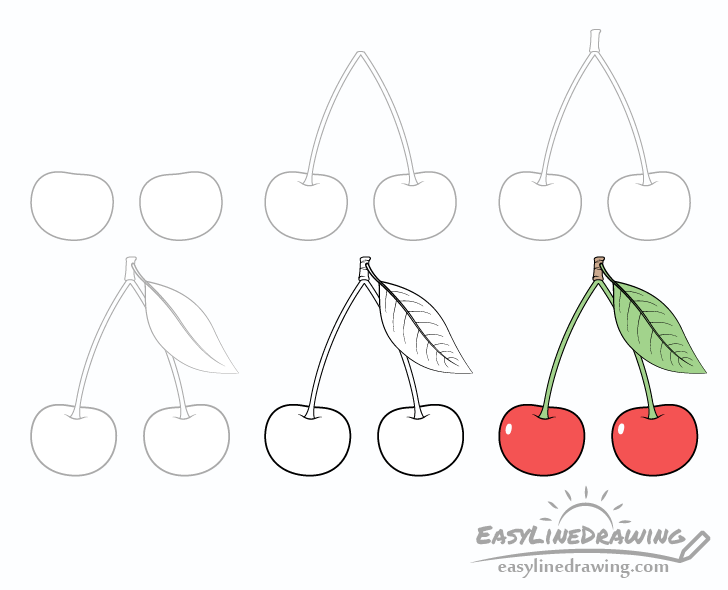
The example is of two cherries connected with their stems as well as a cherry leaf. You can see a preview of the drawing steps for these in the image above.
As you will need to erase some of the outlines in a couple of the steps you should start the tutorial in pencil and keep your lines light. You can darken them with a black pen or marker before coloring.
Step 1 – Draw the Outer Shapes of the Cherries
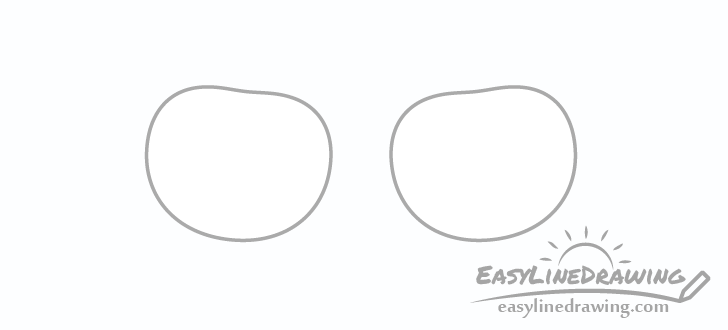
Begin with a basic outline of the two cherries. Draw their shapes looking as though they had their tops somewhat squished in (look at example). Also angle them in a way where they are facing slightly towards one another.
Step 2 – Draw the Cherry Stems
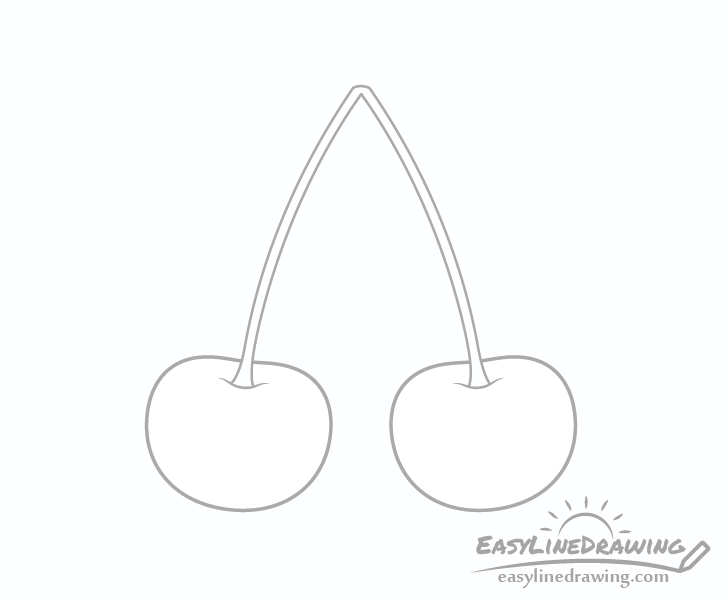
Add some “indents” with wave like shapes towards the top of the cherries and from those draw the stems. You will also need to erase a little bit of each cherries outline near the top. You can do this before or after adding the stems.
Draw each stem as as a long narrower curve in a way where the two eventually join together.
Step 3 – Draw the Top of the Stems
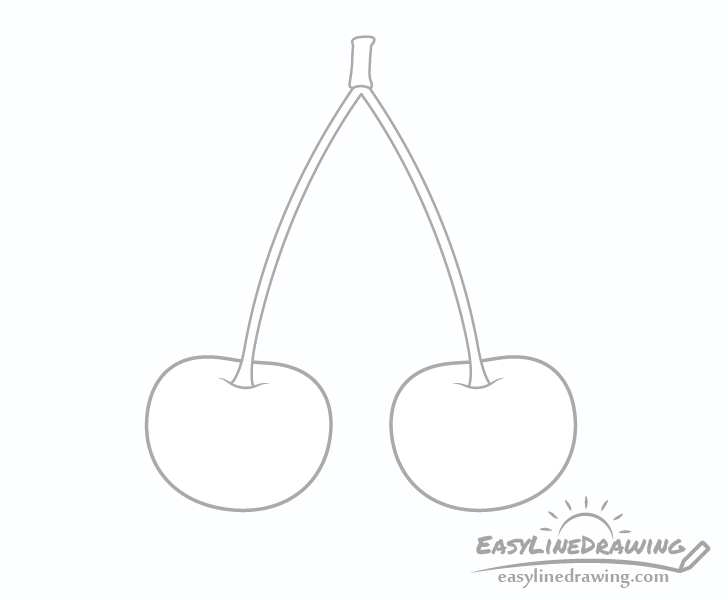
For this short step draw the tiny part that joins the cherry stems to the branch. Usually these tend to be fairly short and somewhat uneven in shape.
Step 4 – Draw the Leaf
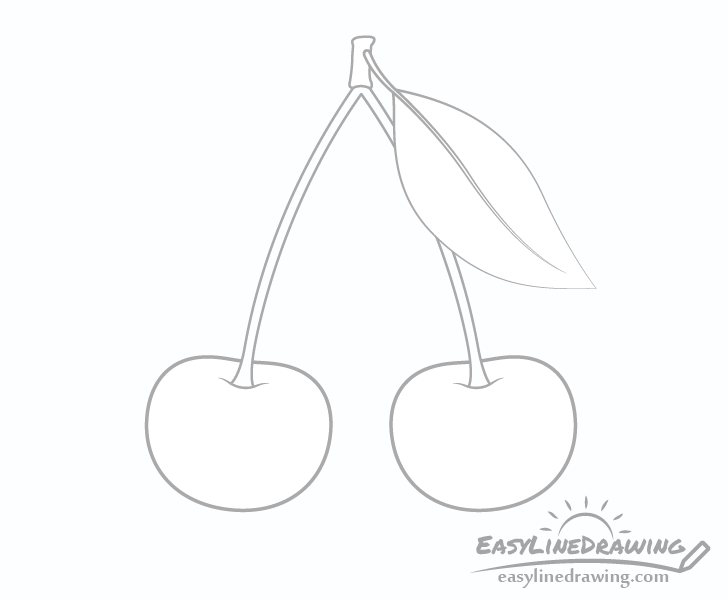
Now draw the leaf. You can can draw the main shape of the leaf with just two curved lines. You can also draw the midrib (middle of the leaf) that transitions into the leafs petiole with who more sets of curved lines. The midrib/petiole should be wider towards their bases and thinner towards their ends.
Step 5 – Finish the Line Drawing
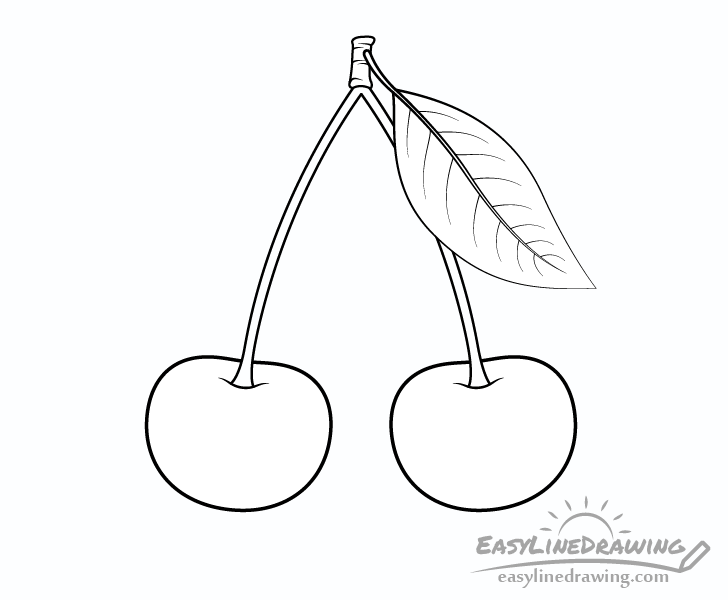
Finish the line drawing by adding the veins to the leaf. Draw the these as curves that go from the midrib towards the outer edges. Afterwards trace over your lines with a black pen, marker or darker pencil lines.
Step 6 – Color the Drawing
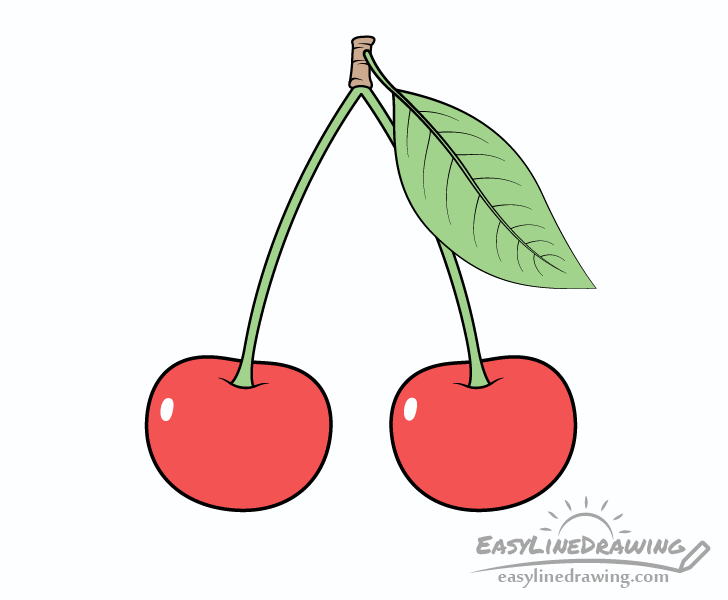
You can color the drawing using just about anything (markers, colored pencils, paint, etc…). Simply make the cherries red and the leaves green but leave some small white areas on the cherries for the highlights. As cherries tend to have a fairly smooth surface they will tend to have shape and bright highlights/reflections.
Conclusion
A simple drawing of cherries with just a little bit of detail can look quite nice and should not be to difficult to do even if you are beginner. Hopefully you’ve found this tutorial and the step by step drawing approach helpful.
For more similar drawing guides also check the following:
- How to Draw Blueberries Step by Step
- How to Draw a Raspberry Step by Step
- How to Draw a Plum Step by Step
- How to Draw a Watermelon Slice Step by Step
- Strawberry Drawing Step by Step
- How to Draw a Heart Step by Step

")


