How to Draw a Raspberry Step by Step
This tutorial shows an easy way to draw a raspberry in eight steps with detailed illustrated examples and simple explanations.
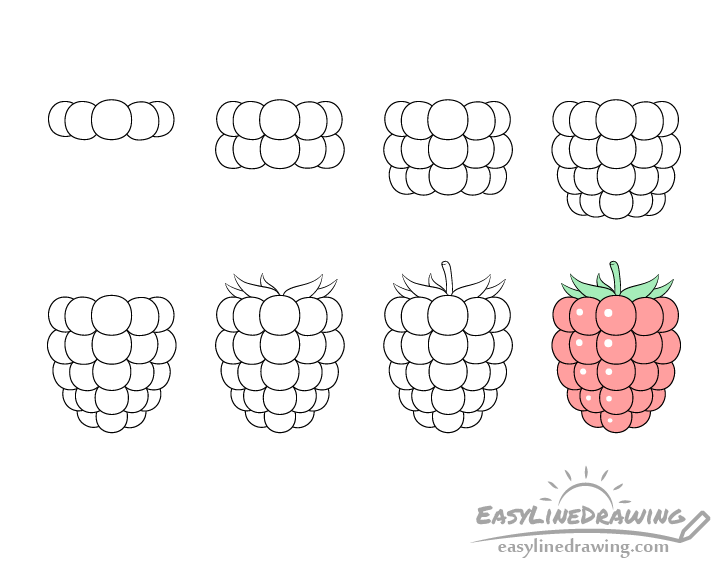
Raspberries can be a little bit difficult to draw due to the many little bits that they are comprised of. In order to help this tutorial offers a detailed step by step approach that can make the drawing process easier to understand. You can see a preview of the steps in the image above.
Start the tutorial in pencil and make light lines that are easy to erase in case you need to make a correction. You can darken them later on with a black pen or marker.
Step 1 – Draw the Top Row of the Drupelets of the Raspberry
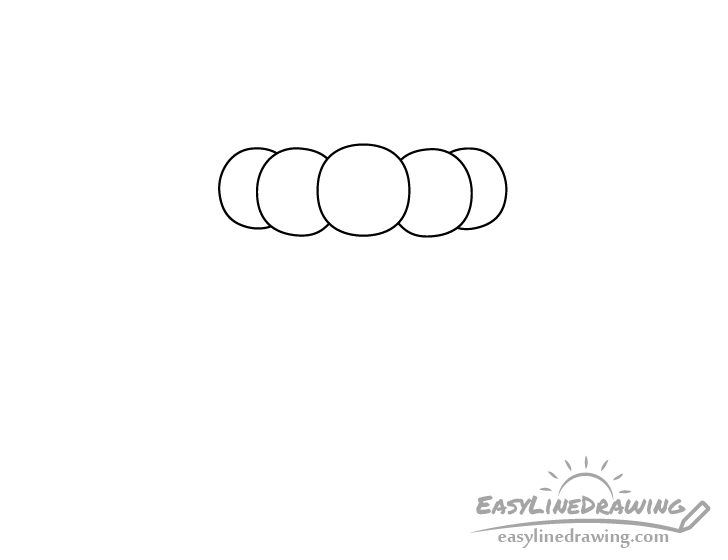
Begin by outlining the top row of the little bits the raspberry consists of called the durpelets.
Step 2 – Draw the Middle Top Row
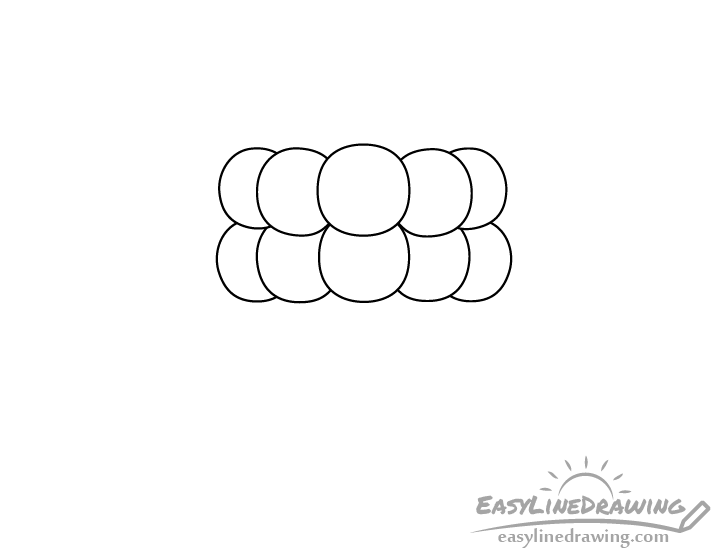
Coming out from underneath the top row of the drupelets add the next one as shown in the above examples. You can draw these slightly more condensed (squashed together) than the previous one so that this row is slightly narrower.
Step 3 – Draw the Middle Row
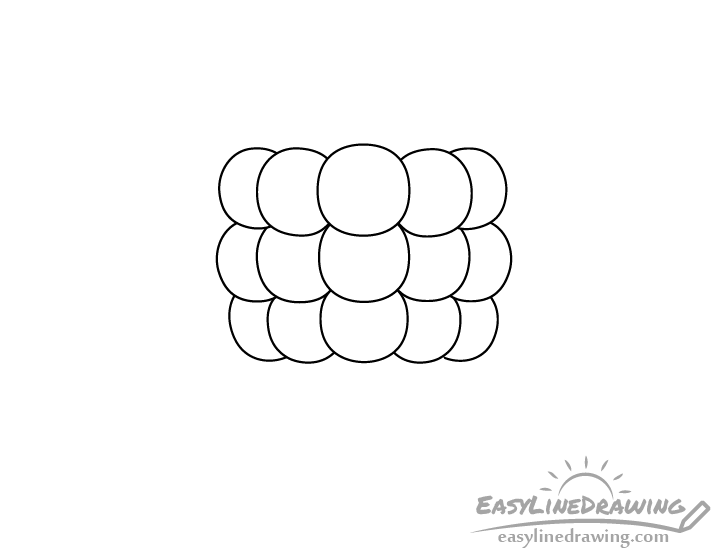
Draw the middle row of the drupelets to be slightly smaller and slightly more condensed than the one above it.
Step 3 – Draw the Middle Bottom Row
Add yet another row of drupelets and again make these slightly smaller and more condensed than the previous row.
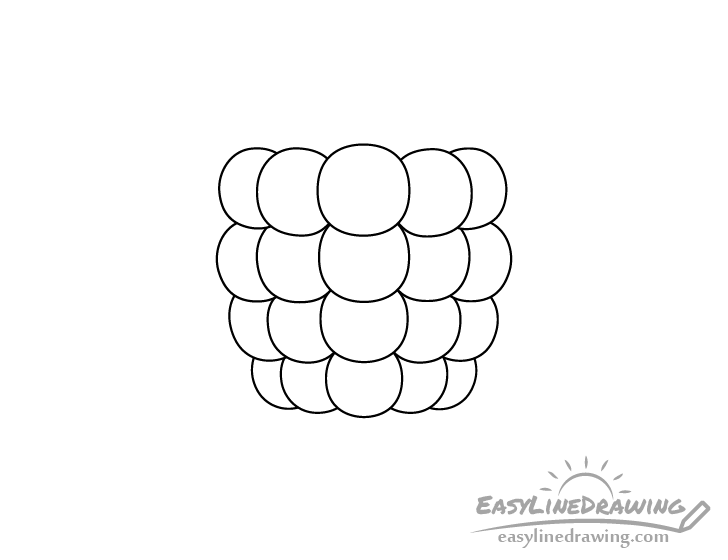
Step 4 – Draw the Bottom Row
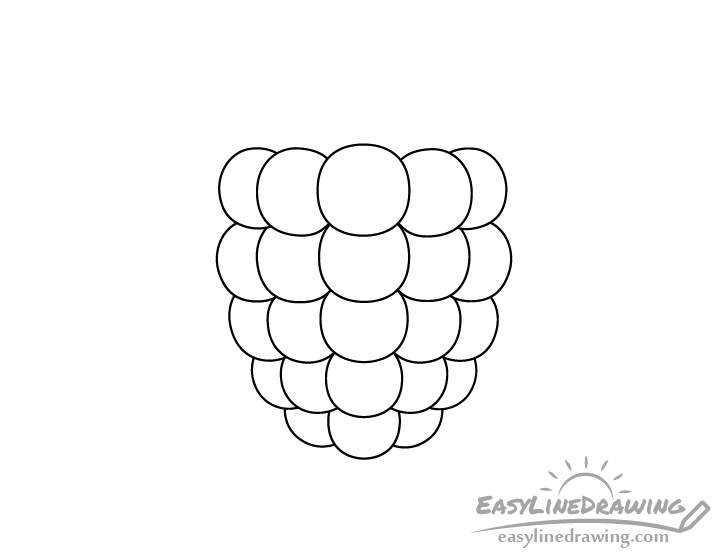
Finally add the bottom row of just three drupelets as in the example. A good bit of their upper portion should be covered by the previous row, more so than for the rest.
Once done with the this row you should have a basic outline of the raspberry.
Step 5 – Draw the Sepals
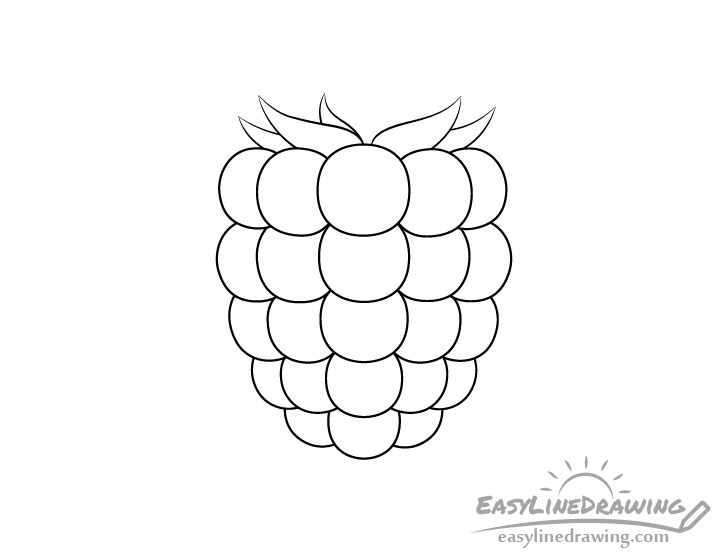
At the top of the raspberry add the sepals (the little leafs that raspberries have there). First add the pair in the front and then add the three in the back (strawberries generally have five of these).
Step 7 – Draw the Stem and Finish the Line Drawing
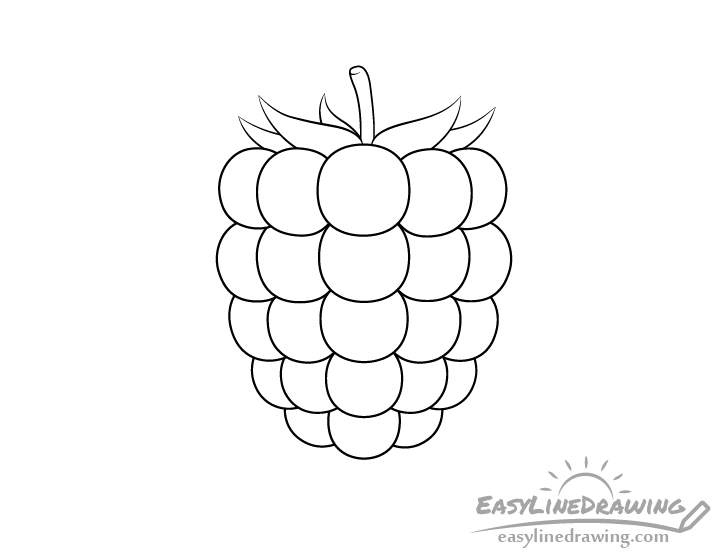
Finally add a little stem coming out of the middle of the sepals. Draw this slightly narrower towards the base and wider towards the top.
Once done with the stem again confirm that your drawing looks good and trace over it with a black pen, marker or darker pencil lines.
Step 8 – Color the Raspberry

To color the raspberry make the little bit at the top green and make the berry itself pink. Also leave a few white highlight (light reflections) in a couple of the drupelets as in the example. You can very lightly outline these in pencil before coloring to help make sure you don’t accidentally go over them.
Conclusion
It can be a bit difficult to draw a raspberry due to it being made up of so many little bits. To help this guide shows an approach of adding the drupelets in several rows to create the shape of the berry. Hopefully you’ve found it helpful and enjoyed the tutorial.
For more similar guides also see the following:
- How to Draw a Strawberry Step by Step
- How to Draw Blueberries Step by Step
- How to Draw Grapes Step by Step
- How to Draw Cranberries Step by Step

")


