How to Draw a Potion Step by Step
This tutorial shows how to draw a potion bottle in six steps, the kind that you might find in something like a fantasy themed game or show.
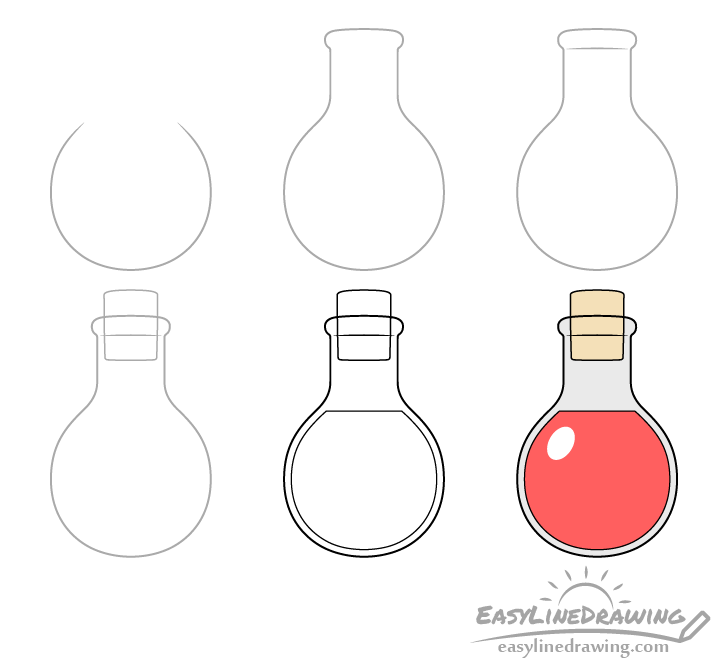
As you can see in the preview above the potion will be inside a fairly simple bottle/glass container closed with a cork.
Start the tutorial in pencil and make light lines that are easy to erase in case you make a mistake. You can darken them later on with a black pen or marker.
Step 1 – Draw the Bottom of the Potion Bottle
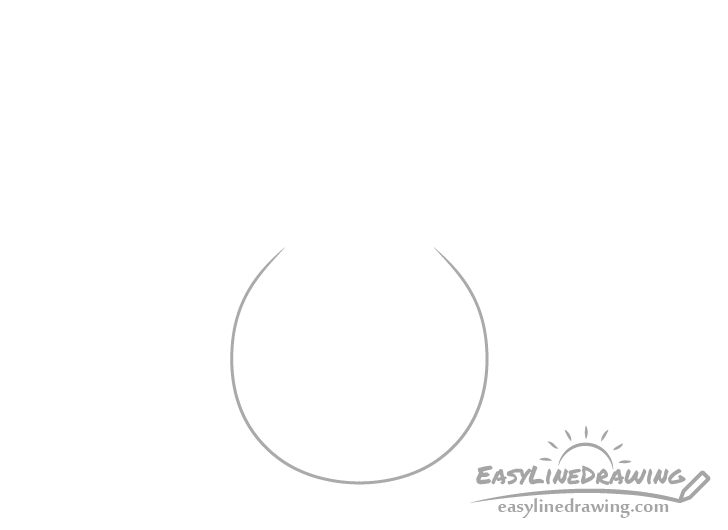
Begin by drawing the bottom of the potion bottle. In this case it will be fairly close in shape to a circle (with a little open bit at the top).
Step 2 – Draw the Neck of the Bottle
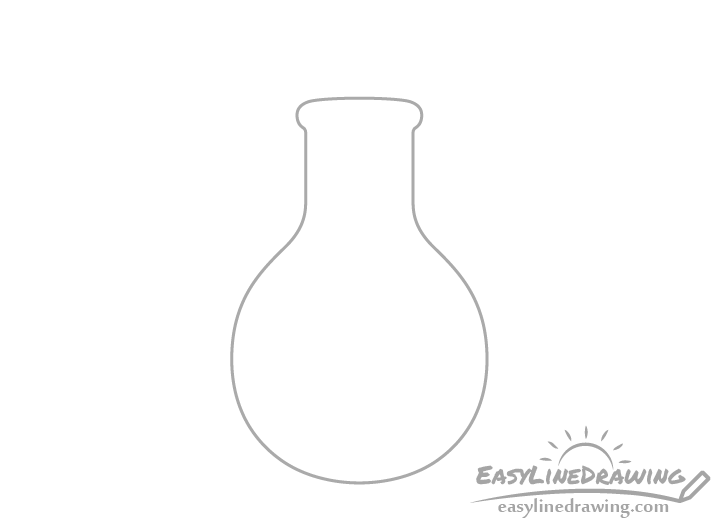
Coming up from the bottom part add the neck with a bit of a wider rim at the top (as shown in the example).
Step 3 – Underline the Rim of the Bottle
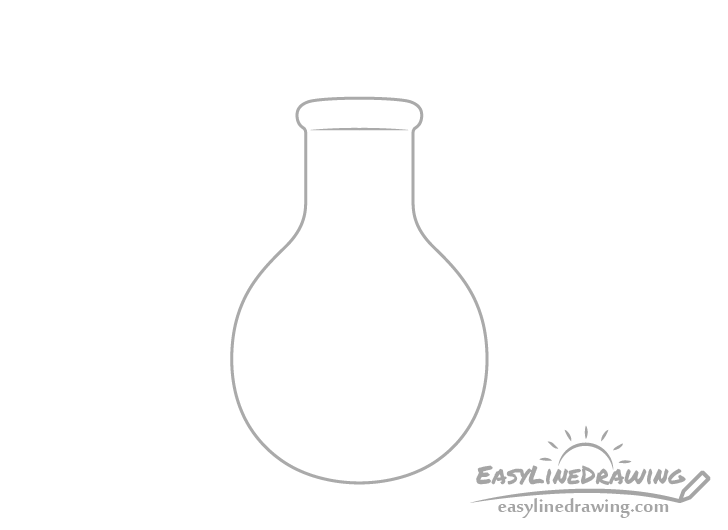
Draw a lightly curved underline to help emphasize the rim and help show that the potion bottle has a thicker part at the top.
Step 4 – Draw the Cork
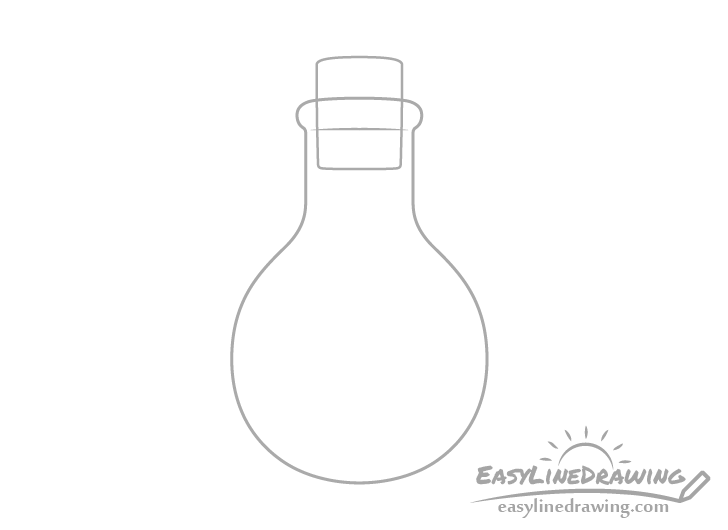
Sticking out of the neck of the bottle draw the cork. Make it’s shape close to a rectangle but give it a slightly rounded top. You can make it’s bottom pretty much flat and the corners very slightly rounded.
One important thing to note is that the cork should be drawn narrower than the neck of the potion bottle. The reason for this is to show that the glass has some thickness to it. The gap you leave between the outline of the bottle and the cork will be the glass wall.
Step 5 – Draw the Liquid
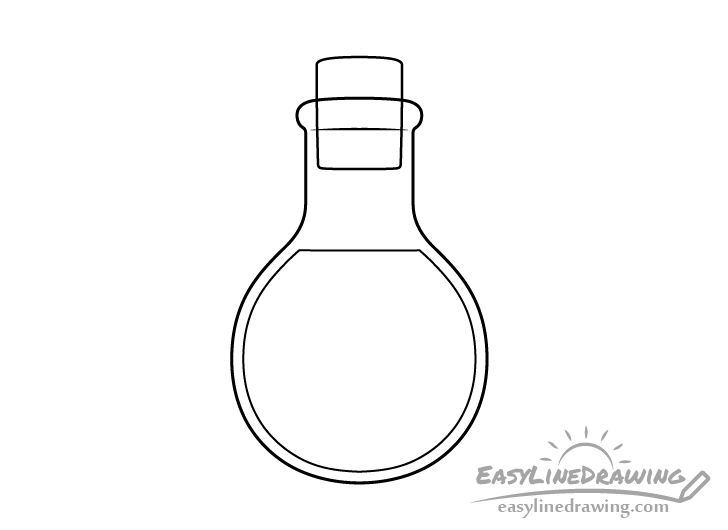
For this step add the liquid of the potion. You can draw it’s shape to pretty much follow the curve of the bottle. In this case it will only go about as far up as the base of the neck.
Similar to the cork you will want to draw the liquid some distance apart from the outline of the bottle to again show the thickness of the glass.
Once done with the light line drawing you can trace over it with a black pen or marker. Alternatively you can also darken your lines with the pencil.
Step 6 – Color the Potion
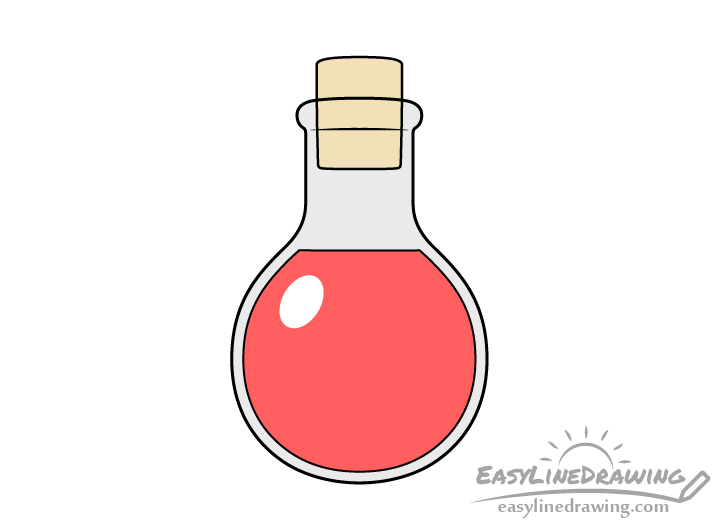
To color the potion make the cork a light yellow/brown and the glass a light grey. You can make the potion any color you like but in this case it will be red.
Also leave a little oval shaped highlight (light reflection) to one side of the bottle (as shown in the example). You can outline this very lightly in pencil to help make sure you don’t accidentally color over it.
For the actual coloring method you can use colored pencils for the cork and a regular pencil for the grey of the glass. If you want the liquid to look fairly bright as in the example a red marker can be a good option.
Conclusion
The potion bottle shown in this tutorial is something that you can often find in fantasy themed games and shows. While there is not one standard way to draw these the examples do show a look that is fairly common for such items. Hopefully you’ve found these drawing tips helpful.
For more similar tutorials also see:
- How to Draw a Magic Staff Step by Step
- How to Draw Fire Step by Step
- How to Draw a Ruby or a Gem Step by Step
- How to Draw a Diamond Step by Step
- How to Draw a Cannon Step by Step

")


