How to Draw a Cupcake Step by Step
This tutorial shows how to draw a cupcake with frosting in six steps. It includes step by step drawing instructions and simple examples.
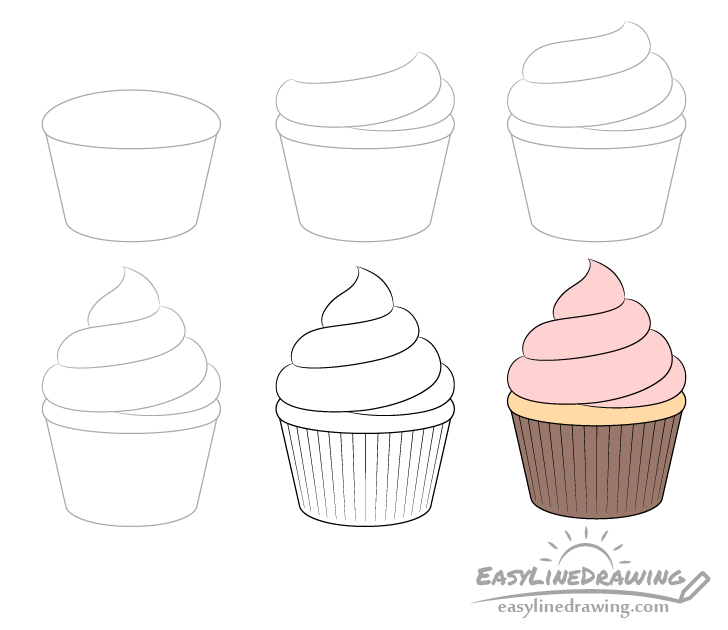
As you can see in the step by step example above drawing a cupcake will be fairly similar to making one. In that you first prepare the dough base and then add the swirls of the frosting going from bottom to top.
Start the tutorial in pencil and make fairly light lines as you will need to erase part of the cupcake in step two. You can trace over your lines with a black pen or marker later on.
Step 1 – Draw the Cupcake Itself
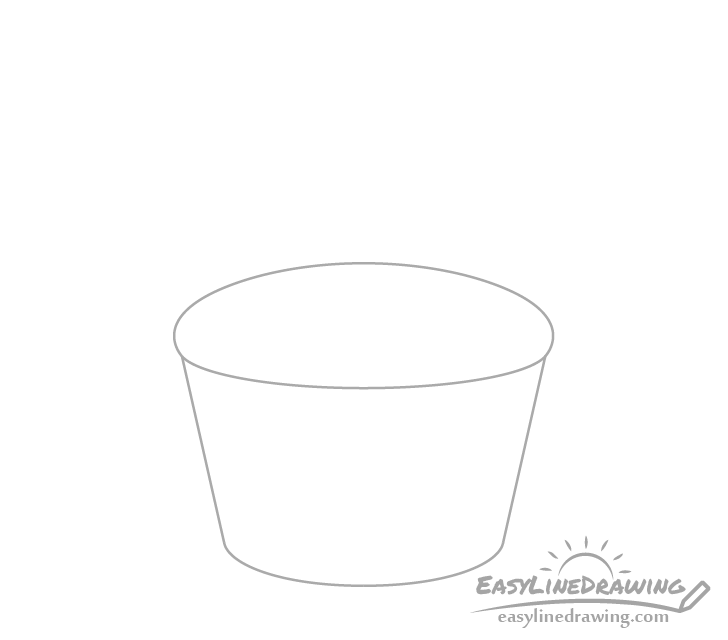
Begin by drawing the cupcake itself without the frosting. First add the “bun like” top and then draw the bottom which should be shaped similar to a bucket (wider top with narrower bottom).
As mentioned at the start be sure to draw this step in pencil.
Step 2 – Draw the Bottom Part of the Frosting
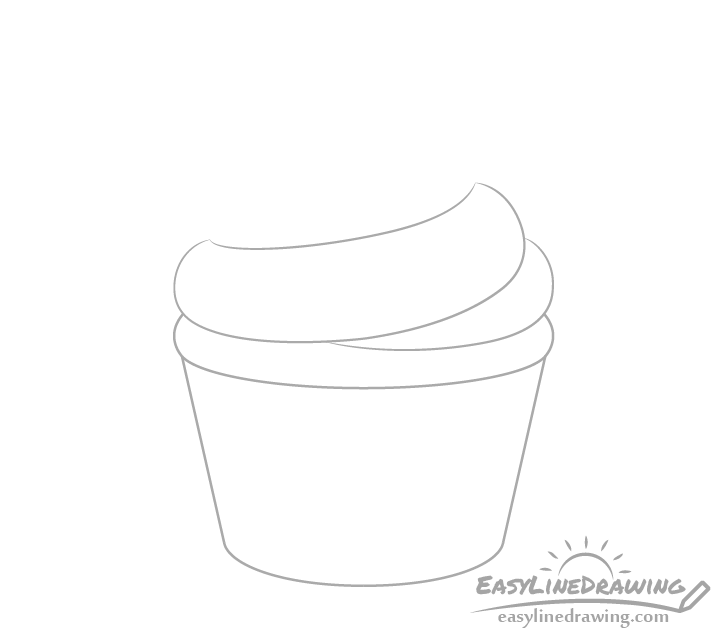
On top of the cupcake begin adding the frosting swirls. Add the first two and then erase the bit of the cupcake outline that they cover.
Step 3 – Draw the Middle of the Frosting
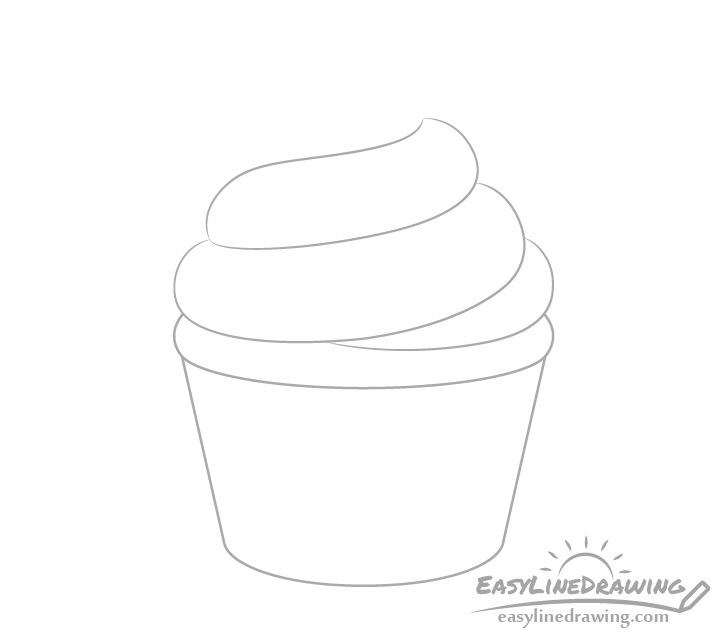
Now add the next swirl. Make it smaller in size than the previous one.
Step 4 – Draw the Top of the Frosting
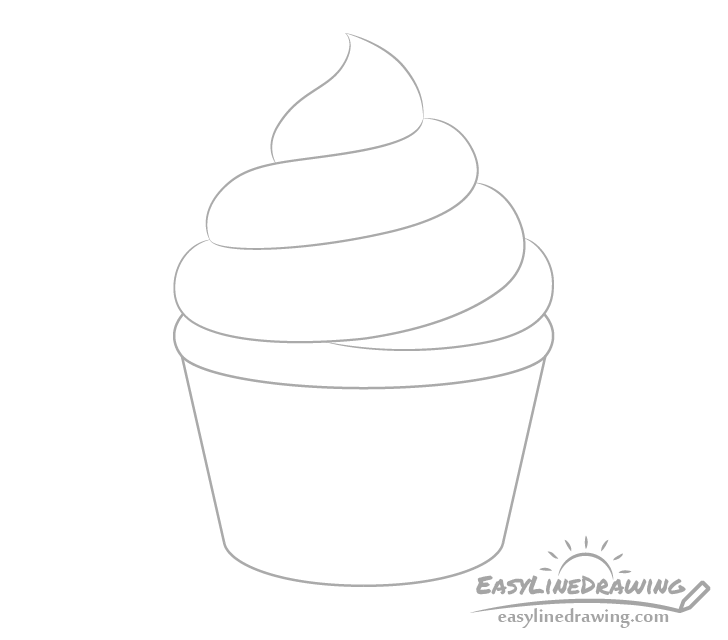
Now add the top part of the frosting with a pointy tip that is tilted in one direction. Again make this smaller than the previous swirl.
Once done you should have a nice and smooth transition of the swirls going from top to bottom. Their combined shape should be similar to a cone.
If your drawing doesn’t come out right simply erase the problem part and try again.
Step 5 – Finish the Line Drawing
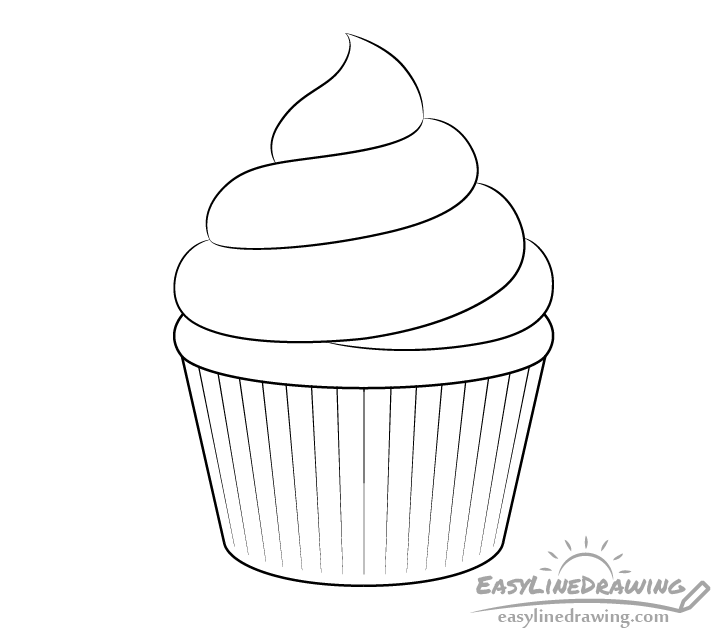
First add some lines along the bottom part of the cupcake (as shown in the example). These will be the folds in the paper that covers it.
Next (as mentioned earlier) you can trace over your lines with a black pen or marker or simply darken them with the pencil.
Step 6 – Color the Cupcake
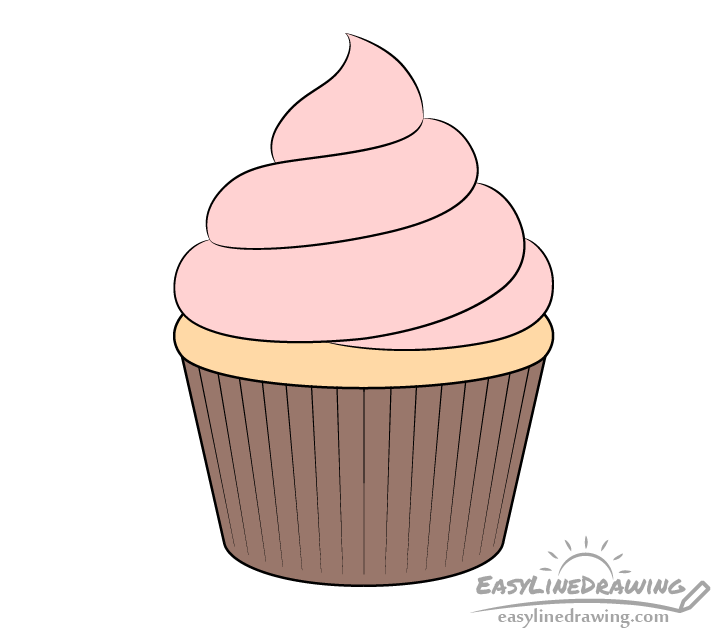
To color the cupcake make the base a darker brown with a lighter orange/brown top. You can make the frosting just about any color you like. In this case it will be a light pink.
Generally it’s probably better to do this with colored pencils or paints as marker might be a little too bright.
Conclusion
Drawing a cupcake is not very complicated. Try and use the same approach to drawing one as you would to making one. Where you first prepare the cupcake itself and then gradually add the frosting. Also be sure to start the drawing in pencil in case you run into some trouble with the swirls and need to do some erasing.
For more tutorials on drawing food and sweets see:
- How to Draw a Muffin Step by Step
- How to Draw a Cupcake Step by Step
- How to Draw an Ice Cream Cone Step by Step
- How to Draw Candies & Sweets Step by Step


