How to Draw a Chocolate Bar Step by Step
This tutorial shows how to draw a chocolate bar in eight steps. It provides simple illustrated examples and quick instructions.
The chocolate bar in the example is a more “traditional” type that consists of the little sections that can be broken off.
You will need to erase small parts of the drawing as you go between the different steps so be sure to start in pencil and make light lines.
The bar also consists of a lot of straight lines. If you find making these difficult you may also wish to use a ruler.
For drawing other types of candies also see:
How to Draw Candies & Sweets Step by Step
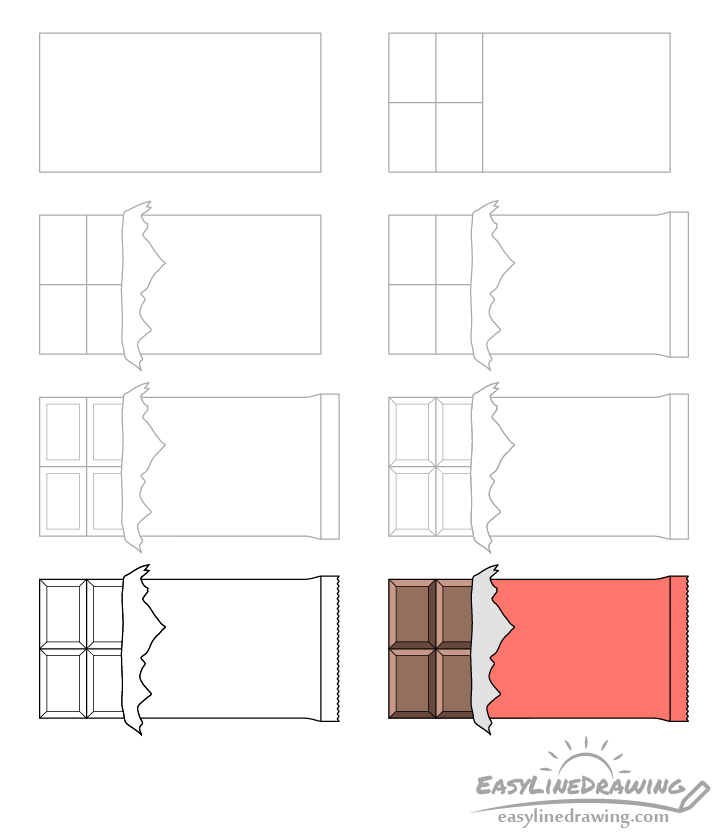
Step 1 – Draw the Outline of the Chocolate Bar
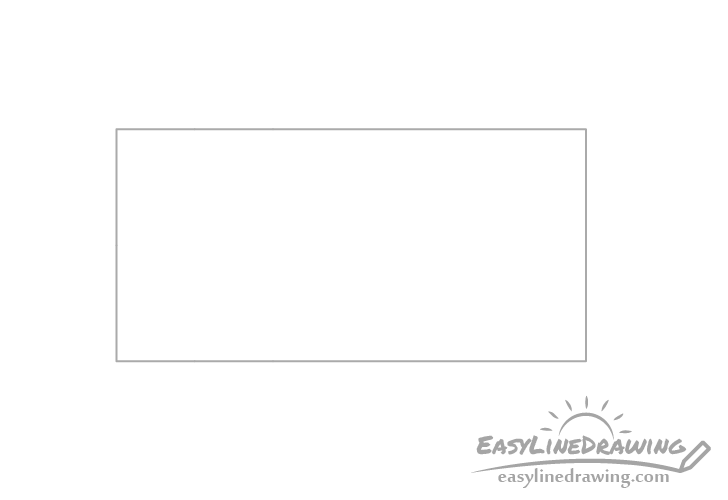
Star the drawing by outlining the basic shape of the chocolate bar. In this case it will be a rectangle.
Step 2 – Draw the Individual Sections
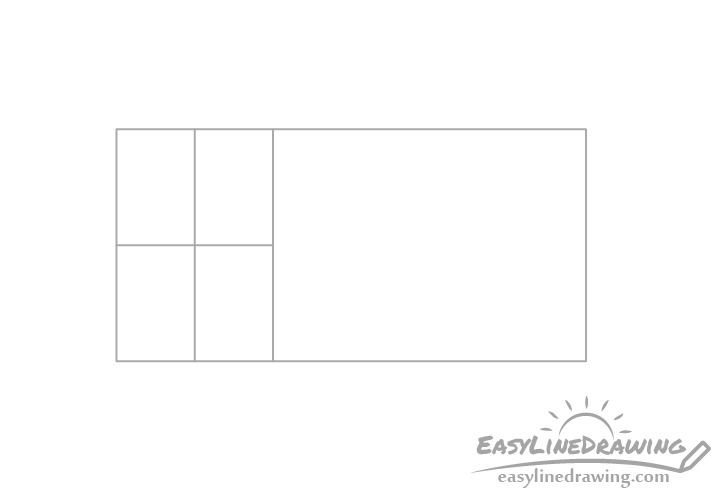
Add a few of the little sections the bar is made of (four in this case). Most of of it will be covered in the wrapper so you don’t need to draw the rest.
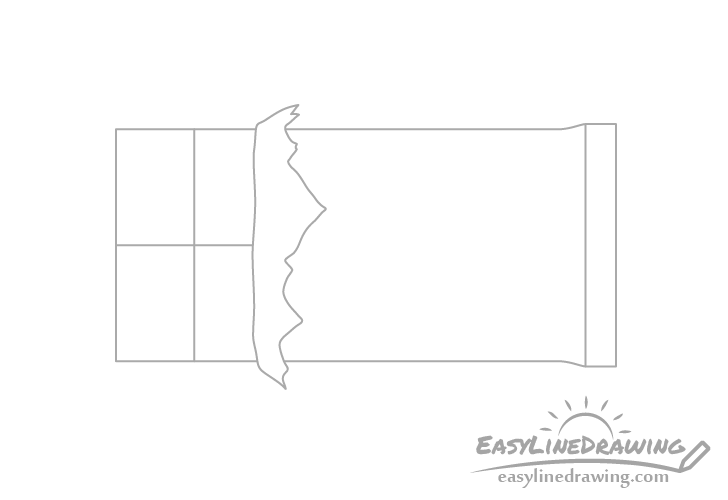
Step 3 – Draw the Torn Part of the Wrapper

Draw the pulled back part of the wrapper just slightly overlapping the second set (going left to right) of the small rectangles the bar consists of.
Draw the side that is facing towards the small sections with a fairly random wobbly line and the par that is torn off with a jagged line that consists of a bunch of “teeth” of different sizes.
Step 4 – Draw the Sealed Part of the Wrapper
On the end of the bar that is not torn open add the sealed part of the wrapper. Make the rectangle drawn in the first step slightly wider right before that and draw the seal itself as another long and narrow rectangle.
Step 5 – Draw the Edges

Inside each section of the chocolate bar draw a smaller inner rectangle as shown in the example.
Step 6 – Draw the Corners

From each corner of the smaller inner rectangles draw a line to the corresponding corner of the larger outer rectangles.
Step 7 – Finish the Line Drawing
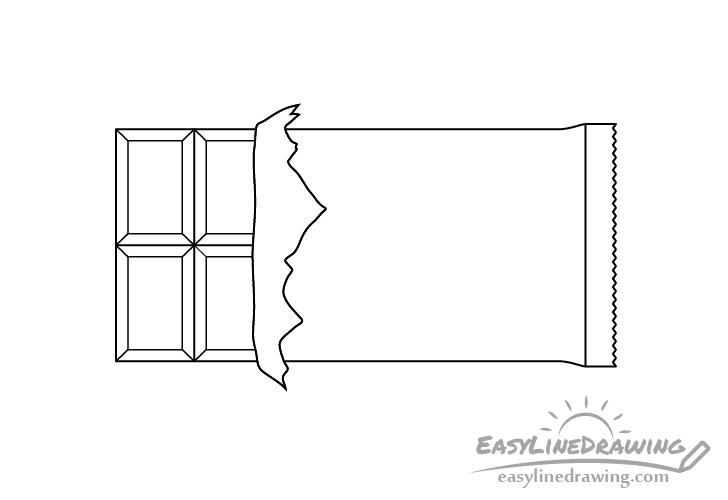
Finally add a jagged line at the end of the seal (as chocolate bars tend to have). You can draw this line right over top of the previous straight line but make it darker so the other line becomes barely noticeable.
Once done you can also trace over the rest of your drawing with darker lines or a black pen/marker.
Step 8 – Color the Chocolate Bar
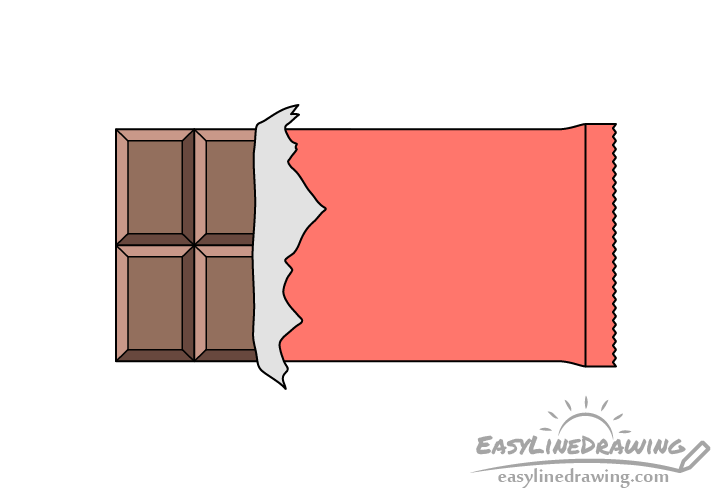
Color the chocolate brown, the torn part of the wrapper a light grey (so that it looks silver) and the rest of the wrapper any color you like (in this case it will be red).
To make the chocolate look a little more three dimensional make the color/shading on the upper and left edges of the rectangles that make up the bar lighter. Make the shading on their bottom and right sides darker.
The easiest way to color the chocolate is to simply use a brown pencil and press lightly on it for the light areas and harder for the darker ones. If the shaded edges still look to light you can also go over them with a regular pencil to darken them further.
Conclusion
Drawing a chocolate bar as the one in this example is not very difficult. Simply start with the larger shapes and work your way down to the smaller details. You can also make the bar look a lot nicer and slightly more three dimensional by giving it some basic shading as was shown in the example.
For more easy tutorials on drawing food also see:
- How to Draw a Cookie Step by Step
- How to Draw a Doughnut Step by Step
- How to Draw a Cupcake Step by Step
- How to Draw a Sword Step by Step

")


