How to Draw an Oak Leaf Step by Step
This tutorial shows an easy way to draw an oak leaf. It consists of six steps with simple illustrated examples and quick drawing tips for each of them.
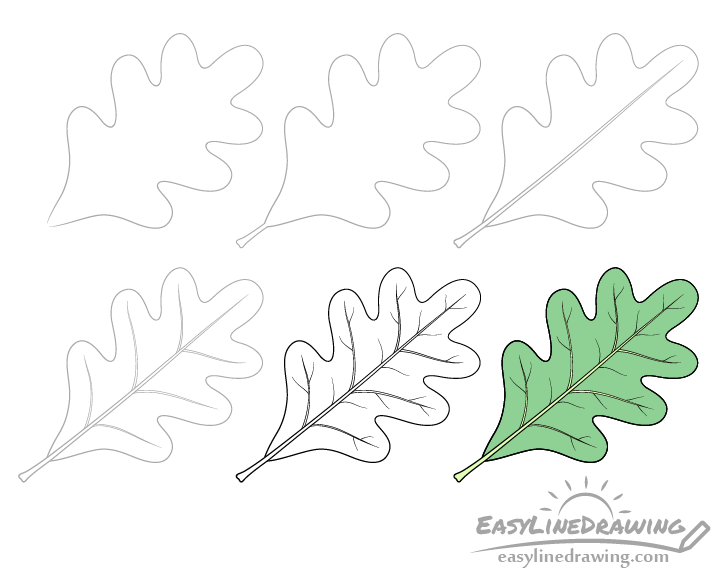
Oak leaves tend to have fairly distinct, easy to recognize shapes. While they may be a bit more complex than some other leaf types they are still quite easy to draw. You can see preview of the drawing steps for this on in the image above.
Start the tutorial in pencil and make light lines that are easy to erase just in case you need to make a correction. You can darken them later on with a black pen or marker.
For tutorials on drawing other types of leaves also see:
Step 1 – Draw an Outline of the Oak Leaf
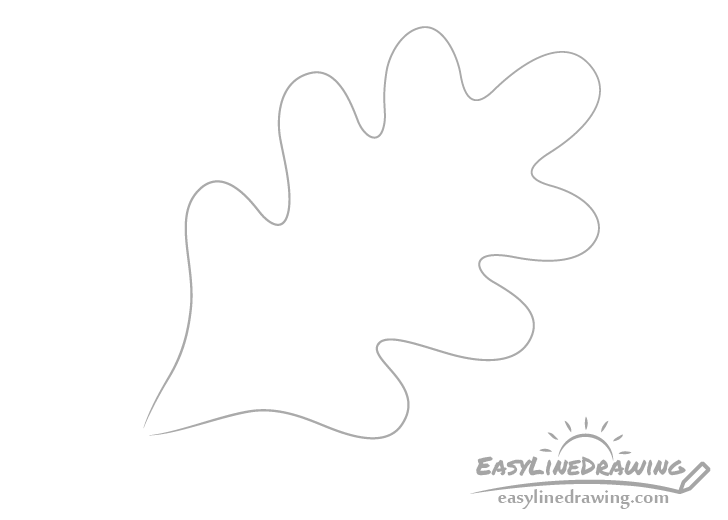
Begin the drawing with an outline of the oak leaf without any of it’s smaller or inner details. Draw it with seven lobes (the rounded parts that go out in different directions).
The leaf does not need to be perfectly symmetrical but try and make it somewhat even on both sides. This first part of the drawing is the most important so take some time to make sure that it looks nice.
Step 2 – Draw the Petiole
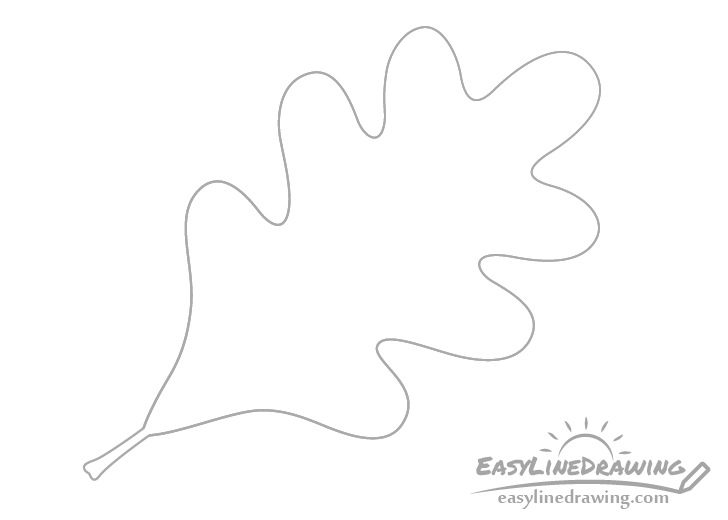
Coming out of the base of the leaf add the petiole (the part that attaches it to the branch). Make it slightly thinner as it goes toward the leaf and thicker as it goes away from it with a bit of a “knob” at the end.
Step 3 – Draw the Midrib
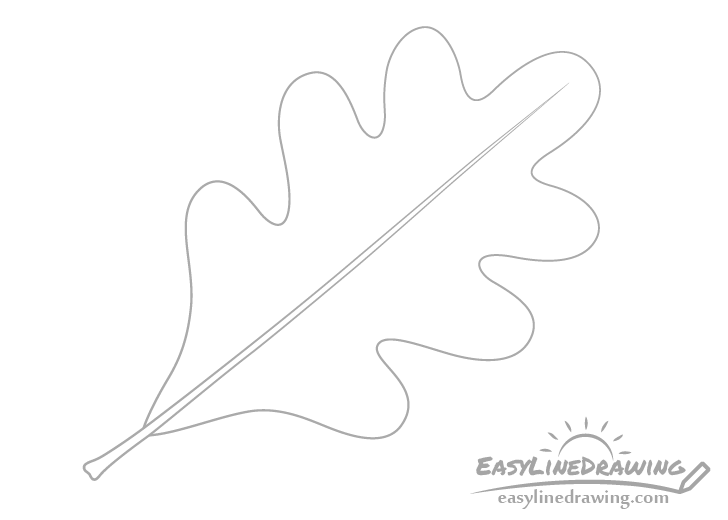
Starting from the petiole and going up through almost the entire leaf draw the midrib (the central vein). Make it thicker at it’s base and thinner as it goes towards the tip of the leaf.
You can also draw it with just a bit of a curve in it’s overall shape so that leaf looks more natural.
Step 4 – Draw the Large Veins
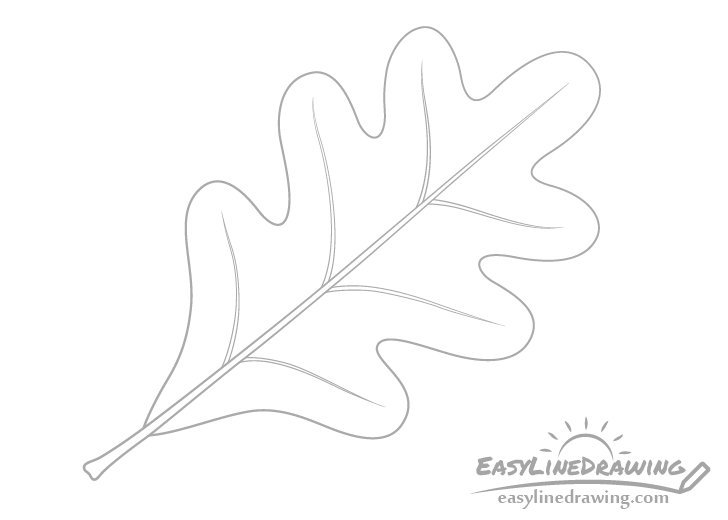
Coming out of the midrib and going towards the tips of the lobes draw some veins. You can draw each one with a bit of a wave in it’s shape where it first curve one direction and then in the other.
Similar to the midrib make each vein thicker at the base and narrower towards the tip.
Step 5 – Add the Smaller Veins & Finish the Line Drawing
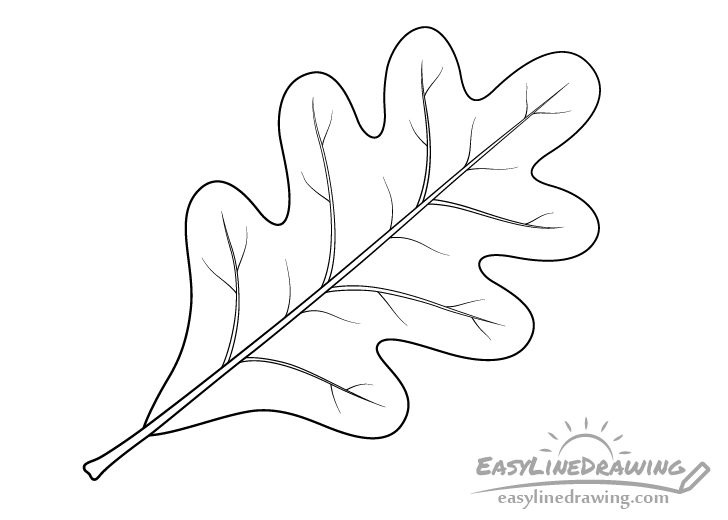
Coming out from random spots of the midrib and the larger veins add some smaller and thinner veins. Try and somewhat randomize their shapes so that some are longer and other shorter with some having a wave in their shape and other just a curve. You can draw each one with only one line.
Once done adding the smaller veins you can trace over your drawing with a thin black marker, pen or darker pencil lines.
Step 6 – Color the Oak Leaf
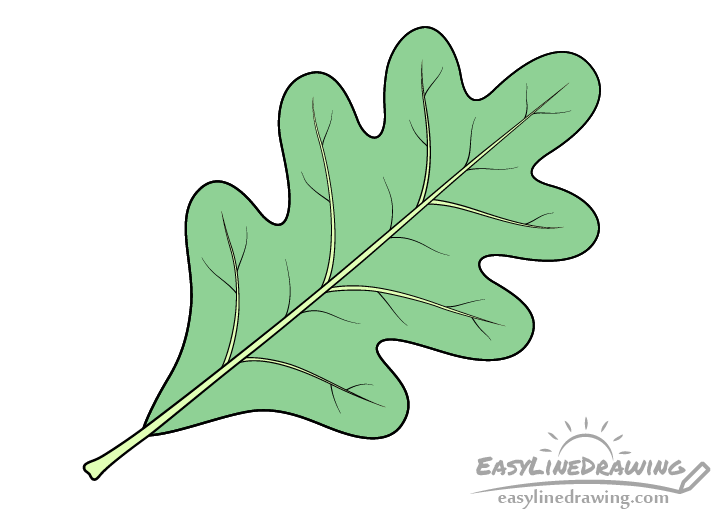
For coloring the leaf colored pencils may be a good option. Make the petiole/midrib and veins a light yellow green and the leaf itself a darker green.
If you don’t have a light yellow green pencil simply go over those very lightly with a regular green and then with yellow.
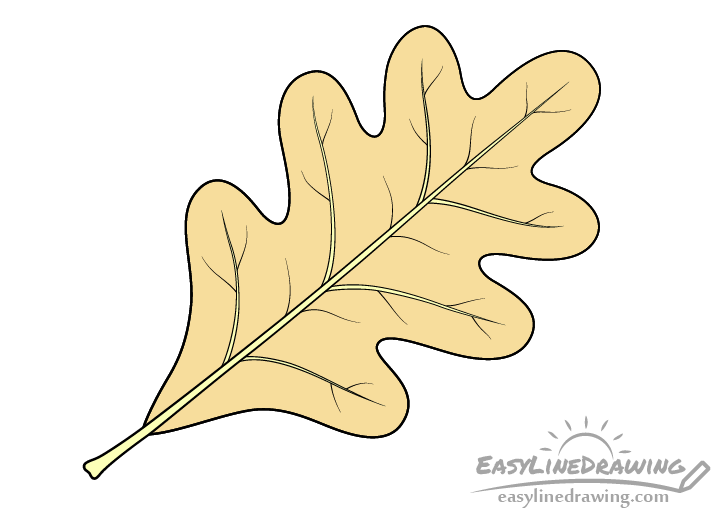
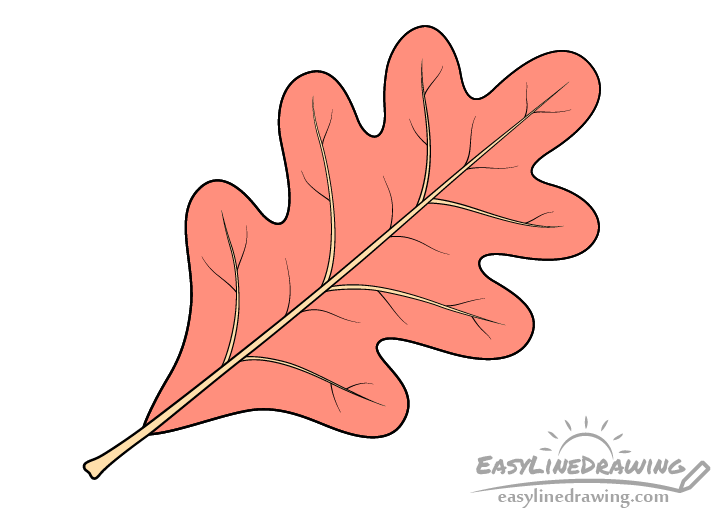
If you want to draw an oak leaf in the fall you can make it an orange yellow like the example above or red with a bit of orange like in the example below.
Once done with whatever coloring option you picked you should be finished with the drawing.
Conclusion
Oak leaves tend to have fairly distinct shapes due to their many lobes. This makes them easy to recognize and interesting to draw. The most important part is to get a nice overall shape for the leaf. Once you have that drawn the smaller details should be quite easy.
For more similar tutorials also see:
- How to Draw a Grape Leaf Step by Step
- How to Draw a Tree Step by Step
- How to Draw a Pine Tree Step by Step
- How to Draw a Palm Tree Step by Step
- How to Draw Grass Step by Step
- How to Draw a Cactus Step by Step
- How to Draw a Tulip Step by Step


")


