How to Draw a Pine Tree Step by Step
This tutorial shows an easy way to draw a pine tree in six steps. It provides simple illustrations and gives quick tips to go with them.
You can see a preview of the illustrations that go along with each of the steps in the image above.The goal of the tutorial is to help you create a nice looking drawing that is also not too complicated.
It’s recommended that you start in pencil and keep your lines light until you add all of the details of the tree. This will make it easier to correct any potential mistakes. You can darken your lines later on.
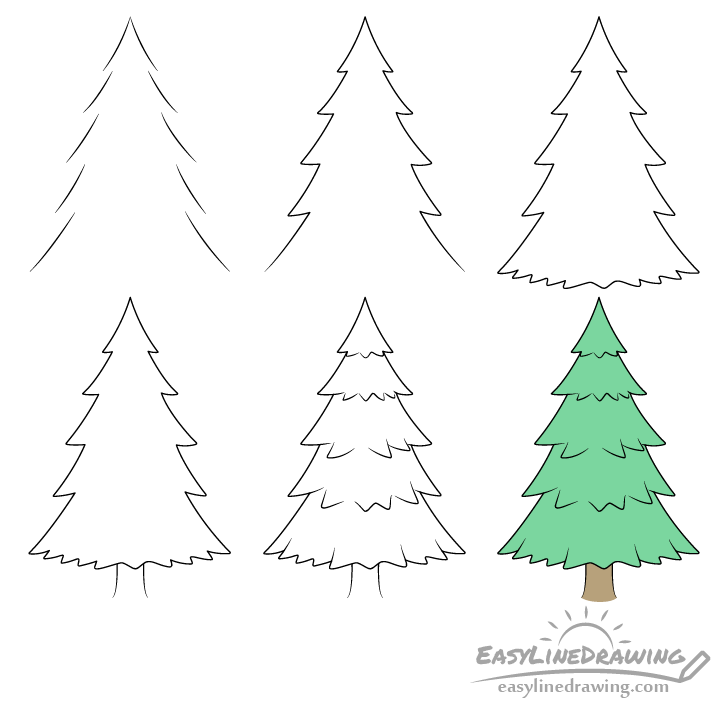
Step 1 – Draw the Shapes of the Branches

The shape of a pine tree like the one in this example is similar to a stack of cones that get smaller towards the top. Start the drawing going top to bottom with sets of curved set the size of these “cones”. This will define the upper part of the canopy and the general direction of the branches.
If you want to make sure that both halves of the tree are relatively equal in width you can draw a vertical line down it’s middle to help you and erase it later.
Step 2 – Draw the Underside of the Branches
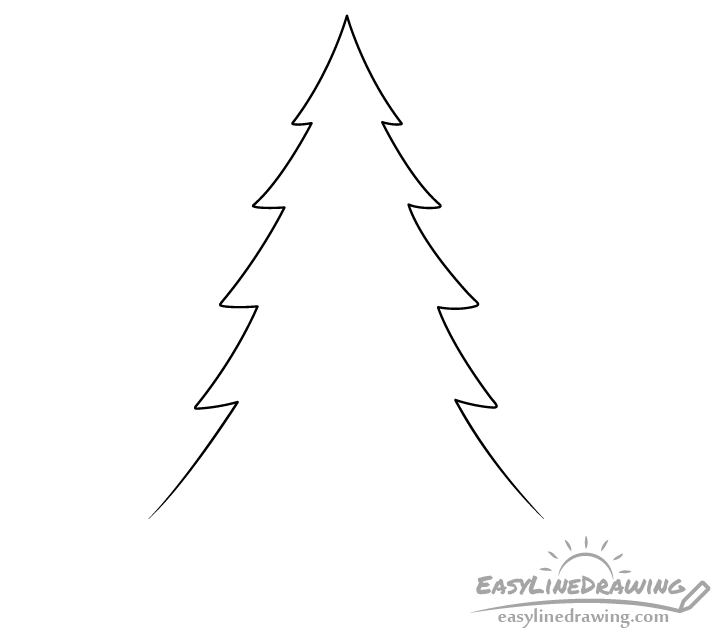
Now draw the under sides of the canopy by connecting the lines from the previous step (excluding at the very bottom).
Step 3 – Draw the Bottom of the Tree
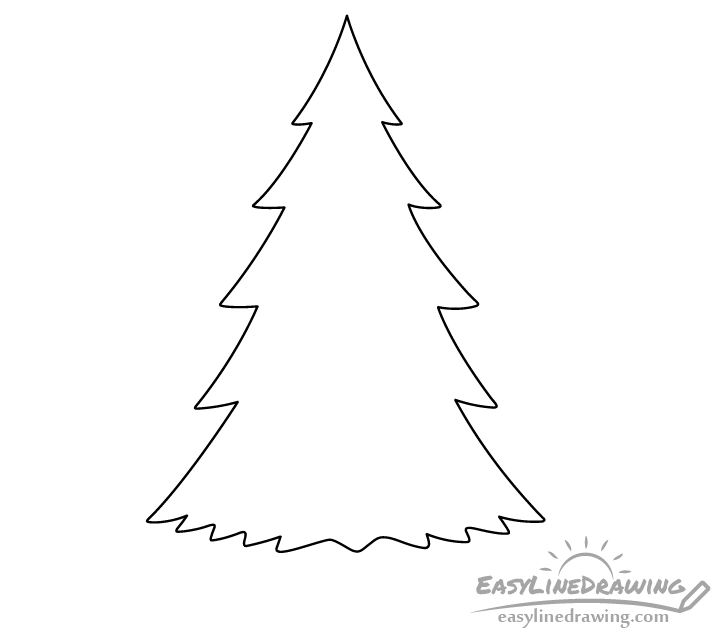
Finally outline the bottom part of the canopy. Draw this as zigzags that form a curve with their overall shape to give a hint of the branches. Make the ones near the middle point more downwards and the ones to the sides point more sideways.
Step 4 – Draw the Trunk
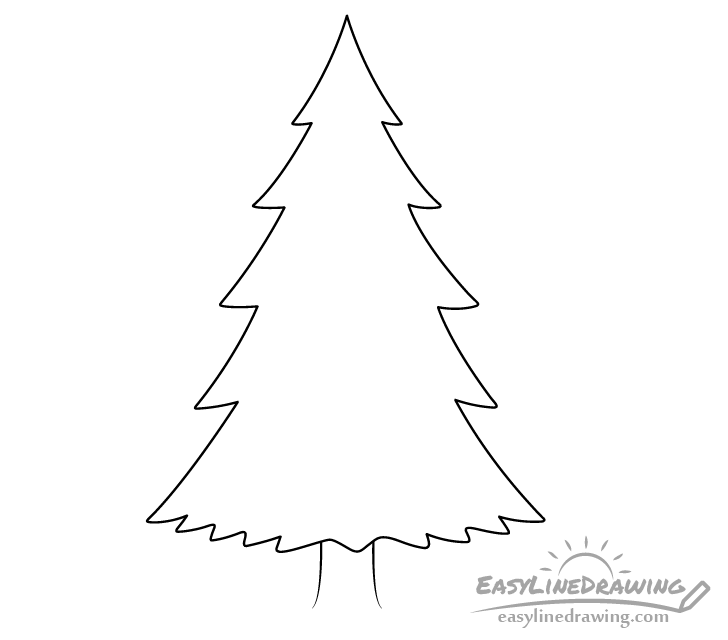
Add the trunk with just a couple lines. Draw it slightly wider towards the bottom.
Step 5 – Finish the Line Drawing
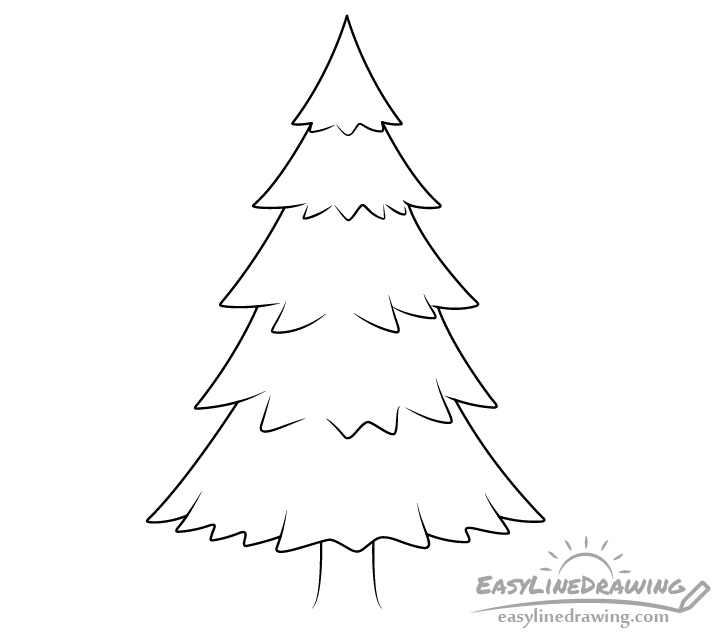
To finish the line drawing add some details to the canopy. Draw more hints of branches similar to those at the bottom of the tree at the bottom of each “cones” but leave some spaces between these. Also extend some branches around the edges to “cut” into the outline.
Once done with the above you can darken your lines with a black pen or marker. If you don’t have one of those around just do it with the pencil.
Step 6 – Color the Pine Tree
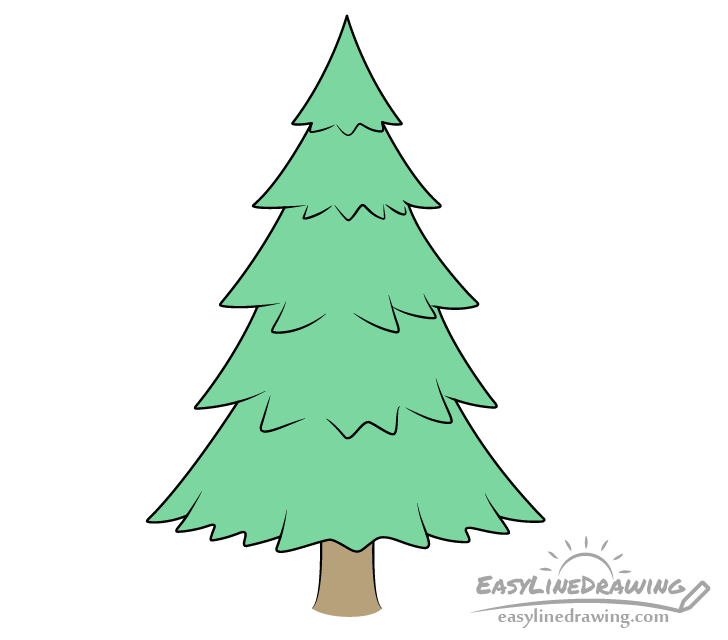
Coloring the pine tree is very simple. Make the top green and the trunk brown. You can use whatever medium you prefer (paints, markers or colored pencils).
Conclusion
A cartoon style pine tree like this one is fairly easy to draw. As was already mentioned you can think of it’s shape as stack of cones that get smaller as they go up. If you wish to have a taller tree you can simply add more of these to your drawing.
If you’ve found this tutorial helpful you might also like the following:
- How to Draw a Tree Step by Step
- How to Draw a Palm Tree Step by Step
- How to Draw a Mushroom Step by Step
- How to Draw a Spear Step by Step
- How to Draw a Log Step by Step


")


