How to Draw a Pumpkin Step by Step
This tutorial shows how to draw a pumpkin in nine steps with a detailed breakdown of the drawing process through illustrated examples.
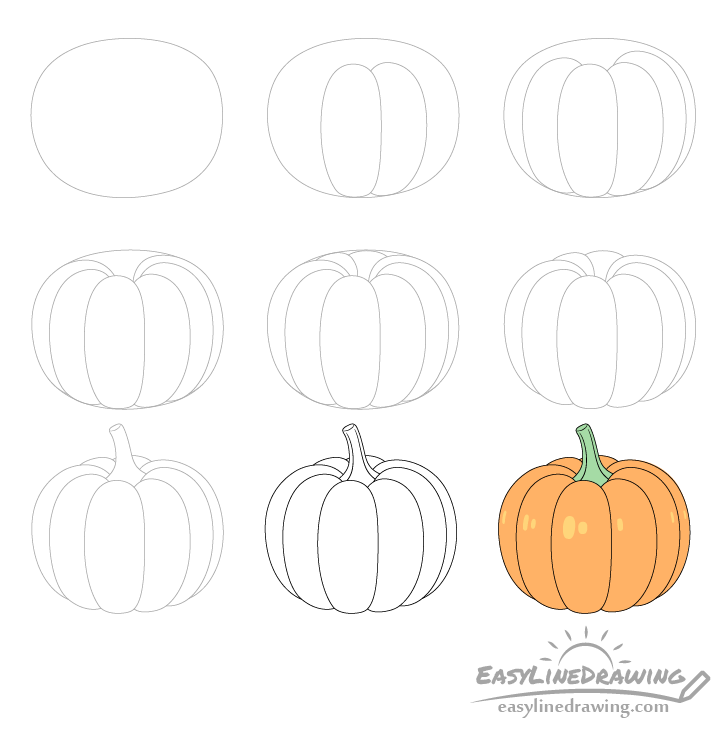
You can see a preview of the drawing steps in the example above. As a pumpkin has a more complex shape than many other vegetables this tutorial is slightly more advanced than some other ones here on EasyLineDrawing. However don’t let that discourage you from trying it even if you are fairly new to drawing. Overall it’s still not very difficult.
Be sure to start the tutorial in pencil and make light lines as you will need to erase some parts of the drawing in between the different steps. You can darken your lines before coloring. A good way to do that is with a black pen/marker (if you have one handy).
Step 1 – Draw an Outline of the Pumpkin’s Overall Shape
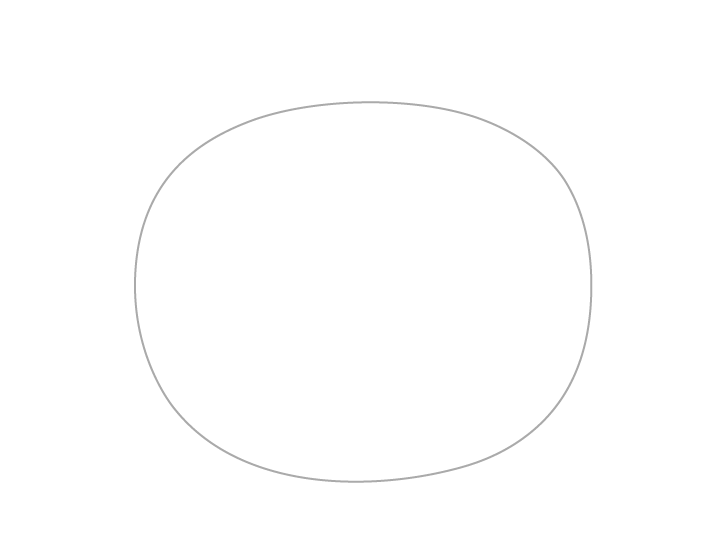
Begin the drawing by outlining the general shape of the pumpkin. This will act as a guide to help you draw the smaller ribs/sections that it’s divided into.
The reason you want to first have this outline instead of just drawing the sections right away is to help you maintain the shape of the pumpkin while drawing those details.
If you focus on drawing each of the ribs right away you may find that as a whole the pumpkin does not come out the way you want it to look (skewed to one side, warped, etc..).
Step 2 – Draw the First Two Ribs
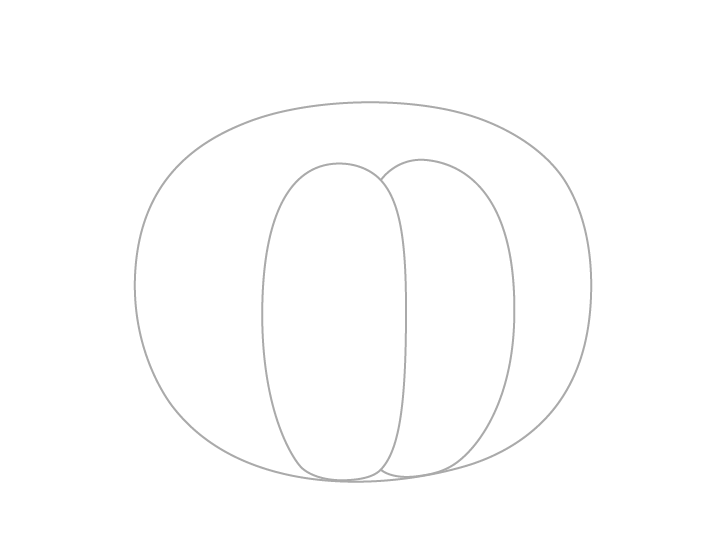
Inside the outline drawing the first two ribs of the pumpkin as shown in the example above. Draw one facing more towards the viewer with the other one slightly more to the side looking like it’s coming out form behind the first one.
Step 3 – Draw the Next Two Ribs
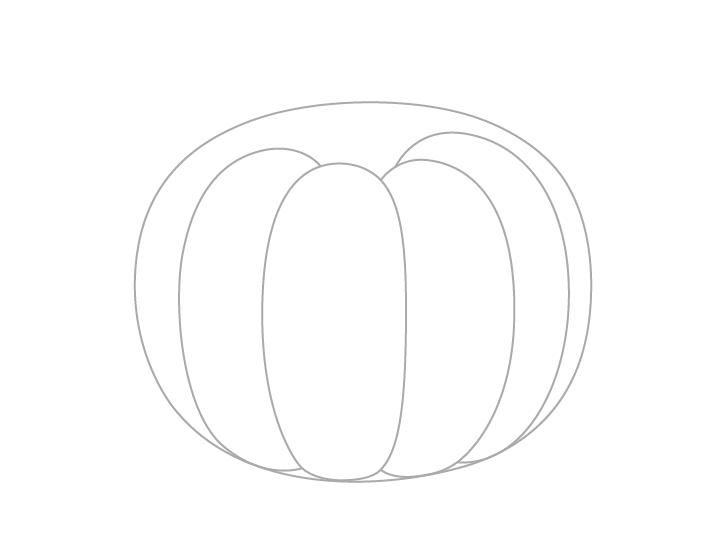
Add another pair of ribs onto the pumpkin. Draw the these so that they again look like they are coming out slightly from behind the previous set. You should also draw these with more of a curve in their shapes than the previous set.
Step 4 – Draw the Ribs on the Sides
Add yet another set of ribs. This one should pretty much run along the sides of the outline drawn in step one.
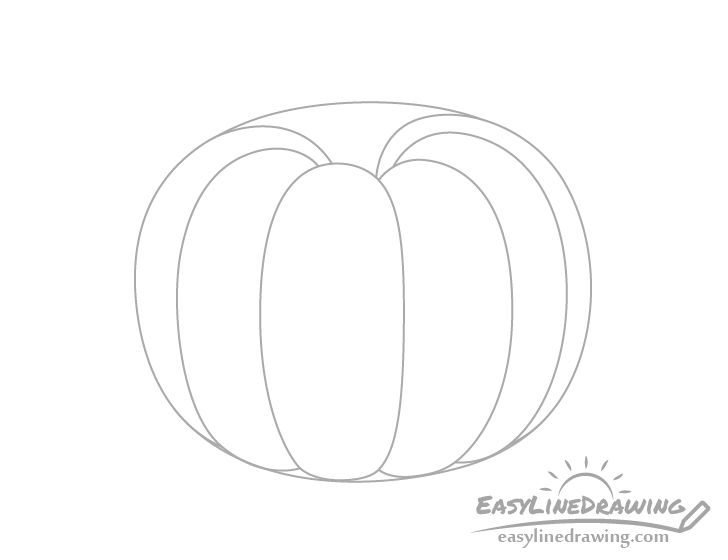
Step 5 – Draw the Rib in the Back
Finally add the last set of ribs in the back (as shown in the example).
Once done you should have a drawing where all of the ribs nicely contained by the initial outline.
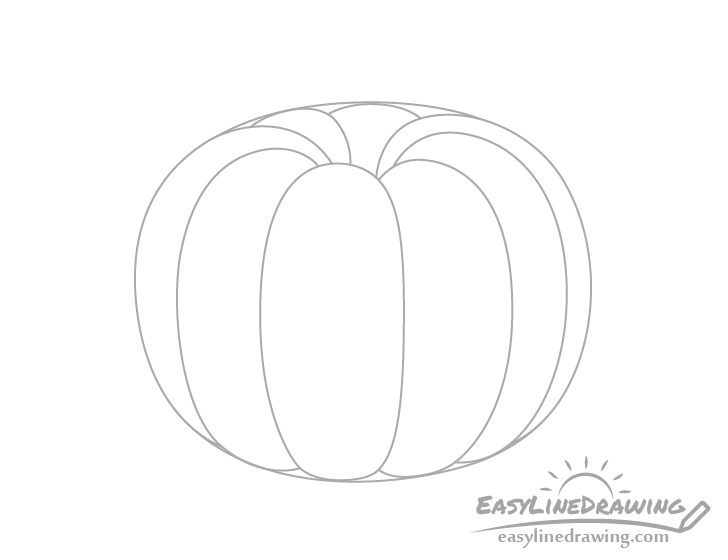
Step 6 – Clean up the Drawing

At this stage you can clean up your drawing by erasing any parts of the outline from step one that do not correspond with the curves of the ribs.
Step 7 – Draw the Stem
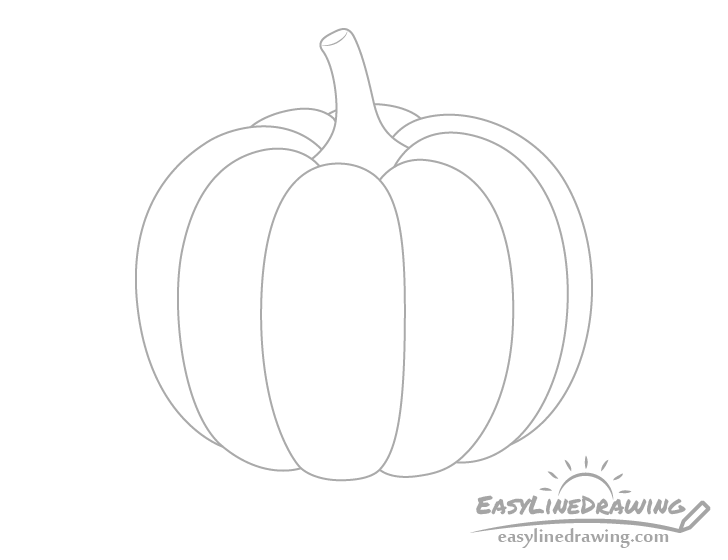
Coming out of the top of the pumpkin add the stem. Make the it wider towards it’s base and narrower towards the top with a light curve in it’s shape.
Draw the stem right over top of the rest of the pumpkin and then erase the lines of the ribs that are now overlapped by it.
Step 8 – Finish the Line Drawing
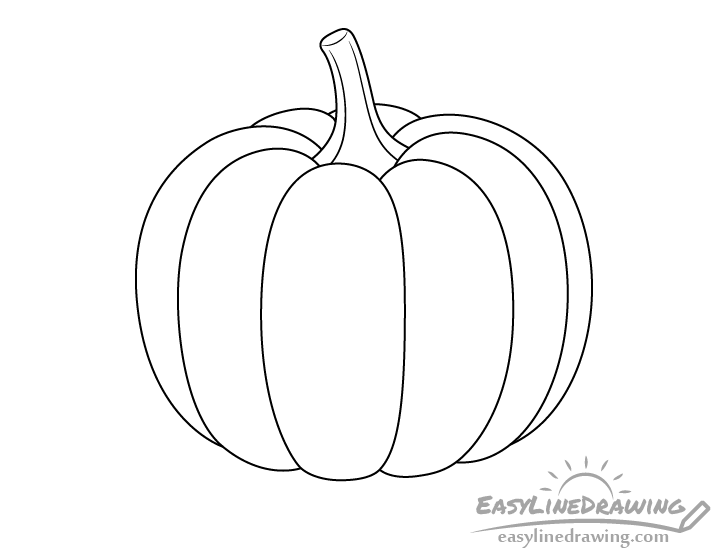
Finish the line drawing by first adding some details to the stem. In this case it can just be a couple of lines to show that its also has some ribs/unevenness to it.
Next (as was mentioned at the start of the tutorial) you can trace over your lines with a black pen or marker. You can also simply darken them by pressing harder on the pencil.
Step 9 – Color the Pumpkin
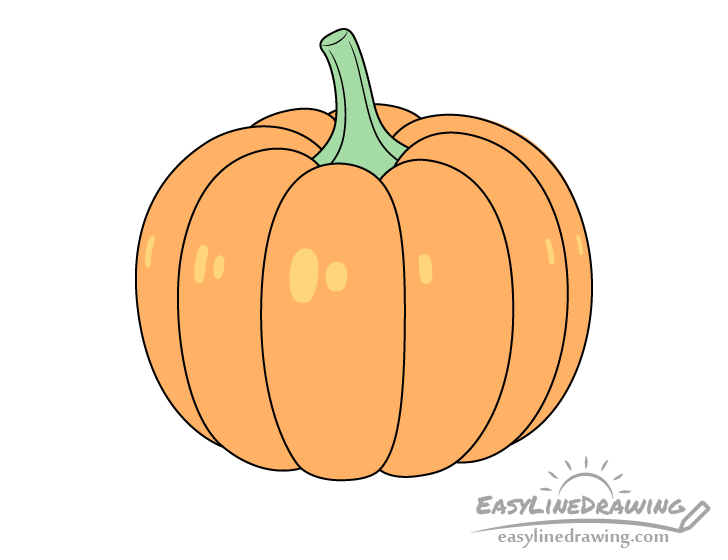
To color the pumpkin you can use pretty much any medium you like or happen to have handy such as paints, markers, colored pencils.
Make the pumpkin orange and the stem green and the highlights (light reflecting from the pumpkin) yellow.
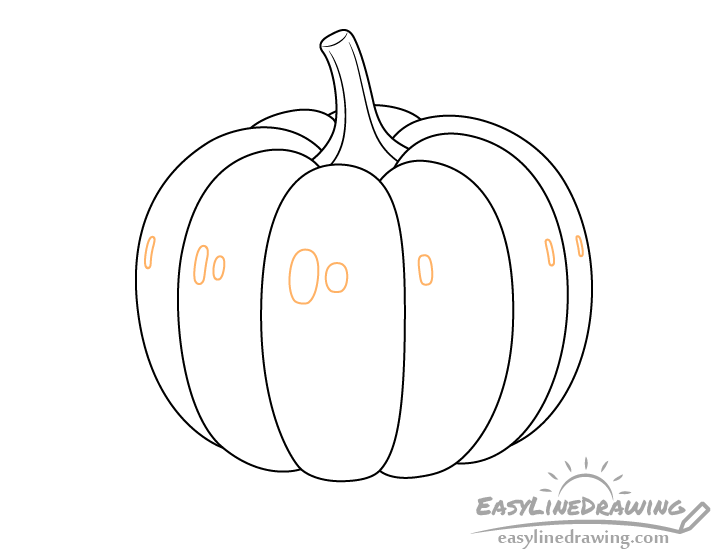
You can outline the highlights before coloring the pumpkin to make sure you don’t accidentally color over them (as shown above). A good way to do this is either with an orange pencil/marker or with very light pencil lines. That way their outlines will simply blend as you color.
Conclusion
A pumpkin can be somewhat more complex than many other vegetables making it more difficult to draw. Hopefully the detailed breakdown of the drawing process in this tutorial has made it a bit easier for you to understand how it can be done.
When drawing objects with a lot of parts/details it can often be a good idea to first frame their overall shape and then draw the smaller parts inside that frame.
For more similar drawing tutorials also see:
- How to Draw an Onion Step by Step
- How to Draw a Carrot Step by Step
- How to Draw an Avocado Step by Step
- How to Draw Grass Step by Step
- How to Draw Cranberries Step by Step


