How to Draw an Almond Step by Step
This really quick tutorial shows how to draw an almond in just four steps. In this case it will be the seed without the shell.
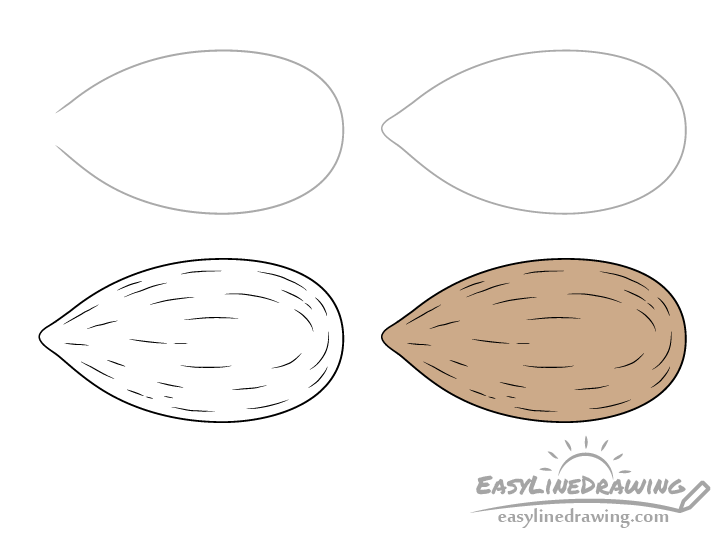
You can see a preview of the drawing steps for the almond above.
Start the tutorial in pencil and make light lines that are easy to erase in case you make a mistake. You can darken them later on with a black pen or marker.
Step 1 – Draw the Main Outline of the Almond
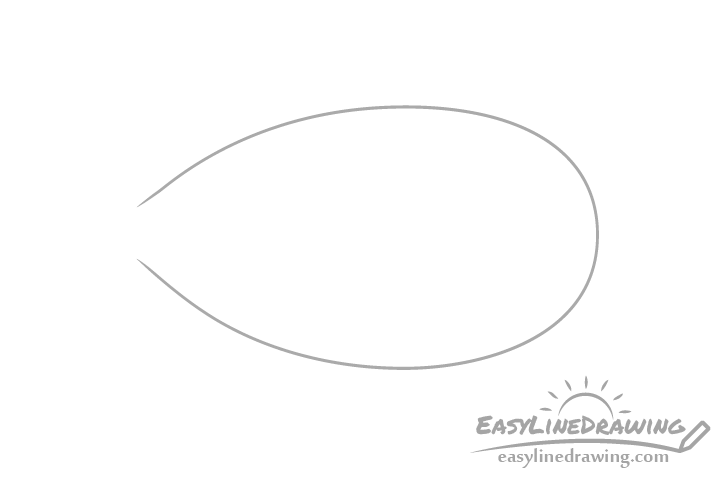
First draw the outline of the almond’s main shape. Make it pointier towards one end, wider towards the middle and rounded on the other end.
For this stage of the drawing leave the tip on it’s pointy end open.
Step 2 – Draw the Tip
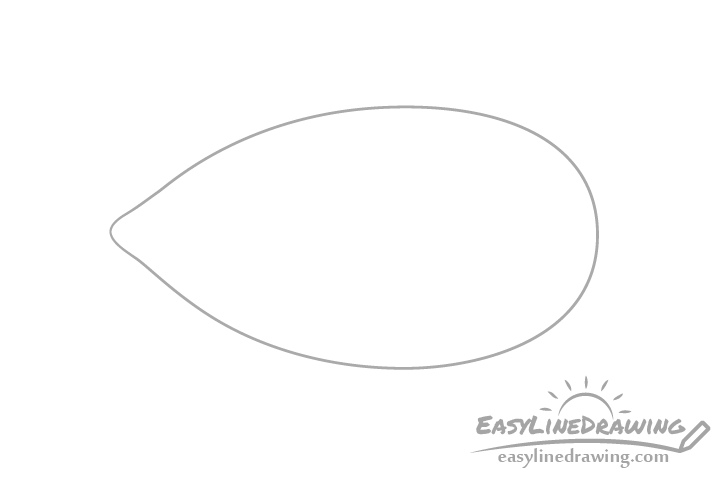
Onto the open end of the outline from the previous step draw the little bump of the tip. Make it somewhat pointy but not completely sharp, you want it’s end to be a little bit rounded.
With that you should have a finished basic outline of the almonds shape.
Step 3 – Add the Texture & Finish the Line Drawing
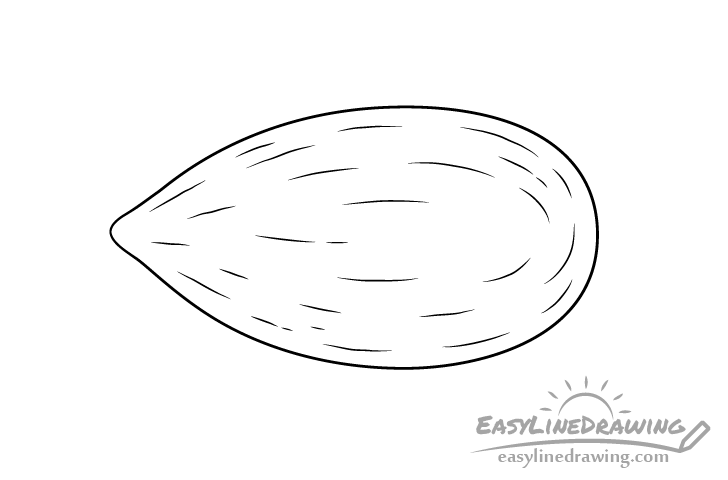
A simple outline of the almond can look a little plain so yo u will want to give it some texture as in the above example. You don’t need to draw too many little details, just a few lines that curve around the it’s shape should be enough. The goal is to give just a hint of what it’s surface is like. When drawing these lines try to deliberately make them somewhat wobbly/wavy. Also, try and make them of different lengths.
Once done adding the texture lines confirm that you are happy with the way your drawing looks (make any corrections if needed) and trace over your lines with a black pen or marker. If you don’t happen to have one handy you can simply darken them with the pencil.
Step 4 – Color the Almond
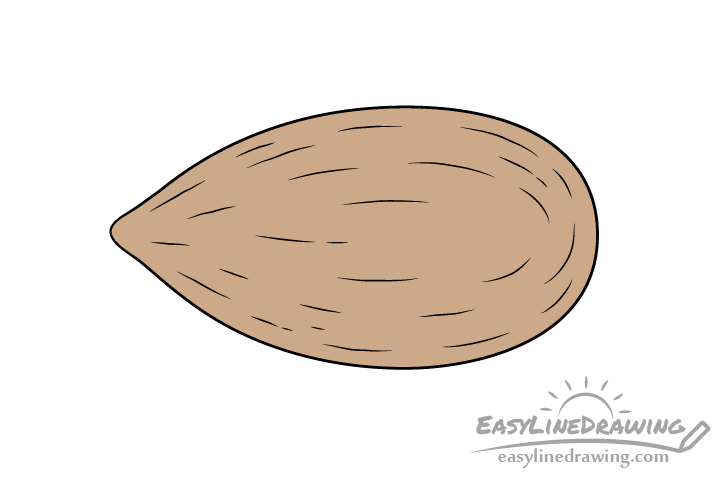
To color the almond you can simply make it brown (optionally with just a bit of yellow in it). You can use whatever medium you prefer for this (markers, paints, colored pencils etc…).
If using a marker you can just make the almond brown. If going with colored pencils you can first color it brown and then lightly go over that with a yellow as well. With paints you can simply mix some yellow into the brown before coloring.
Whatever option you choose once done you should have a finished drawing of an almond.
Conclusion
This short tutorial shows how to draw an almond (without it’s shell) in four quick steps. It’s shape is quite simple and the details such as the texture don’t require too much precision so hopefully haven’t had much trouble drawing it.
If you enjoyed this tutorial and would like to try a few more easy drawing guides see the following:
- How to Draw a Peanut Step by Step
- How to Draw a Pineapple Step by Step
- How to Draw an Acorn Step by Step
- How to Draw a Pistachio Step by Step


")


