How to Draw a Flag Step by Step
This tutorial shows an easy way to draw a flag waving in the wind from a pole. It consists of a total of six steps with details examples and quick explanations for each of them.
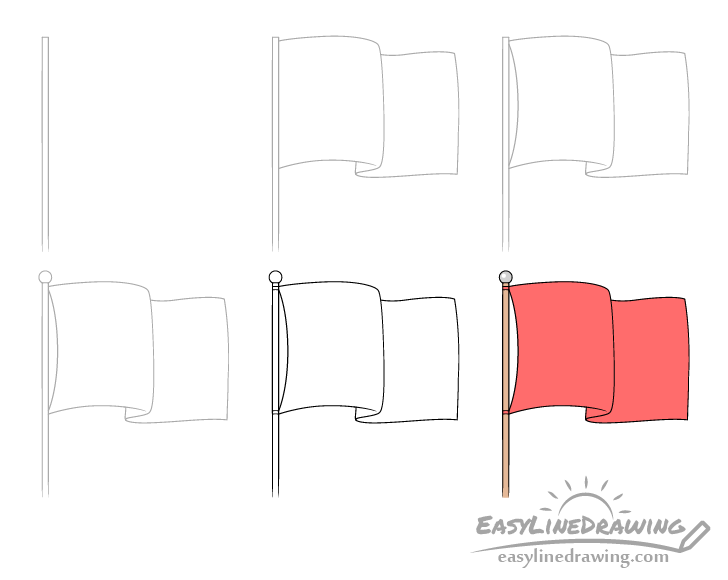
In this example the flag drawing will be somewhat simplified but at the same time it will not be overly stylized. You can see a preview of the included drawing stages in the example above.
Start the tutorial in pencil and make light lines that are easy to erase in case you need to correct a mistake. You can darken them later on with a black pen or marker.
Step 1 – Draw the Flag Pole

Start the drawing with the flag pole. You can make this as long as you like but in this case it will be somewhat “cut off” at the bottom without showing it’s full length. Otherwise the flag would have to be drawn much smaller than in the example.
The pole should consist of pretty much just two straight parallel line joined at the top. If you are having trouble making these you can use a ruler to help you.
Step 2 – Outline the Flag

To show that the flag is blowing in the wind you will want to draw it with a wave to it’s overall shape. You can create this effect by making what looks like two overlapping parts as in the example. Also try and draw pretty much every line that defines these with a curve or a wave.
Step 3 – Add the Space Between the Flag & Pole
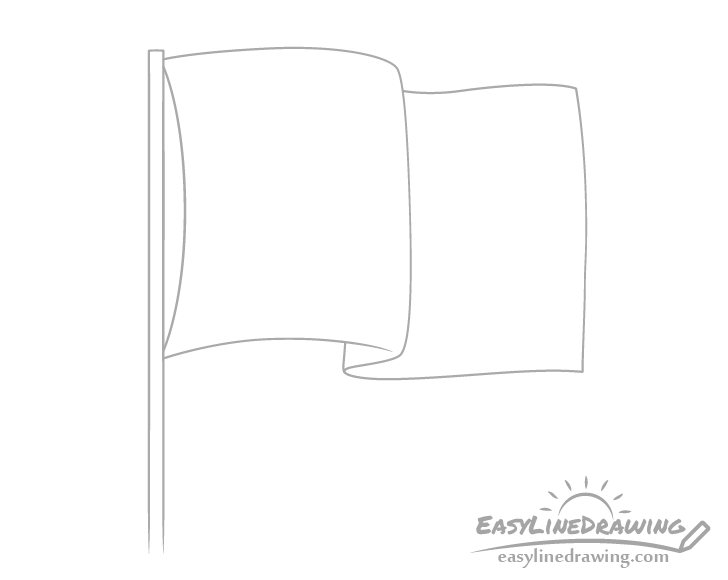
The flag will be attached to the pole at the top and bottom. This means that the part in between will be pulled away from it creating some space in that area. You can outline this with just one curved line as is again shown in the example.
Step 4 – Draw the Pole Tip
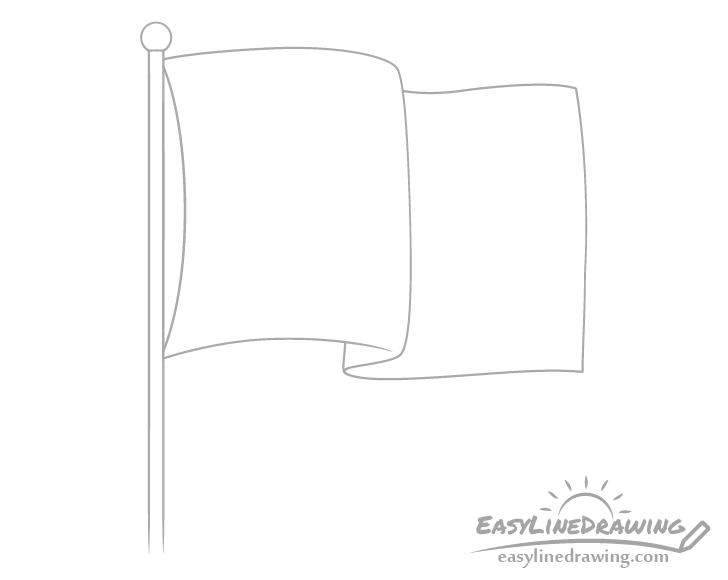
For this quick step add a little round tip at the upper end of the flag pole.
Step 5 – Add the Small Details & Finish the Line Drawing
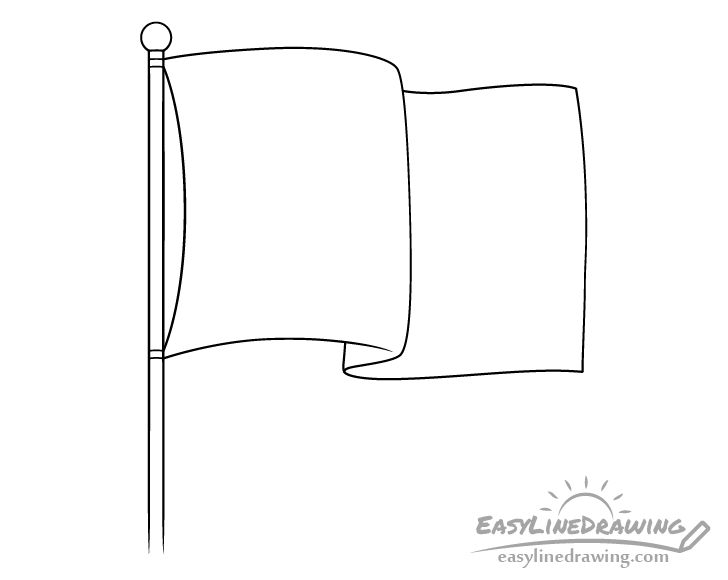
For the last set of details add two small strips of fabric going around the flag pole at the top and bottom of the base of the flag. These will be what holds it in place.
Once done this this simple step you can trace over your lines with a black pen, marker or darken them with the pencil. Just be sure you are happy with your drawing before doing so.
Step 6 – Color the Flag
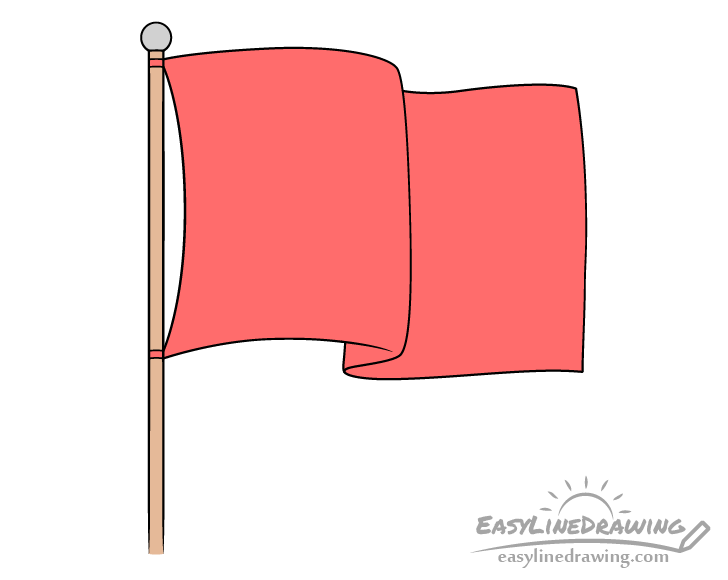
To color the flag you can make the tip grey, the pole brown and the flag itself any color you like. In this case it will just be red. When coloring the tip leave a little round white spot to it’s upper left to show a highlight (light reflection) this will make it appear more shiny and metallic.
You can also use pretty much any coloring method you like or have available such as paints, markers or colored pencils.
Conclusion
The flag in this example is fairly simple and easy to draw but at the same time it still looks fairly natural and not overly stylized. Hopefully you’ve found this style of drawing helpful and easy to follow.
For more similar tutorials see:
- How to Draw A Boat Step by Step
- How to Draw a T-Shirt Step by Step
- How to Draw a Ribbon Step by Step


