How to Draw a Fishing Pole Step by Step
This tutorial shows an easy way to draw a fishing pole in six steps with simple line drawing examples and coloring suggestions.
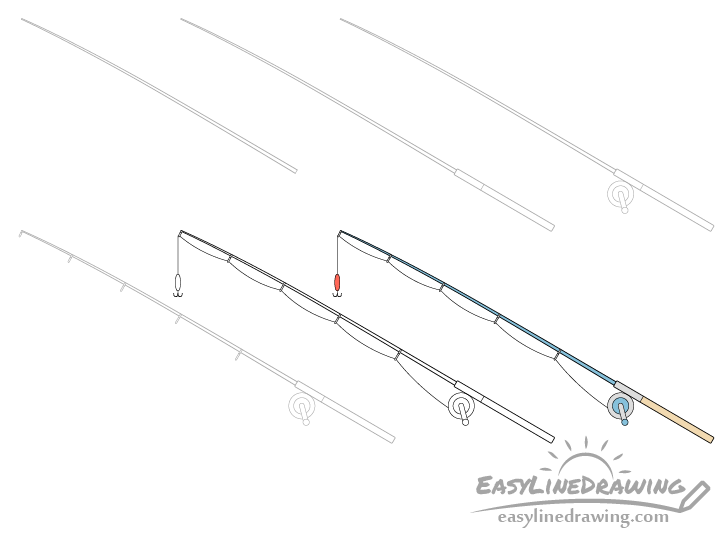
You can see a preview of the drawing stages for the fishing pole in the example above. There will also be some close-up examples of the smaller parts to make their details easier to see.
Start the tutorial in pencil and make light lines as you will need to erase some small parts of the drawing in a few of the steps. You can darken them later on with a black pen or marker.
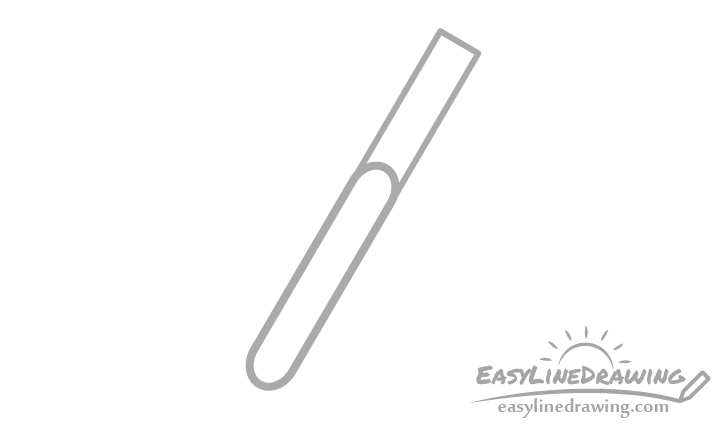
Step 1 – Draw the Blank of the Fishing Pole

Begin by drawing the blank, the rod that is the main part of the fishing pole.
Draw it with a slight bend in it’s shape and make it wider at the base and narrower towards the tip.
Step 2 – Draw the Handle
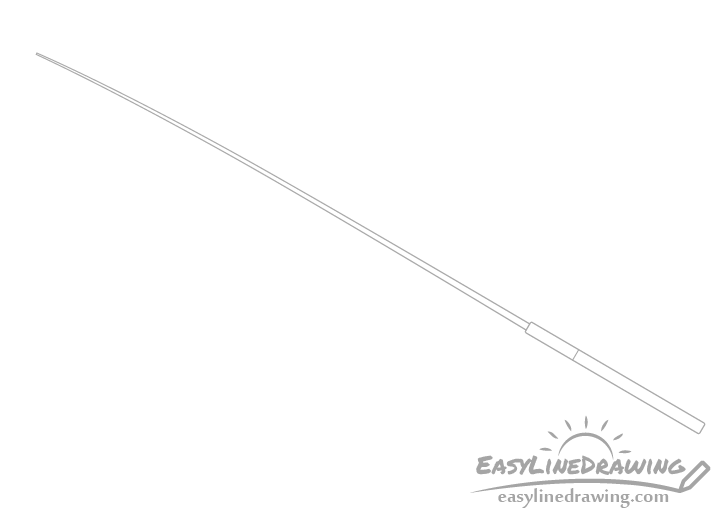
Going down from the base of the blank add the handle. It should be shaped like a very long rectangle with slightly rounded corners.
After you outline it’s main shape draw a line to split this into two parts with the shorter one at the front.
Step 3 – Draw the Reel
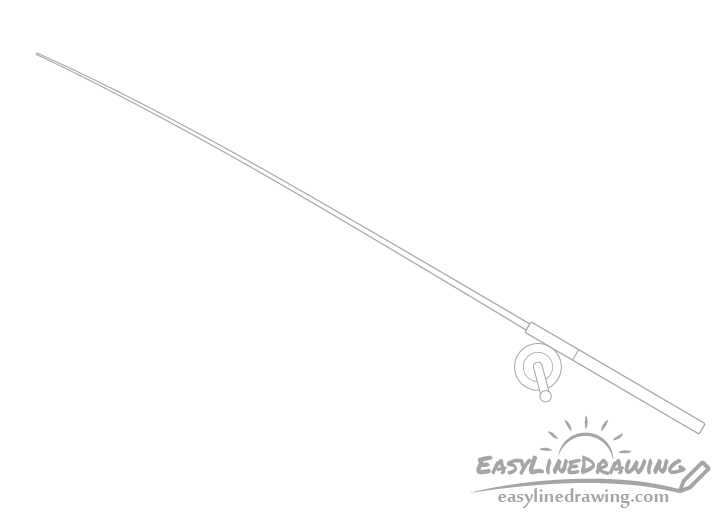
Attached to the front portion of the handle draw the reel.

You can see a close up drawing of it above.
Start by making a circle followed by another smaller circle inside it. Afterwards going out from the center of the two draw the handle as shown in the example. You can erase a small part of the circle where the handle will be going through them.
Step 4 – Draw the Guides
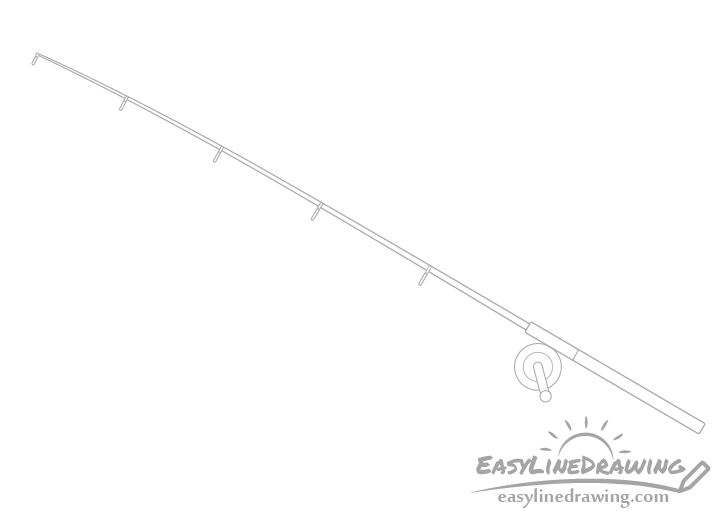
Throughout the blank draw a few guides that the fishing line will then go through.
These should look similar to the example above. Start with a larger one at the base and then make each consecutive guide smaller/narrower as they go towards the tip of the rod. Position the last and smallest one at the very tip.
Step 5 – Draw the Line & Lure
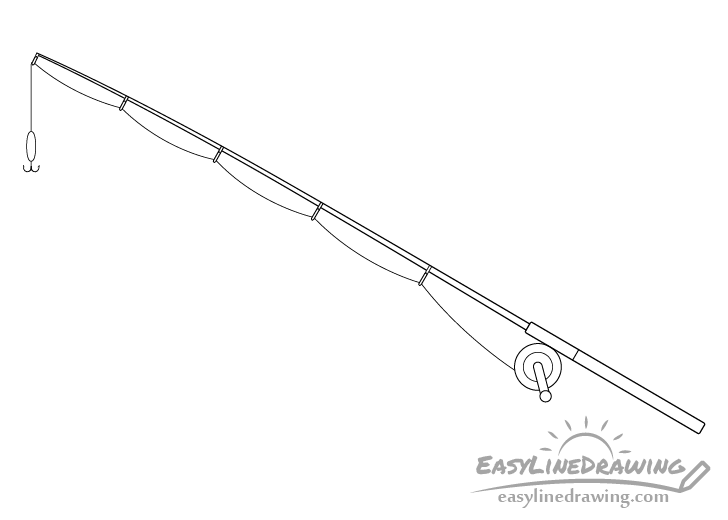
Going through the guides drawn in the previous step add the line. You can draw it as several curves starting from the reel. You can then add a little bit hanging straight down with a lure at the end.
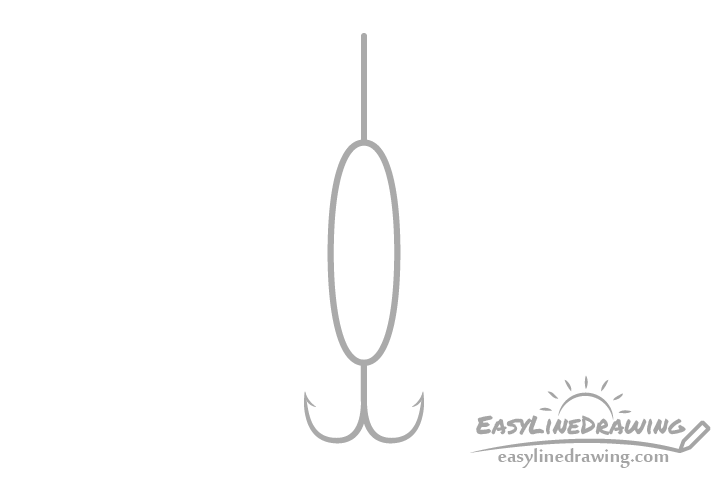
You can see a close-up drawing of the lure above.
Once done drawing all of the parts of the fishing pole you can trace over your lines with a black pen, marker or darken them with the pencil. Just be sure that you are happy with your drawing before doing so.
Step 6 – Color the Fishing Pole
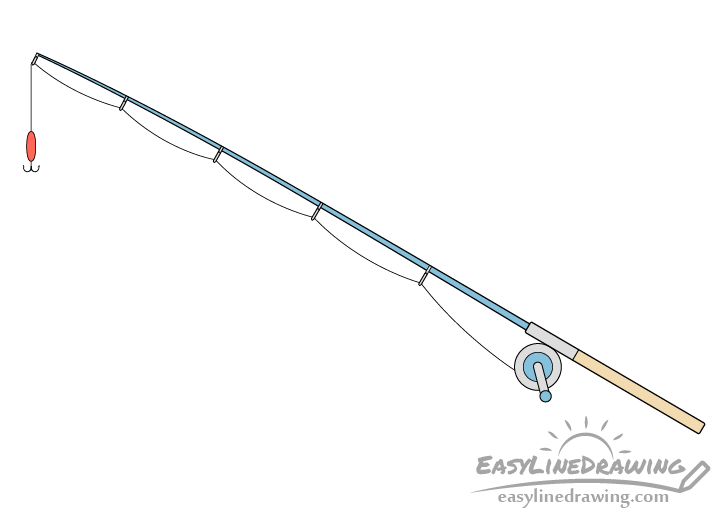
To color the fishing pole you can use whatever medium (paints, markers, colored pencils, etc…) and colors you like.
In this case the blank along with parts of the reel will be blue. The other parts of the reel as well as the portion of the rod that it’s attached to will be grey (to show that they are metallic). The handle will be a light yellow/brown and the lure red.
Conclusion
The fishing pole in this example has a fairly common look. It includes the basic parts most fishing rods tend to have and is drawn in a somewhat simplified manner to make the tutorial easier. Hopefully you’ve found the drawing approach and tips helpful.
For more similar tutorials also see:
- How to Draw a Goldfish Step by Step
- How to Draw a Flashlight Step by Step
- How to Draw A Boat Step by Step
- How to Draw a Traffic Light Step by Step
- How to Draw a Tennis Racket Step by Step
- How to Draw a Hockey Stick Step by Step