How to Draw a Paper Coffee Cup Step by Step
This tutorial shows how to draw a paper coffee cup with a plastic lid in six steps with easy to follow examples and tips.
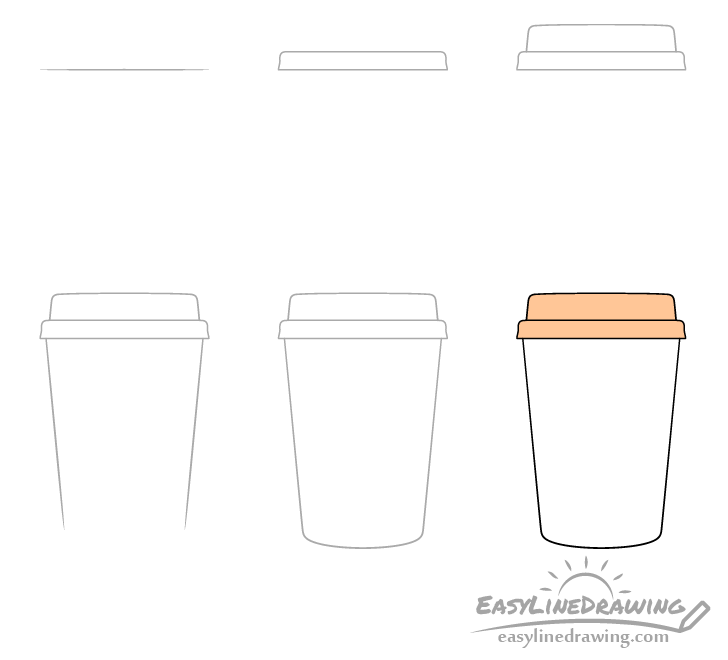
The tutorial is quite simple and should be easy enough even if you are a beginner to drawing. You can see the included steps in the preview image above.
Start the drawing in pencil and make light lines that are easy to erase in case you make a mistake. You can darken them later on with a black pen or marker.
For drawing a ceramic cup/mug see the following tutorial:
Step 1 – Draw the Line for the Bottom of the Lid of the Coffee Cup

Begin the drawing with just a horizontal line that will set the width and the position of the bottom of the lid. Be sure to leave plenty of room below it for the actual cup.
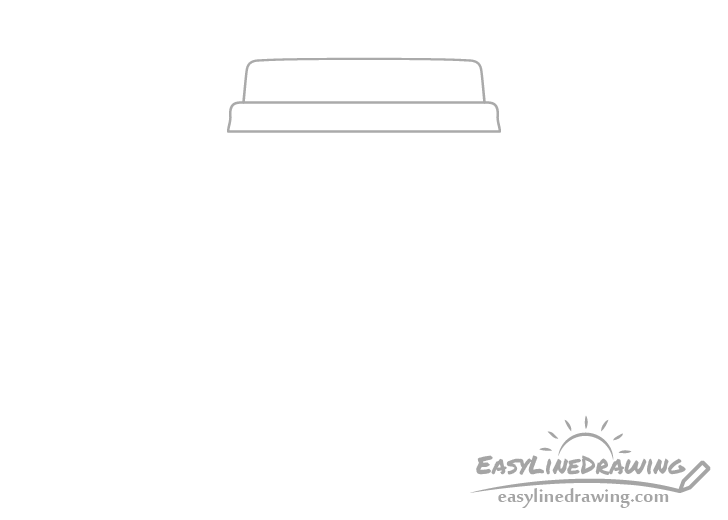
Step 2 – Draw the Bottom of the Lid

Based on the line from the previous step outline the bottom portion of the lid. The part that snaps onto the rim of the paper cup.
Step 3 – Draw the Top of the Lid
Above the bottom portion add the top part of the lid. Make this slightly narrower and significantly taller. It should get even narrower as it goes up.
One thing that you will also want to do that may be a bit hard to notice in the examples is to draw the line that defines the top of the lid with a slightly curve (unlike the straight line for the bottom).
Step 4 – Draw the Sides
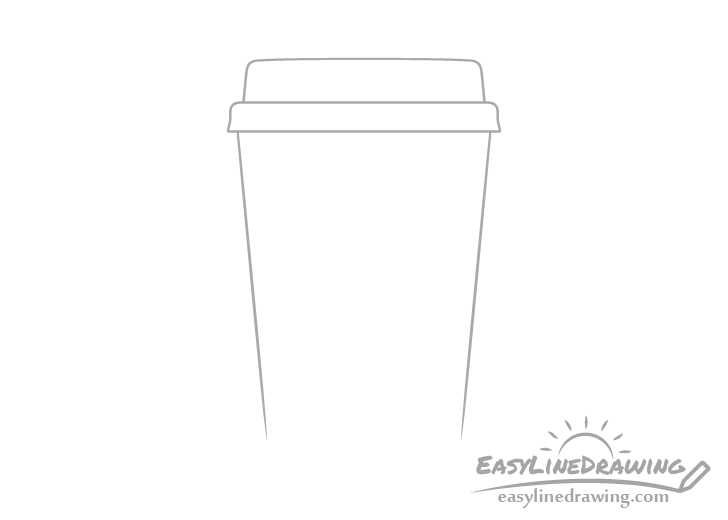
Going down from the lid draw the sides of the paper cup as a pair of straight lines that are angled towards the center. Try and keep draw them in a way where they mirror one another so that the cup is symmetrical.
Step 5 – Draw the Bottom & Finish the Line Drawing
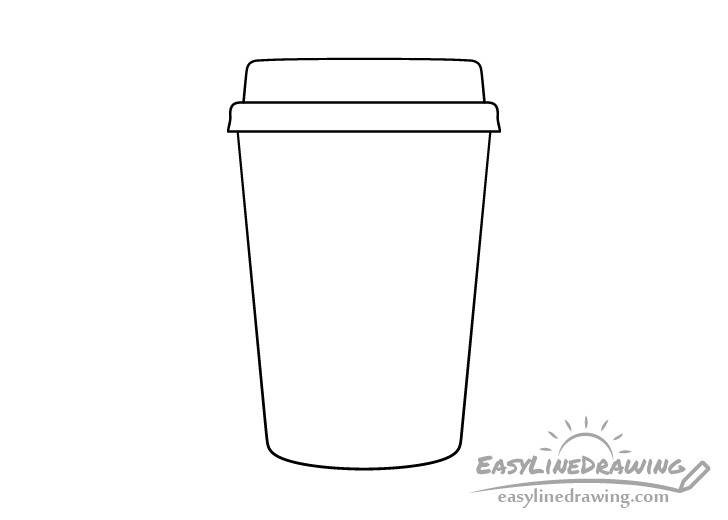
Join the two lines from the previous step with a smooth curve at the bottom to finish the outline of the cup.
At this stage if you feel your drawing looks good you can go ahead and trace over it with a black pen or marker as was mentioned at the start of the tutorial. If you don’t have one around simply darken your lines with the pencil.
Step 6 – Color the Coffee Cup

Generally coffee cups are white while the lids can be just about any color (often depending on the brand of the brand). In this case the lid will be orange but you can of course use a different color if you prefer. You can even leave both white (as is very common).
Conclusion
Drawing a coffee cup like the one in this example is quite simple, especially if you follow the step by step breakdown provided in the tutorial. You can also make the cup taller/shorter if you want to draw a large or a small sized coffee. Pretty much the same drawing approach will still apply.
Hopefully you’ve enjoyed this tutorial and found it helpful. For more like it see the following:
- How to Draw a Soda Cup in 6 Steps
- How to Draw a Bottle of Water Step by Step
- How to Draw a Can of Pop Step by Step
- How to Draw a Glass of Water Step by Step


