How to Draw a Sponge Step by Step
This tutorial shows how to draw a sponge in six steps. It includes simple illustrated examples of line drawing, color and shading.
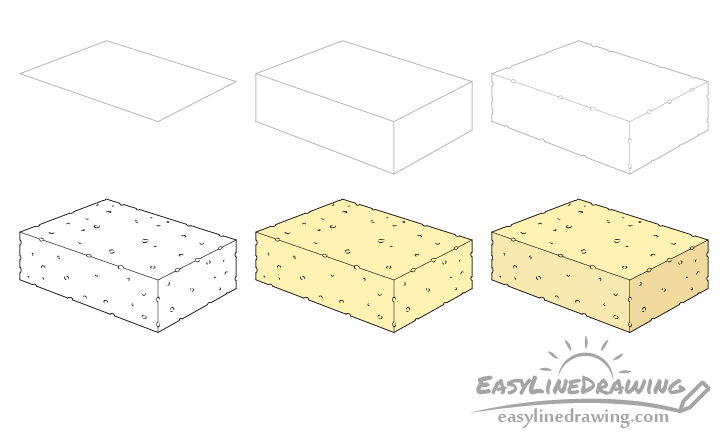
In this example the sponge will be drawn in 3/4 view. You can see a preview of the drawing stages for it in the picture above.
Start the tutorial in pencil and make light lines as you will need to erase some small parts of the drawing in one of the steps. You can darken them later on with a black pen or marker.
Step 1 – Draw the Top of the Sponge

First draw the upper part of the sponge. This will be shaped as a rectangle but from this particular view it will be skewed as it’s being viewed on an angle.
Step 2 – Draw the Sides

Going down form the top area add each of the sides. Once done you should have a basic outline of the sponge’s shape.
Step 3 – Draw the Pores Along the Edges
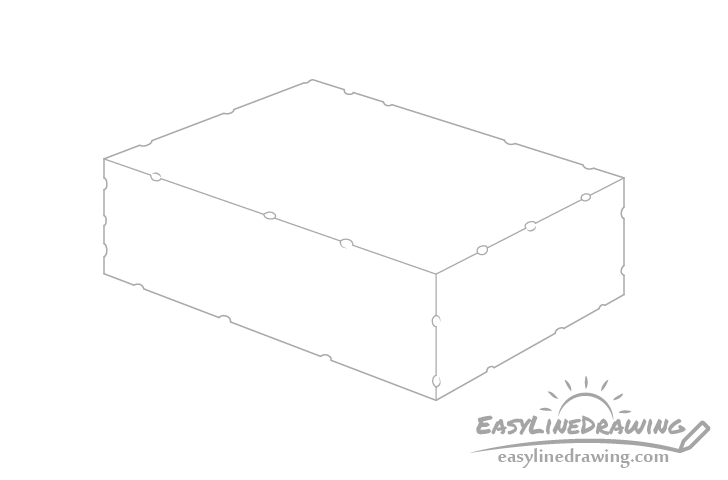
Start adding the smaller details to the drawing with some pores along the edges of the sponge. You can erase little bits of the lines from the previous two steps and add them in.
Try make the placement of the spores as well as their shapes and sizes somewhat uneven/random so that they don’t all look the same.
Step 4 – Draw the Rest of the Pores & Finish the Line Drawing
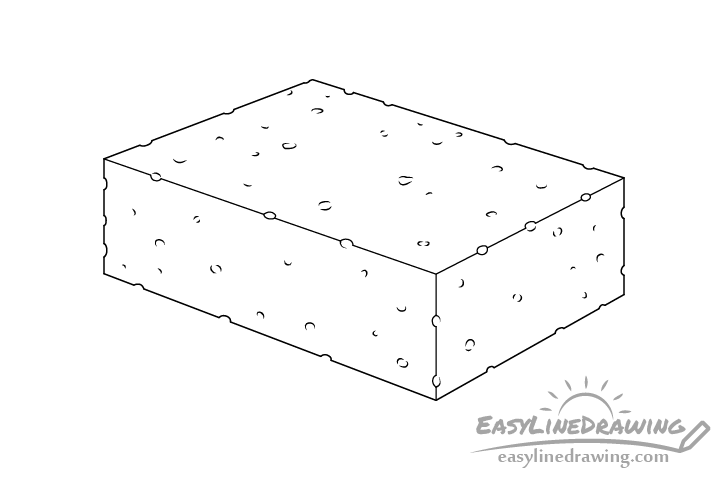
Add more spores on each side of the sponge. You can show just a hint of some of them with one or two curves while giving others a more solid outline. Again, try and keep them somewhat random so that the sponge looks more natural.
Once done adding the pores you can trace over your drawing with a black pen, marker or darken your lines with the pencil. Just be sure that you are happy with how things look before doing.
Step 5 – Add Color
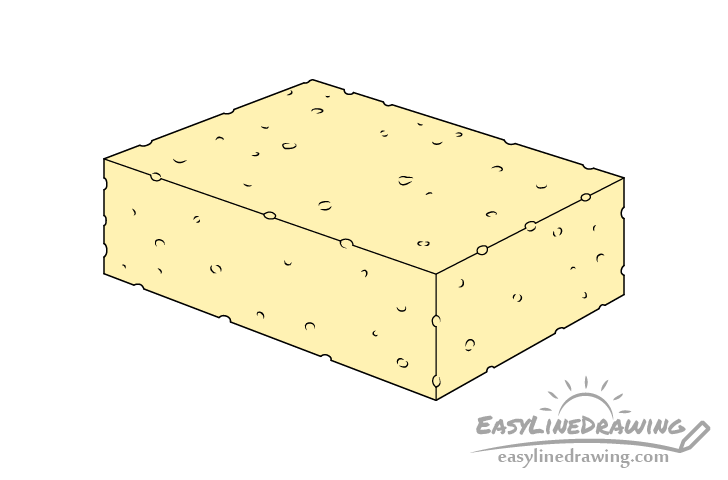
To color the sponge you can simply make it yellow as in the example.
Step 6 – Add Shading
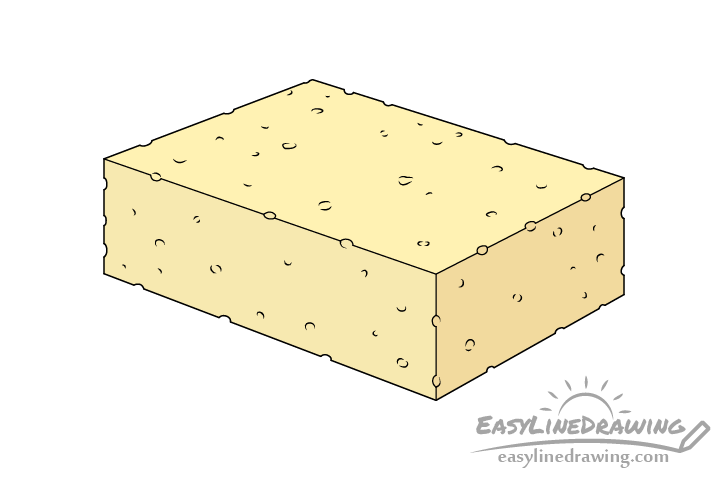
To make the drawing look a little more three dimensional you can also give it some very basic shading. An easy way to do this is to darken the two sides of the sponge by going over them with either a regular or a brown pencil.
In this case the light will be coming from the upper left so you can very slightly shade the left side while making the right side somewhat darker.
Once done with the shading you should have a finished drawing of the sponge.
Conclusion
A good way to draw objects such as the sponge in this tutorial is to first outline their main overall shape and then add the smaller details afterwards. Even if it means having to erase some small parts of the drawing in the process. If you focus on the details right away you may need to do more backtracking in case you make a mistake.
For more similar tutorials also see:
- How to Draw a Towel or Cloth Step by Step
- How to Draw Hand Sanitizer Step by Step
- How to Draw a Toothbrush Step by Step

")


