How to Draw Hand Sanitizer Step by Step
This tutorial shows how to draw a bottle of hand sanitizer in six steps with easy to follow illustrated examples and quick explanations.
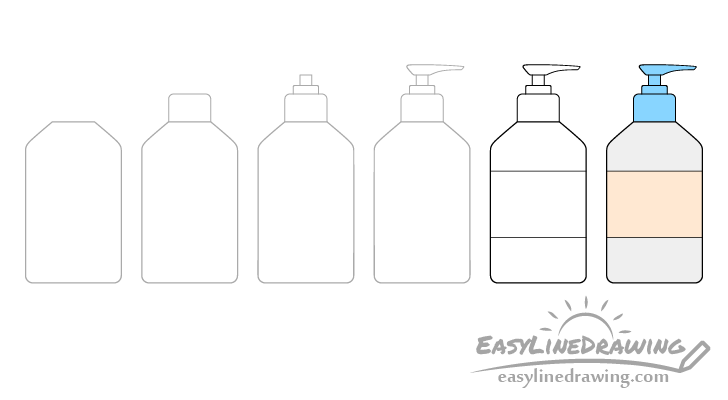
The bottle in this tutorial will have a fairly common look with parts similar to what a lot of these types of products tend to have. However, it will be drawn without any of the smaller details such as the writing on the label to keep things simple. You can see a preview of the different drawing stages for the sanitizer in the picture above.
Start the tutorial in pencil and make light lines that are easy to erase in case you make a mistake. You can darken them later on with a black pen or marker.
Step 1 – Draw the Outline of the Bottle
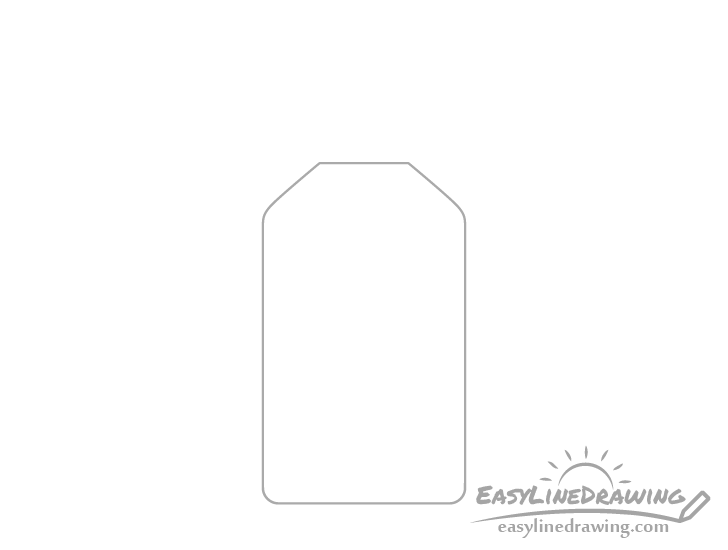
Start by outlining the main part of the bottle shaped as shown above. It should look a bit like a rectangle with rounded corners on the bottom and a house like roof on top.
Step 2 – Draw the Lid
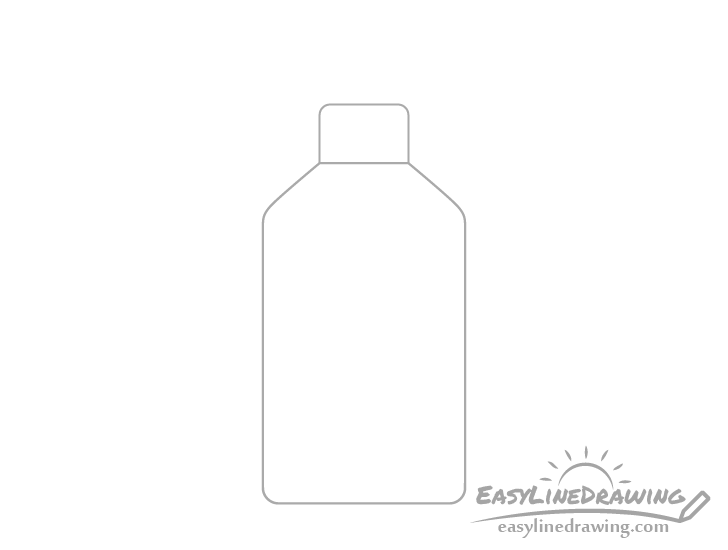
Onto the main part of the bottle add the lid. Give this part rounded corners also but this time on top.
Step 3 – Draw the Pump Parts
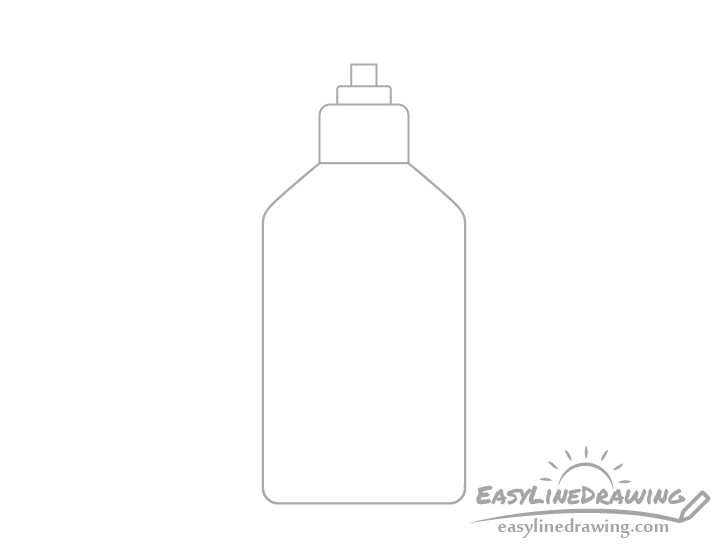
Coming up from the lid draw some parts of the pump mechanism. In this case they will pretty much look like two rectangles stacked on top of each other with the bottom one yet again having slightly rounded corners on it’s top side.
Step 4 – Draw the Pump Actuator
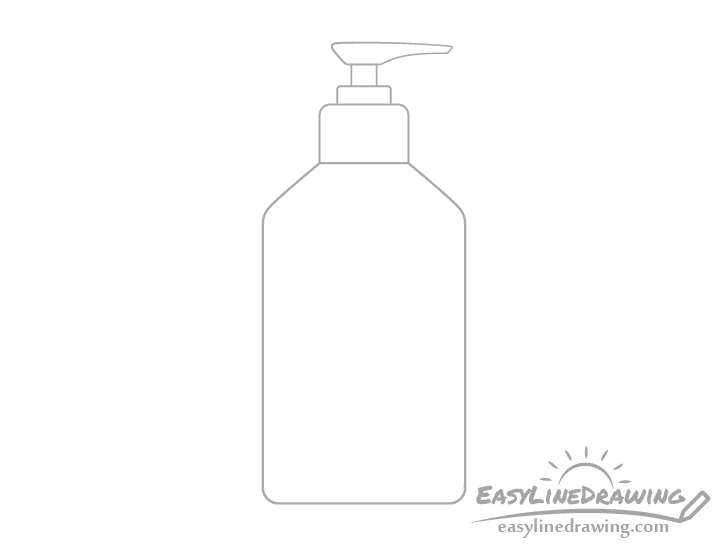
At the top of the pump mechanism add the actuator (the part that dispenses the sanitizer). You can draw it’s shape as shown in the example.
Step 5 – Draw the Label & Finish the Line Drawing
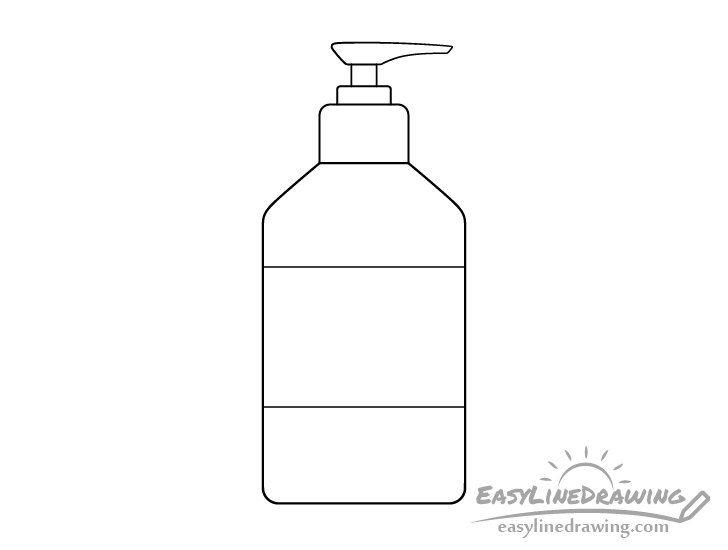
Finish the line drawing by first adding a label to the bottle. You can show it with just a pair of lines. As was mentioned at the start of the tutorial you don’t actually need to add any writing to the label but you can if you want to.
Next confirm that you like how your drawing looks thus far and trace over it with a black pen or marker.
Step 6 – Color the Hand Sanitizer
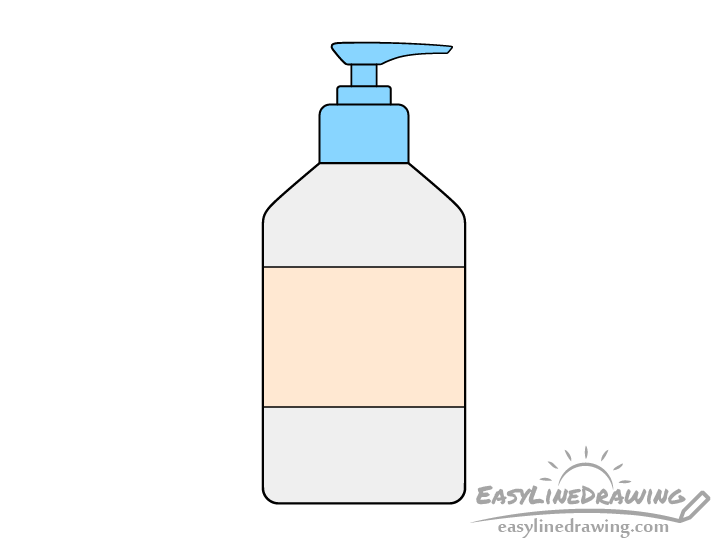
Sanitizer bottles often tend to be transparent which gives them a bit of a grey color so you can shade the bottle with a regular pencil. You can make the lid/label any colors you like but in this case they will be blue and light orange/yellow. You can use pretty much any medium you like for coloring these (markers, paints, colored pencils etc…).
Conclusion
The hand sanitizer bottle in this tutorial has a fairly standard look with a common parts such as a pump/actuator. You can of course also tweak the design as you like or add more details such as a logo/writing on the label.
If you found this tutorial helpful you may also want to try some of the following:
- How to Draw a Face Mask Step by Step
- How to Draw a Shoe Step by Step
- How to Draw a Bottle of Water Step by Step
- How to Draw a Sponge Step by Step
- How to Draw a Dress Step by Step
- How to Draw a Water Drop Step by Step


")


