How to Draw a Champagne Glass in Four Step
This easy tutorial shows how to draw a very simple champagne glass with champagne in it in just four steps with illustrated examples and some quick tips.
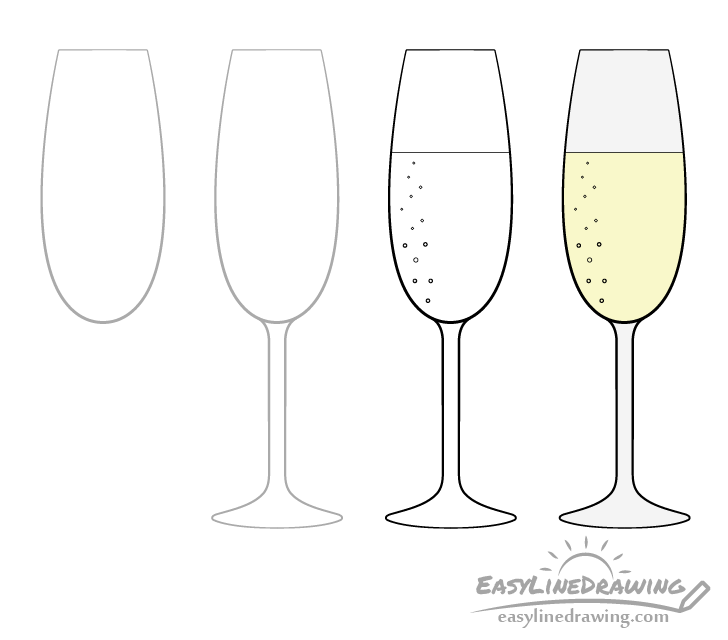
You can see a preview of the drawing steps in the examples above. As mentioned the tutorial is quite easy and mainly focuses on drawing the correct shape of a champagne glass without any complex details. In this case the glass will have champagne it in it but you can also leave it empty if you prefer.
Start the tutorial in pencil and make light lines that are easy to erase in case you make a mistake. You can darken them later on with a black pen or marker.
Step 1 – Draw the The Bowl of the Champagne Glass
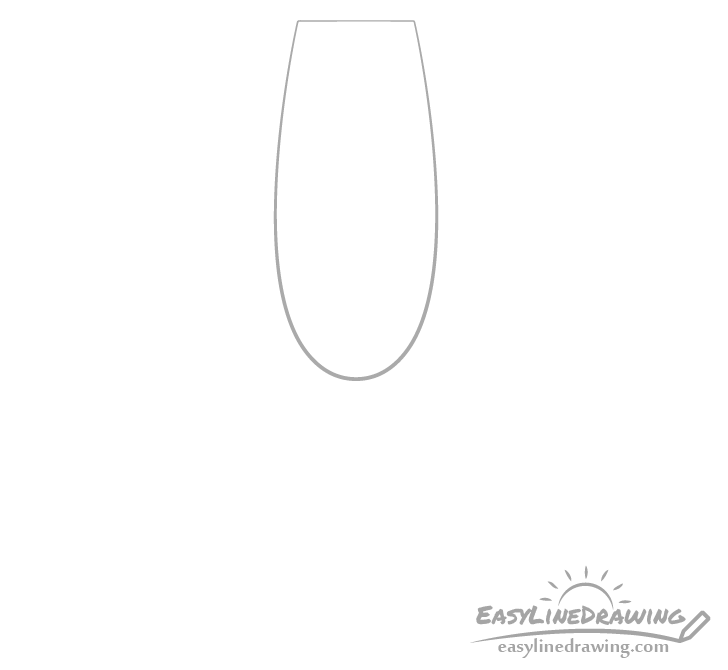
Start with the top part of the champagne glass (the bowl). Make it fairly tall and narrow with a flat top and a rounded bottom. You can also make it’s shape just bit wider towards the bottom than the top.
Step 2 – Draw the Stem/Base
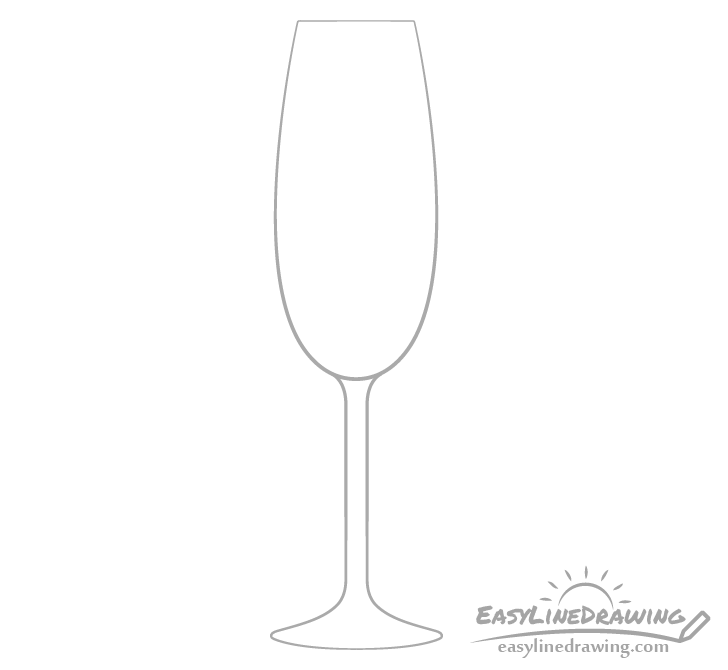
Going down from the bowl draw the stem and be sure to make it very thin in comparison as is so characteristic of champagne glasses. If it’s too thick the drawing can look odd.
The stem should eventually transition into the base. Draw the base with a pair of smooth curves on each side as well as one for it’s bottom.
Step 3 – Draw the Champagne & Finish the Line Drawing

Inside the bowl draw a straight horizontal line to indicate the level of champagne in the glass. You can also draw a little stream of bubbles running up along one of it’s sides (as again is so characteristic of champagne). Try and draw some bubbles a little larger and some a little smaller so that they are not all the same.
Of course as was already mentioned you can also simply leave the glass empty if you prefer.
Whatever option you choose once done with it check to make sure that you are happy with your drawing and trace over your lines with a black pen or marker. If you don’t have one of those around you can just darken them with the pencil.
Step 4 – Color the Champagne Glass
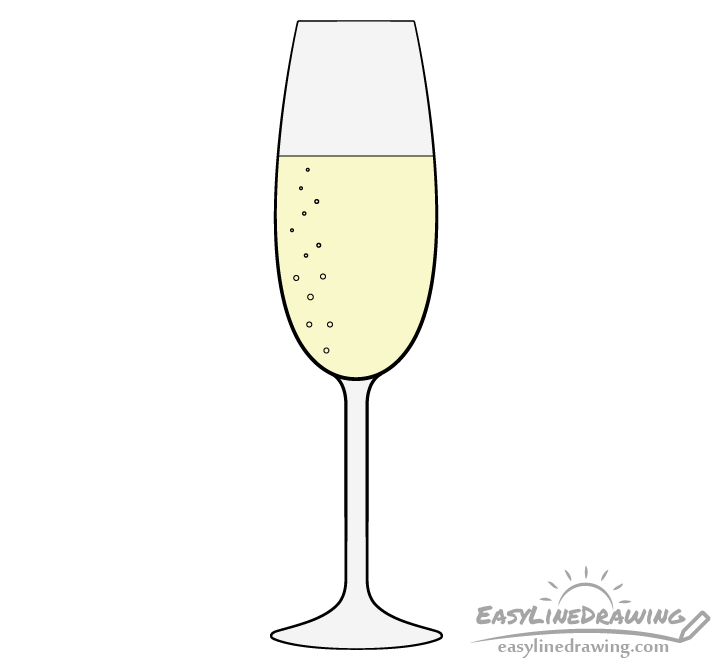
To color the champagne glass you can simply shade it a light grey and make the champagne inside it yellow. You can use a regular pencil for the grey and whatever medium you like for the yellow (markers, paints, colored pencils, etc…).
Conclusion
This tutorial shows how to draw a very simple champagne glass. Sometimes just getting the correct shape of an object can make for a fairly nice drawing. In this case giving the champagne glass a tall bowl and a thin stem that are so characteristic of such an object really makes it look like what it’s supposed to be.
For more similar tutorials also see:
- How to Draw a Coffee Cup Step by Step
- How to Draw Glasses Step by Step
- How to Draw a Can of Pop Step by Step
- How to Draw a Teapot Step by Step
- How to Draw a Paper Coffee Cup Step by Step


