How to Draw a Bottle of Water Step by Step
This eight step tutorial shows how to draw a bottle of water with easy to follow illustrated examples and quick drawing instructions.

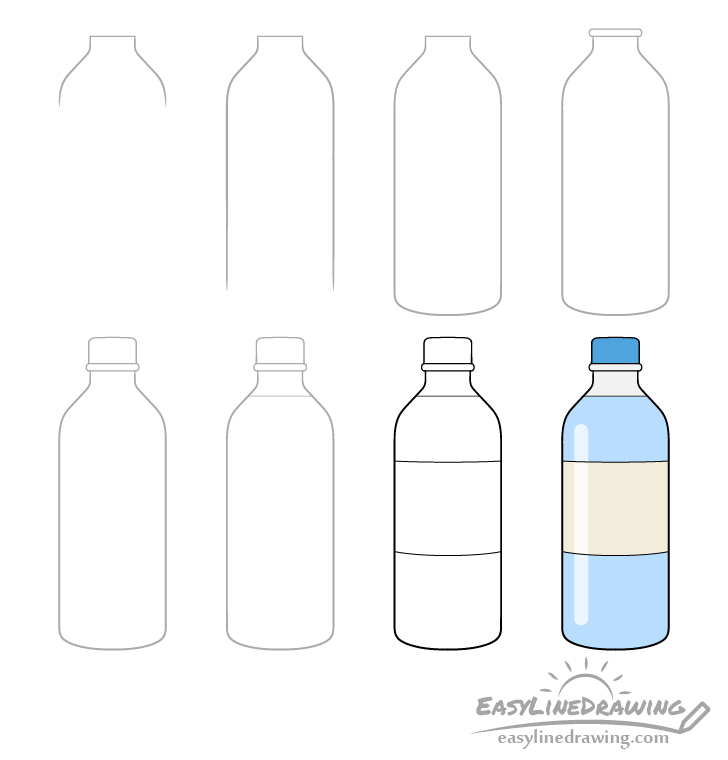
You can see the drawing stages for the bottle in the preview image above. The example is shown with the bare minimum parts that water bottles tend to have to make it easier to draw.
Start the tutorial in pencil and make light and easy to erase lines (in case you need to make a correction). You can trace over them later on with a black pen/marker.
For drawing a glass of water see:
How to Draw a Glass of Water Step by Step
Step 1 – Draw the Top of the Bottle of Water

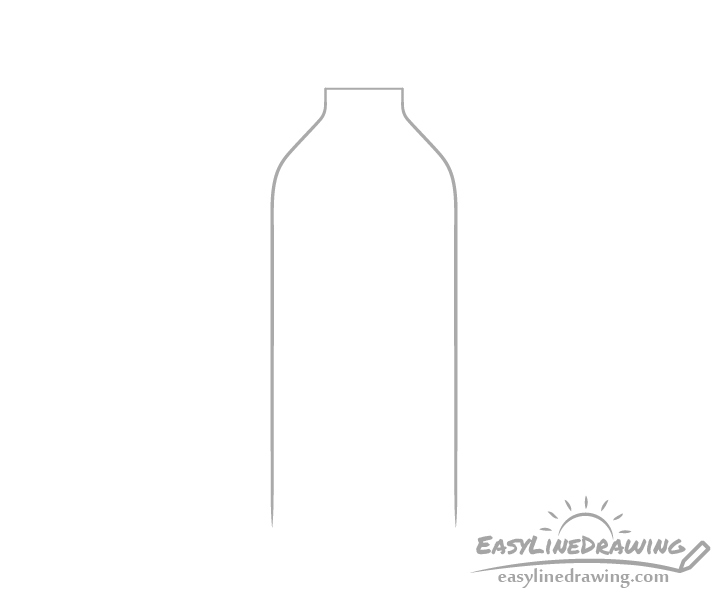
Begin by drawing the upper part of the bottle, the neck and shoulders. Don’t make the neck too long as it will also have a ring section and a cap above that (added in later steps).

Optionally, you may also wish to draw a light pencil centerline (shown in blue in the example) through the middle of where you wish to have the bottle. This line can help you see if both it’s halves are even in width. If you do choose to draw it you can keep it all the way through step five.
Step 2 – Draw the Sides of the Bottle

Going down from the shoulders draw the sides of the bottle with a pair of straight lines. As these will pretty much determine the height of the bottle try not to make them too long or too short.
Step 3 – Draw the Bottom of the Bottle

Finally add the bottom as as shown in the example. Draw it with a smooth curve and rounded corners on the sides.
Step 4 – Draw the Neck “Ring”

At the top of the bottle add the “ring” section that water bottles tend to have. Make it fairly narrow and just a bit wider than the neck.
Step 5 – Draw the Cap

Finally on top of the bottle add the cap. Give it rounded corners and a very lightly curved top. With that you should have a basic outline of the bottle with all of it’s main parts.
If you chose to draw the center line at step one you can erase it at this point.
Step 6 – Draw the Water

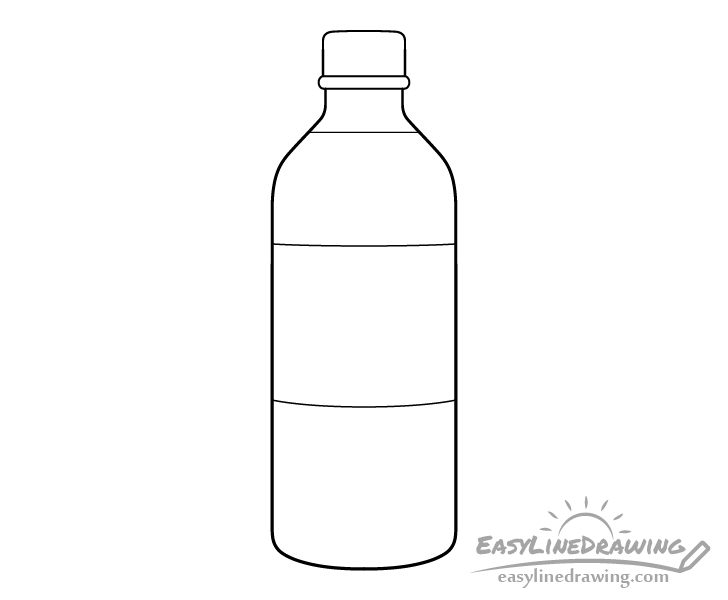
For this simple step indicate the water level in the bottle by drawing a straight horizontal line just a bit below the neck.
Step 7 – Draw the Label & Finish the Line Drawing

Roughly in the middle of the bottle (vertically) add the label. Draw it with two curved lines. One that is just barely curved for the top and a second more curved one for the bottom. Once done you should have a full outline drawing of the water bottle.
At this point confirm that you are happy with the way everything looks and make any corrections if required. Afterwards trace over your drawing with a black pen, marker or darker pencil lines.
Step 8 – Color the Bottle of Water

To color the bottle you can make the lid blue, the bottle grey, the water light blue and the label a light yellow/brown. You can use whatever medium you like or a mix of a few of them. For example you can color the lid with a marker to get the darker blue and the water with a pencil to get the lighter blue.
You can also (optionally) leave a highlight running along the side of the bottle as shown in the example. If you do wish to add it you should very lightly outline it in pencil before coloring. If it appears to be a little too bright you can lightly go over it with blue for the parts over the water and yellow for the part over the label.
Once done color you should be finished with the drawing.
Conclusion
This tutorial shows how to draw a simple bottle of water with just the bare minimum amount of detail to make it easier to draw. At the same time it’s not overly stylized and can look quite nice when finished.
For more similar tutorials also see:
- How to Draw a Can of Pop Step by Step
- How to Draw a Shirt Step by Step
- How to Draw a Baseball Cap Step by Step
- How to Draw an Ice Pop Step by Step
- How to Draw a Face Mask Step by Step
- How to Draw a Mug Step by Step


