How to Draw a Mug Step by Step
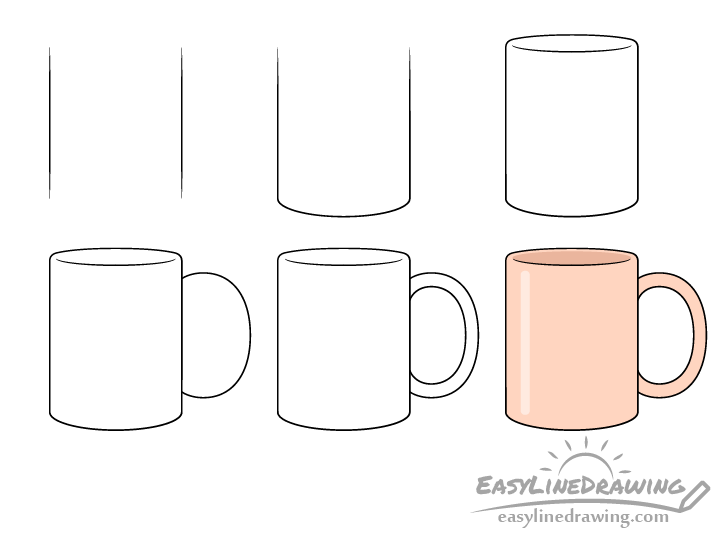
This tutorial shows an easy way to draw a mug in six steps with some very simple tips on the line drawing, coloring and shading.
Mugs like the one in the example are very common and you’ve probably seen someone drinking coffee from one that looks just like it. Due to their uncomplicated designs drawing one is not too difficult. However, there are few simple tricks (covered in this guide) that can help you get a nicer looking artwork.
It’s recommended that you start the tutorial in pencil and make light lines that are easy to erase in case you need to make a correction. You can darken them later on with a black pen or marker.
For drawing glass or paper coffee cups see:
Step 1 – Draw the Sides of the Mug
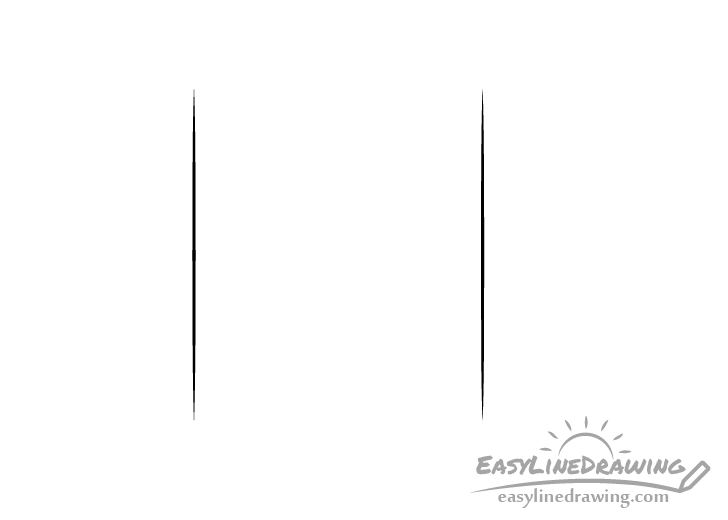
Begin by drawing a pair of vertical lines for the sides of the mug. These will set it’s width and height.
Step 2 – Draw the Bottom
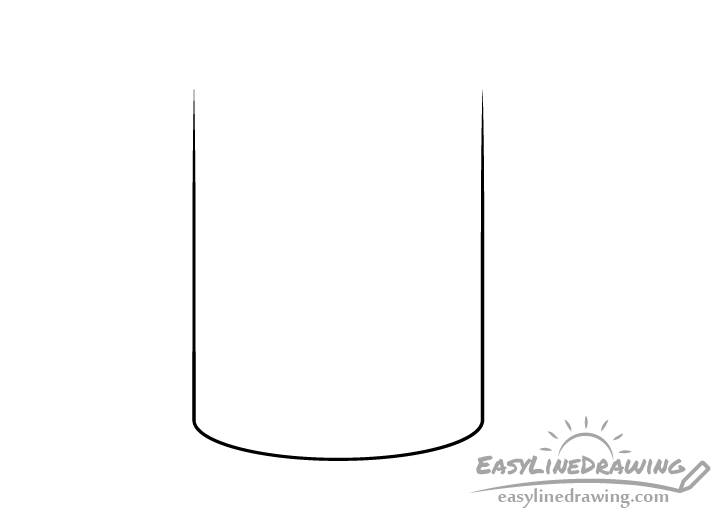
Draw a curve that connects the bottom ends of the two lines from the previous step to create the bottom of the mug.
Step 3 – Draw the Top

When drawing the top of the mug keep in mind that the overall shape of it’s opening is an oval (when viewed on an angle like in the example).
First, draw the opening’s lower curve in a way where it does not touch either side of the mug. This will help show that it’s walls have some thickness to them. However, do join the two sides with the openings top curve. Draw both of these curves to be flatter (less rounded/closer to a straight line) than the one that defines the bottom (in step two).
You should have a simple outline of a mug’s main body once done.
Step 4 – Draw the Outer Shape of the Handle
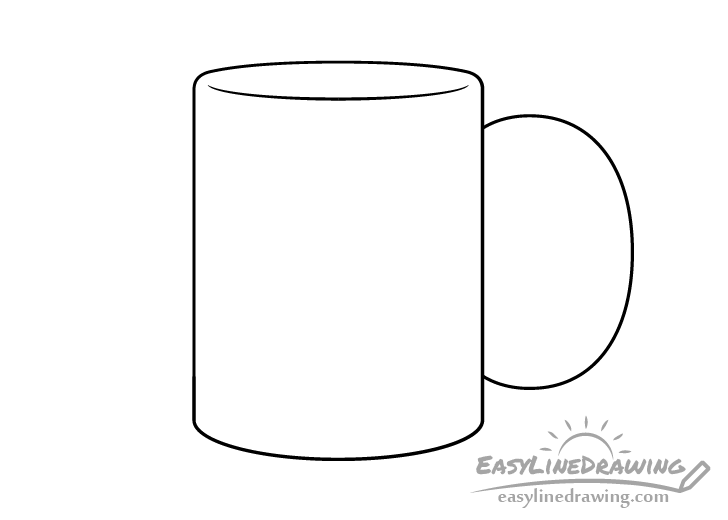
On one side of the mug draw the outline of the handle. Make it’s shape somewhat like an oval that with one of it’s sides partially cut off.
Step 5 – Draw the Inner Shape of the Handle & Finish the Line Drawing

Inside the outline from the previous step draw the inner part of the handle (as shown in the example). Do this in a way where it will make the handle’s overall shape slightly thicker near the mug (as shown in the example).
Once done with the above you can trace over your drawing with a black pen, marker or darker pencil lines. Just be sure that you are happy with how things look before doing so.
Step 6 – Color the Mug
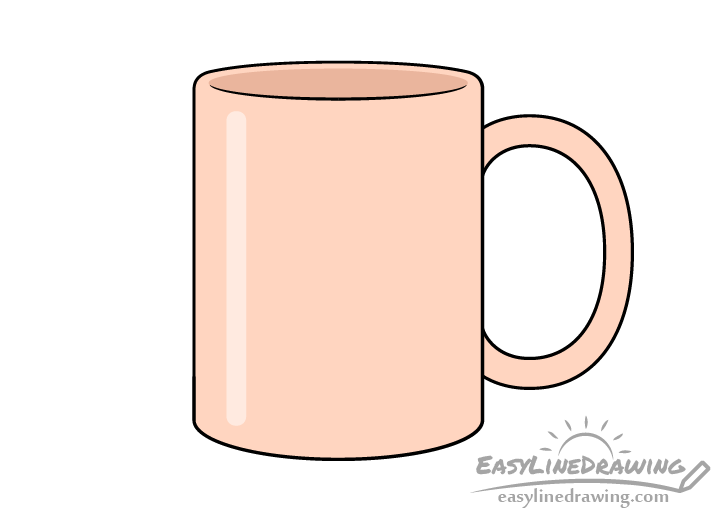
You can make the mug one solid color (use whatever you like). In this case it will be a light brown/pink. Just about any medium can work (paints, colored pencils, markers, etc…)
Before coloring you can also outline a long highlight (light reflection) to one side of the mug (opposite the handle). This will help show that it has a smooth surface. Do this either very lightly with a regular pencil or with the same color you want to use for the mug. You can then color around the highlights and afterwards go over it with a lighter variant of the mug’s color (so that it’s not overly bright).
You can also shade the inner side of the opening. Either do this with a darker variant of the color used for the mug or with a regular pencil. When adding the shadow be sure that it does not touch the the very top. You want there to be a light rim around the opening. Otherwise it will look like the mug is paper thin.
Conclusion
This tutorial shows how to draw a fairly common looking mug that is usually used for hot drinks such as coffee. In this example the mug is fairly plain as the focus of the guide was on creating it’s overall shape. However, if you like you can make things a bit more interesting by adding some writing or pictures to it.
For example you could add something like one of the following:
For other similar tutorials also see:
- How to Draw a Champagne Glass in Four Step
- How to Draw a Glass of Water Step by Step
- How to Draw a Yogurt Step by Step