How to Draw a Yogurt Step by Step
This tutorial shows how to draw yogurt in a plastic cup in six steps with basic illustrated examples and easy to follow instructions.
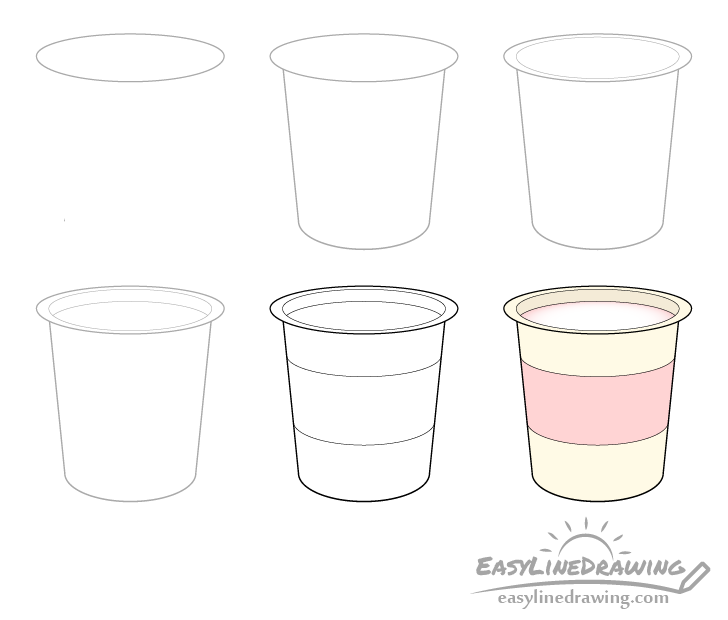
You can see a preview of the drawing steps for the yogurt in the image above. To keep the tutorial easy it will not include too many details such as the writing/logo that usually go on the label. The goal is to create a simple drawing that looks like what it’s supposed to (a yogurt cup).
Start the tutorial in pencil and make light lines that are easy to erase in case you make a mistake. You can darken them later on with a black pen or marker.
Step 1 – Draw the Top of the Yogurt Cup
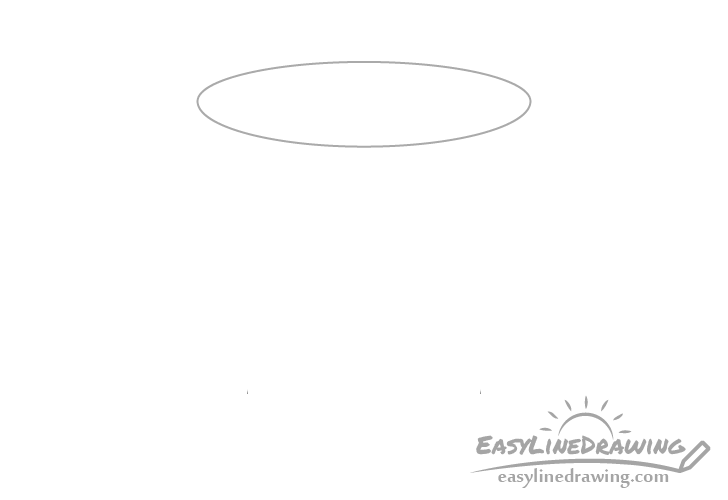
Begin by drawing the top of the plastic container/cup that yogurt often comes in. While it’s supposed to be round viewed on an angle as in this example it will look like an oval.
When drawing this oval also try and make it’s top half slightly flatter than the bottom.
Step 2 – Draw the Cup
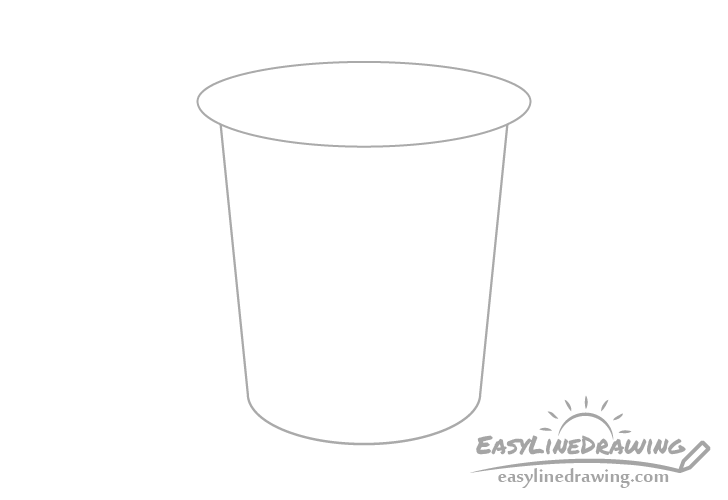
Going down from the top add the main part of the cup. Make it’s top slightly narrower than the oval from the previous step. The actual shape of the cup should be similar to that of a bucket where it’s wider at the top and narrower at the bottom. When drawing the bottom make it more curvy (closer to half a circle) than the bottom half of the top oval.
Once done you should have what looks like a simple drawing of a closed yogurt cup.
Step 3 – Draw the Opening
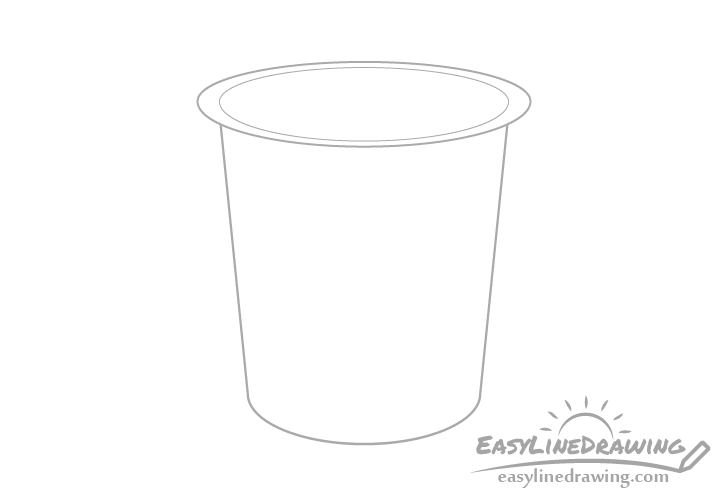
To make the yogurt cup look like it’s open draw another smaller oval inside the larger one from the first step (shaped almost the same). This will crate the opening.
Step 4 – Draw the Yogurt Level

To show the actual yogurt draw a curved line just a bit below the opening as shown in the example.
Step 5 – Add a Label & Finish the Line Drawing
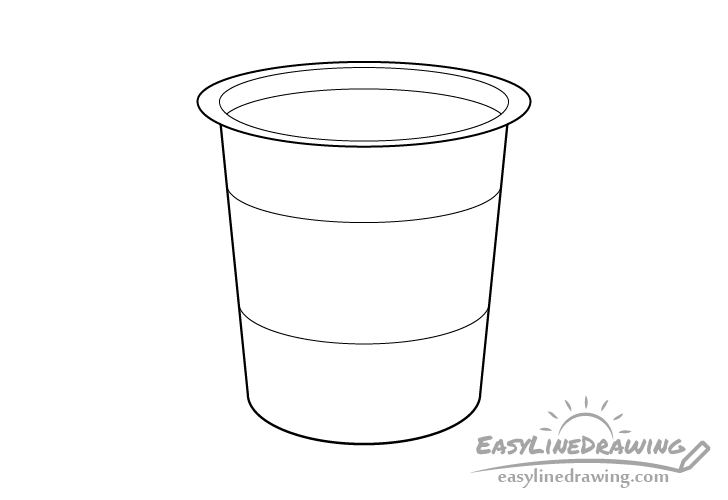
Finish the line drawing by first adding a label to the yogurt. You will again want to add some half-oval like curves as in the example to show it. Also once again make the lower curve slightly more curvy than the top.
Once done drawing the label you can trace over your lines with a black pen or marker (or darken them with the pencil). Just be sure you are happy with your drawing before you do so.
Step 6 – Color the Yogurt
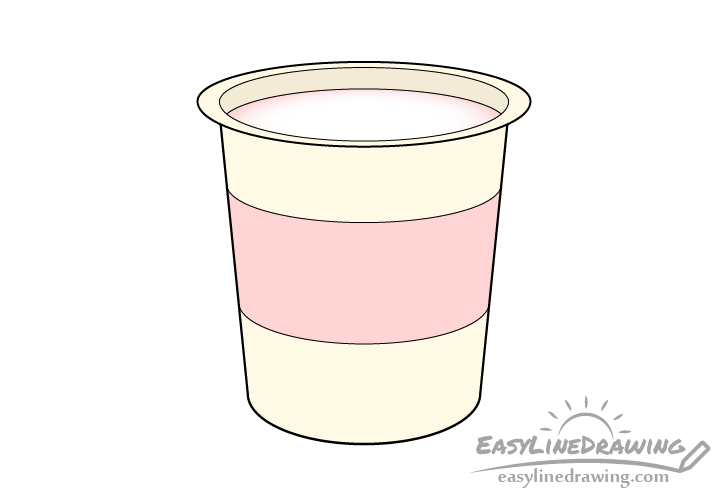
To color the yogurt you can make the cup a light yellow (or even just leave it white). Make the label pink and also give the yogurt itself a little bit of a pink gradient around it’s upper edge (as in the example).
An easy way to add the color (especially the gradient) is with colored pencils.
Conclusion
This tutorial focuses on drawing a cup of yogurt without too many of the details. The goal is to create a drawing that is fairly simple but at the same time looks like what it’s supposed to. However, if you feel like it you can give the cup more details such as a picture of some fruits or berries (fairly common yogurt flavors) and/or a logo.
For more similar tutorials also see:
- How to Draw a Strawberry Step by Step
- How to Draw a Banana Step by Step
- How to Draw Cherries Step by Step
- How to Draw a Champagne Glass in Four Step
- How to Draw a Bowl of Soup Step by Step
- How to Draw a Paper Coffee Cup Step by Step


")


