How to Draw an Umbrella Step by Step
This tutorial shows an easy way to draw an umbrella in six steps. It includes simple illustrated examples and quick drawing instructions.

You can see a preview of the drawing steps in the example above.
Drawing an umbrella from the side view is fairly easy even if you are total beginner. Even so start the tutorial in pencil and make light lines that are easy to erase (just in case you make a mistake).
Step 1 – Draw the Outline of the Canopy
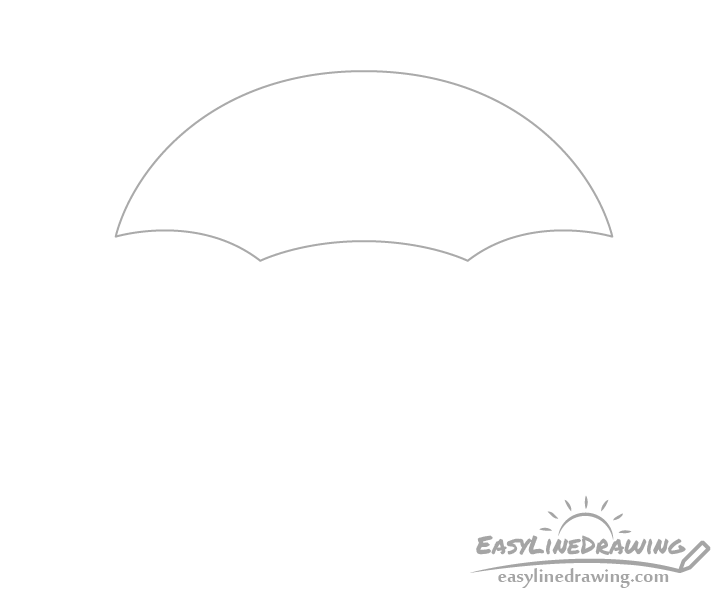
Begin by drawing the fabric part of the umbrella. The canopy.
Draw one big curve for it’s top part and join that at the bottom with three smaller curves (as shown in the example above).
Try and keep your curves fairly smooth and also try and keep the umbrella symmetrical on both sides. If you are having trouble doing this you can draw a light vertical line down it’s middle to help you see if both sides are similar in width. You can erase it later once you no longer need it.
Step 2 – Draw the Ribs
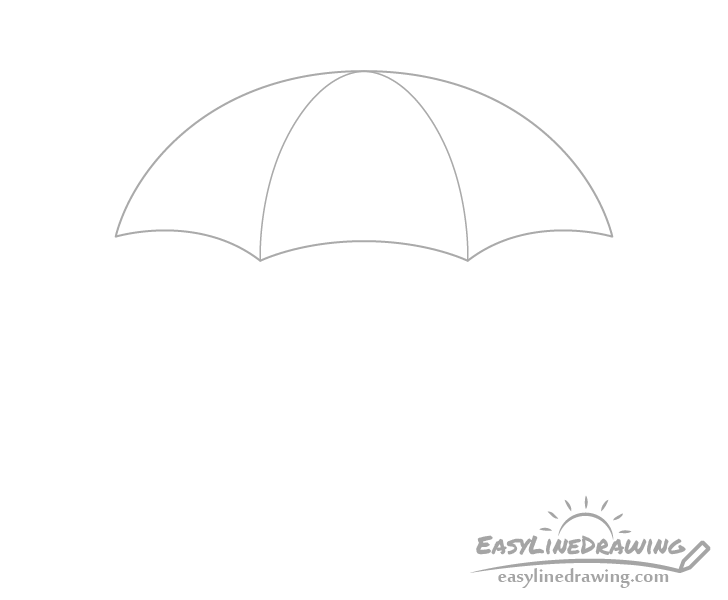
Next add the ribs going from the tips of the bottom curves to middle of the upper curve of the canopy. This should create three separate sections.
Again make sure you draw the rives with nice and smooth curves and try and keep them symmetrical.
Step 3 – Draw the Pole
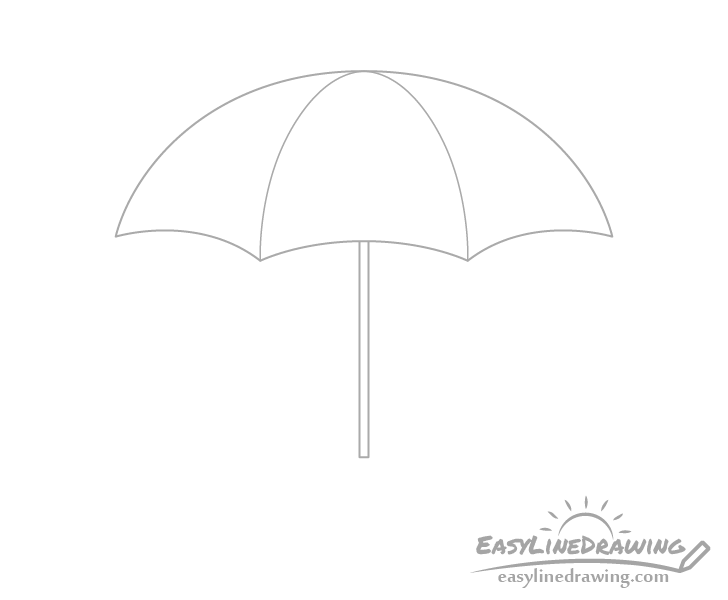
Going down form the middle of the canopy draw the pole. It should be straight and fairly thin. If you are having trouble making the straight lines for it you can use a ruler to help you.
Also try and make sure that the pole is vertical and not tilted to any one side.
Step 4 – Draw the Tip
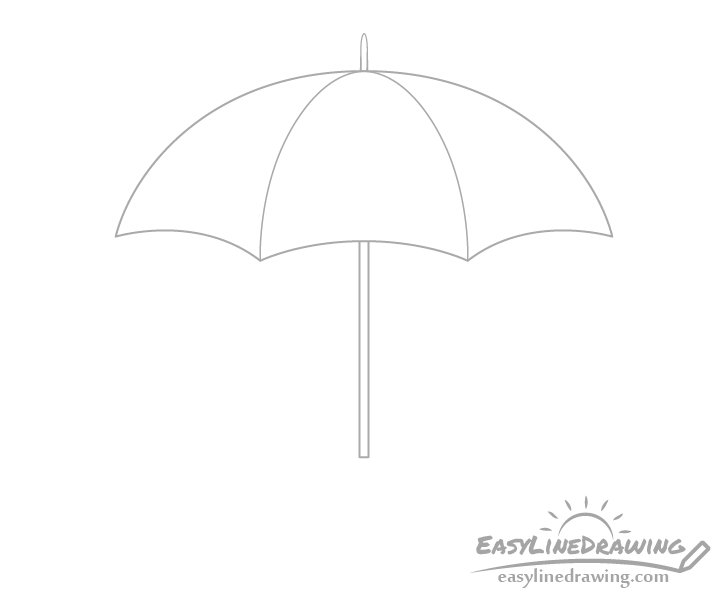
Going up from the top of the canopy add the little tip umbrellas tend to have in that place. This should be fairly simple but again try and make sure it’s vertical so that the umbrella doesn’t end up looking like it’s been bent out of shape.
Step 5 – Draw the Handle
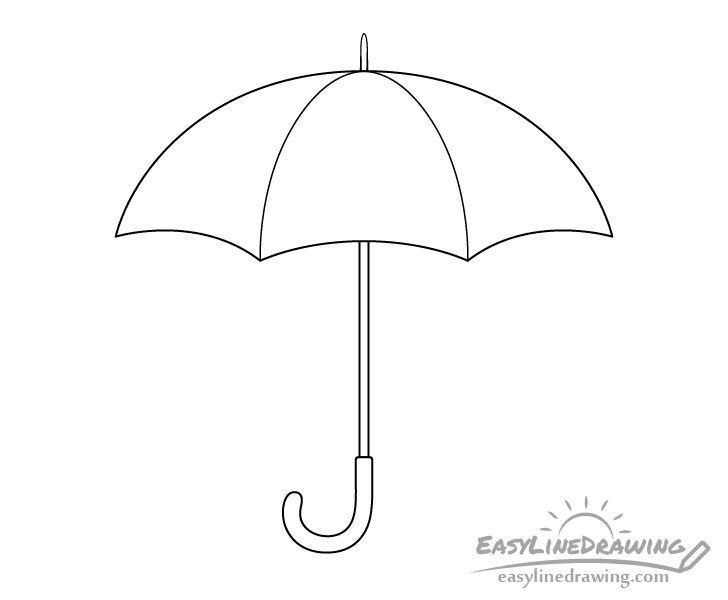
Finally to finish the line drawing of the umbrella first add the hand and once done trace over your drawing with a black pen/marker or darken your lines with the pencil.
When drawing the handle first make it straight and then add a nice and smooth curve as it goes down. Also make the handle somewhat thicker than the pole but no so much so that it looks out of proportion compared to the rest of the umbrella.
Step 6 – Color the Umbrella
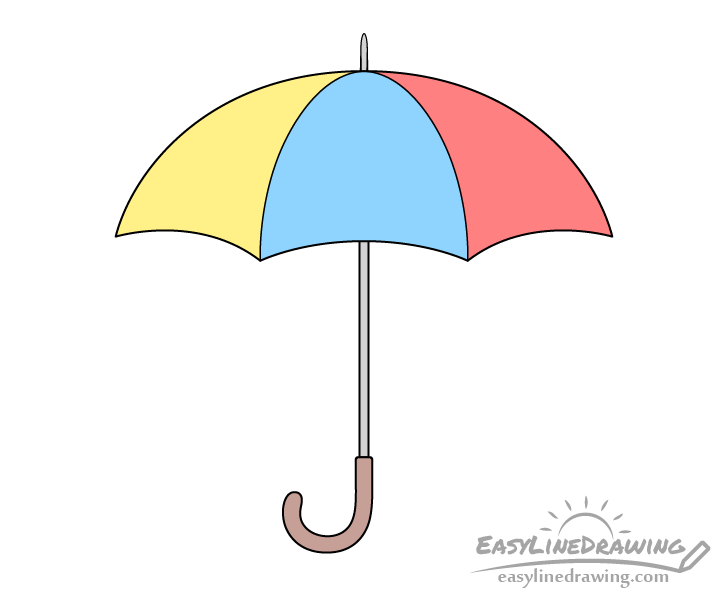
You can color the canopy of the umbrella pretty much however you like. The one in the example is yellow, blue and red as these colors are pretty fun and go well together.
As the tip and pole are usually metallic you can makes these a light grey. Just like the canopy you can pretty much go with any color you like for the handle but in this case it will be a light brown.
Conclusion
Drawing an umbrella from the side is quite easy. However even a simple drawing can look quite nice as long as you have good proportions, nice and clean line and pick good colors. Hopefully this tutorial helped you at least a little bit with all of those.
For more similar tutorials also see:
- How to Draw a Light Bulb Step by Step
- How to Draw a Pencil Step by Step
- How to Draw Balloons Step by Step
- How to Draw a Beach Ball Step by Step
- How to Draw a T-Shirt Step by Step
- How to Draw Socks Step by Step


")


