How to Draw a Sword Step by Step
This tutorial shows how to draw a simple sword. It includes eight steps that provide a detailed breakdown of the drawing process to make it easier to follow along.
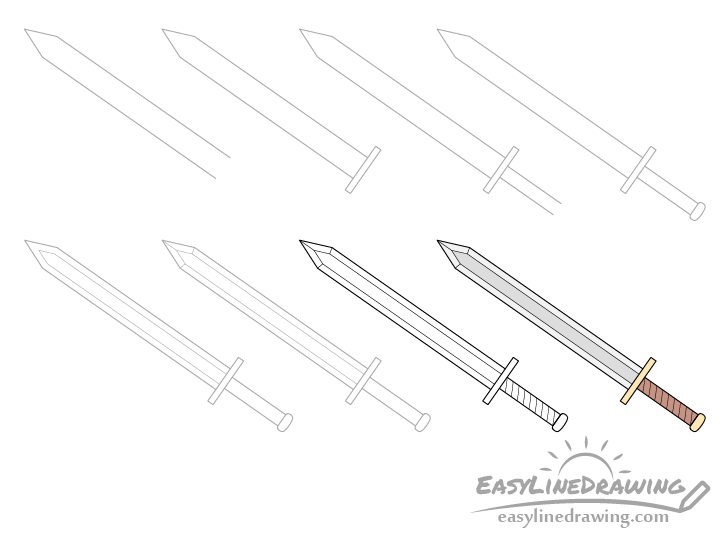
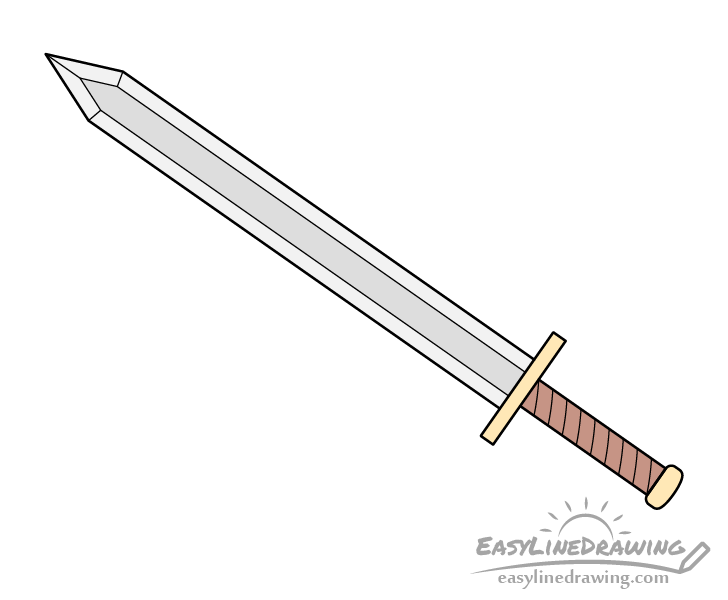
You can see all of the steps in the preview above. The example is slightly stylized but at the same time has good overall proportions and a shape that is very characteristic of a sword.
Just like with most tutorials here on EasyLineDrawing it’s recommended that you start in pencil and make light lines that you can easily erase in case you make a mistake. You can trace over them with a black pen or marker later on.
If you have trouble making straight lines you may also wish to use a ruler to help you. However, if you want to try and improve as an artist it’s better to draw without one.
Step 1 – Draw the Blade of the Sword
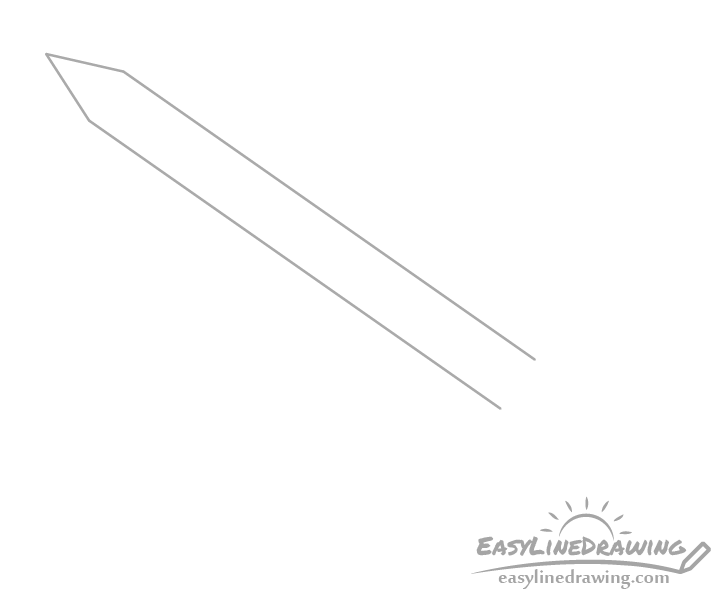
Begin by outlining the sword’s blade.
There are many types of blades but in this case it will be straight with an even width throughout most of it’s length. Draw it by making two parallel lines and then connect them with the “V” shaped tip.
Step 2 – Draw the Guard
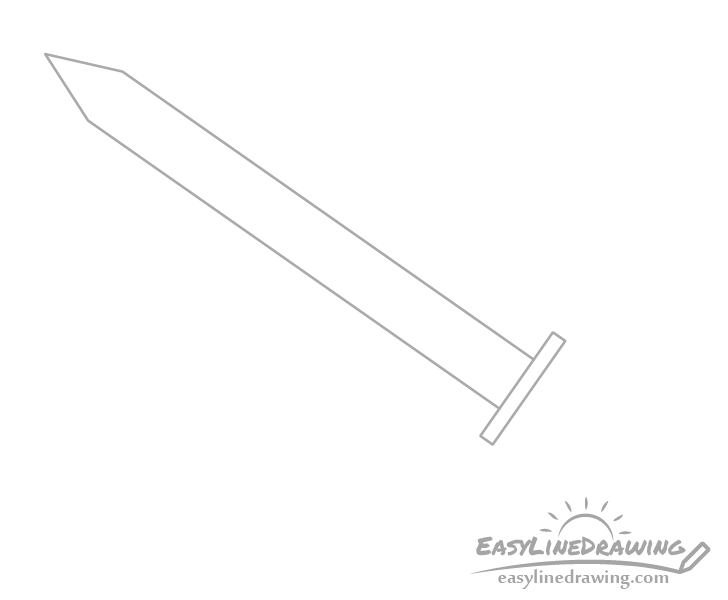
Onto the bottom of the blade add the guard (prevents the hand from slipping onto it).
In this case it’s shape will just look like a long and narrow rectangle, so draw accordingly.
Step 3 – Draw the Hilt
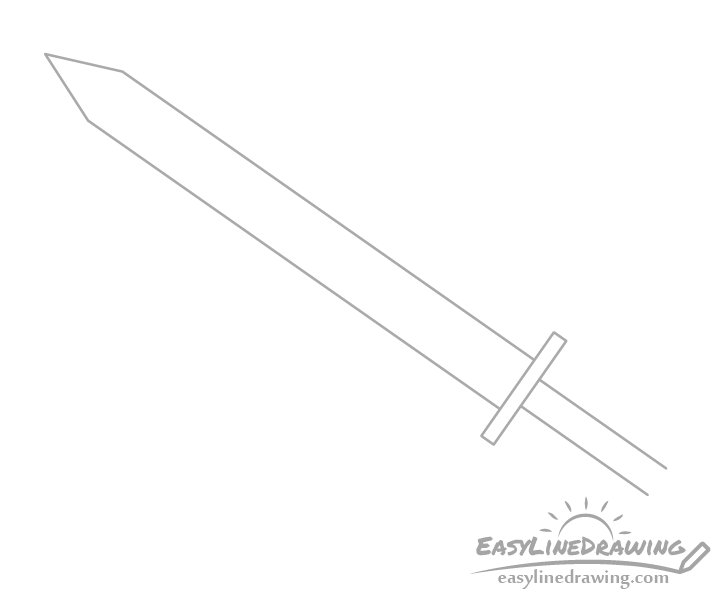
Going farther down from the guard add the hilt (handle). You can define it with just two parallel lines. Also be sure to draw it quite a bit narrower than the blade as an overly wide hilt would not be too comfortable (like trying to grip a log).
Step 4 – Draw the Pommel
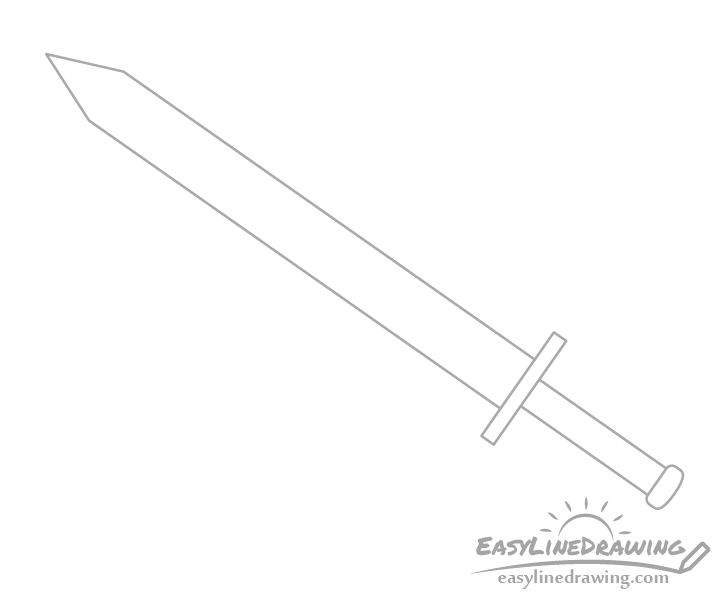
Finally add the pommel. Similar to the guard this helps make sure that the hand does not slip off of the hilt (this time in the opposite direction).
Unlike the guard give the pommel rounded corners and a rounded cap on it’s end.
Step 5 – Draw the Edge
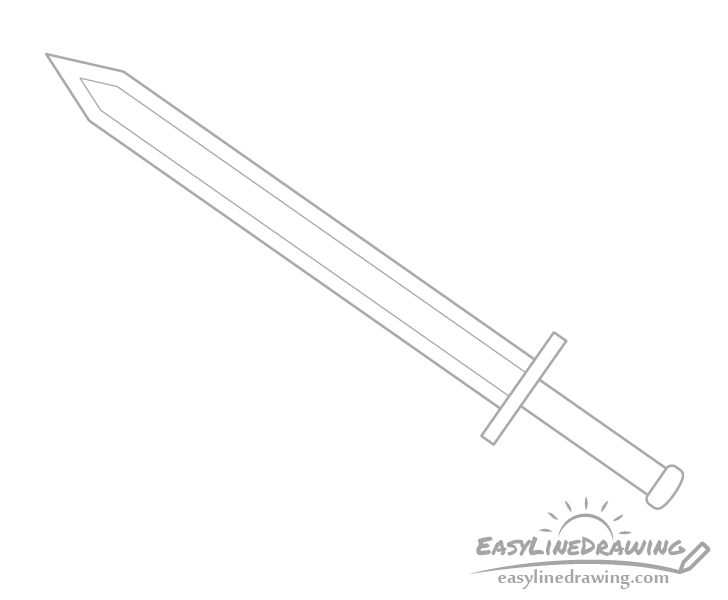
With the sword’s main parts outlined you can now add some of the smaller details. Start by outlining the edge of the blade (the part where it’s been sharpened). To create these you can pretty much just draw a smaller version of the blade inside it’s main shape (as shown in the example).
Step 6 – Draw the Edge Corners
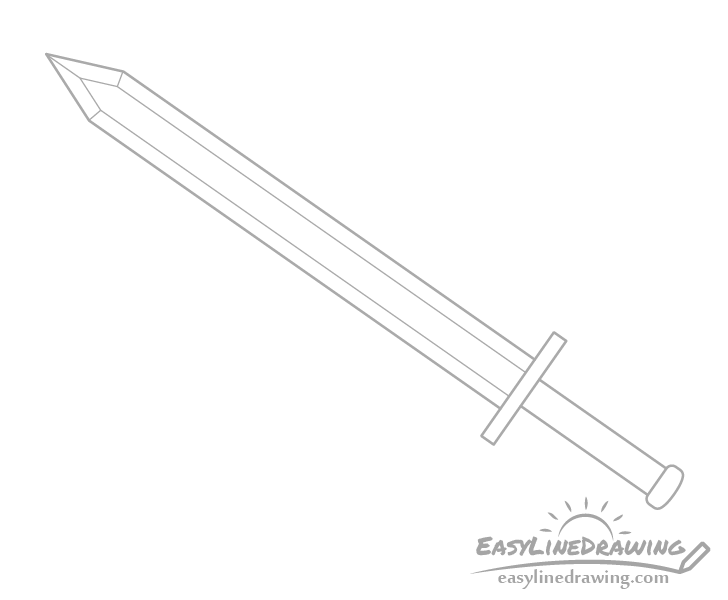
Project some lines from the corners of the main outline of the blade to the corresponding of the outline that defines the edge.
This will create the small sharp looking corners on the blade.
Step 7 – Finish the Line Drawing
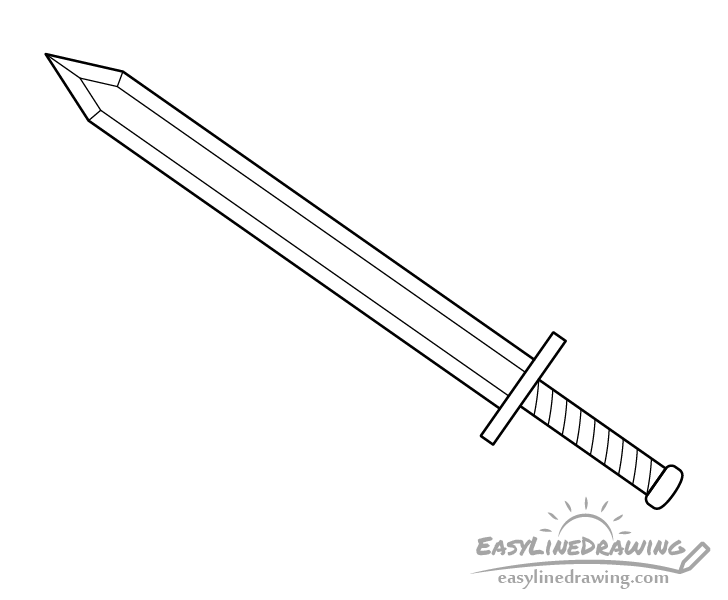
Draw a series of lightly curved lines along the grip to make it look like it has some wrapping or a design on it. Often swords have something in this are to make them easier to hold onto (a smooth hilt can be slippery).
Once you add this part of the drawing make sure that you are happy with how tings look thus far and make any corrections if required. If/when you feel things look good go ahead and trace over your lines with a black pen or marker. Alternatively you can also darken them with the pencil.
Step 8 – Color the Sword
To color the sword you can do it as follows:
Make the blade grey with it’s edges a slightly lighter grey. As the edges are the part that can be regularly sharpened they will tend to have shinier metal while the rest of the blade can be a bit more weathered.
Color the guard and the pommel a yellow (with a bit of orange/brown in it) to make them look gold. If you prefer a more plain looking sword you can make them the same darker grey as the blade.
As in the example a good option for the hilt is brown (if you want it to look like leather wrapping) but you can also go with grey (if you want it to look like metal).
Conclusion
This tutorial shows one way to draw a simple looking sword. Of course swords come in a large variety of designs but a similar drawing approach can work for a lot of them. Start with the largest part (usually the blade) and work down to the smaller parts followed by the little details. Hopefully you’ve found this drawing approach helpful and easy to understand.
If you liked the tutorial and would like to try a some more like it also see the following:
- How to Draw a Shield Step by Step
- How to Draw a Dagger Step by Step
- How to Draw a Spear Step by Step
- How to Draw a Club Step by Step
- How to Draw a Bow & Arrow Step by Step
- How to Draw a Fighter Jet Step by Step
- How to Draw a Cannon Step by Step


")


