How to Draw a Bow & Arrow Step by Step
This tutorial shows an easy way to draw a bow with an arrow in six steps. It provides both line drawing and coloring examples along with quick explanations.
You can see a preview of the drawing steps for the bow and arrow in the example above.
Start the drawing in pencil and make light lines that you can easily erase. You can use a black pen or a thin black marker to darken them later on.
Step 1 – Draw the Bow
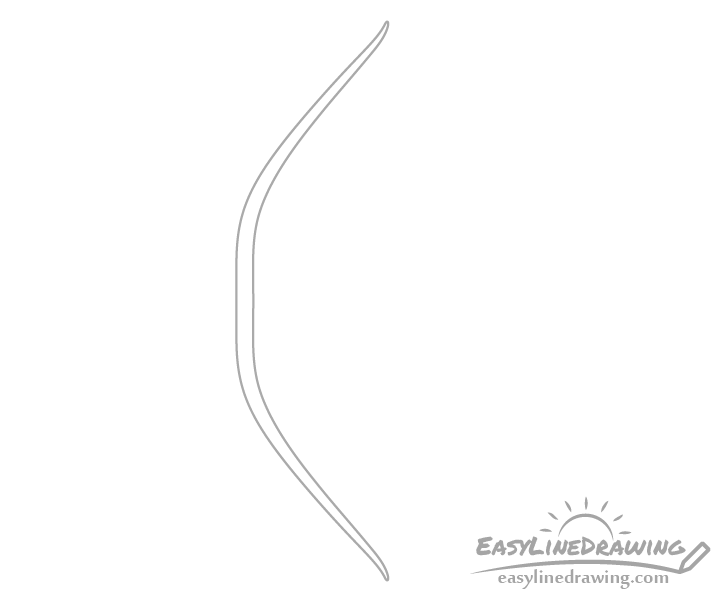
Begin by drawing an outline of the bow. Draw it thicker towards the middle and narrower towards the ends. Make it’s middle sections fairly straight followed by a pair of bends and then again straight areas (on both sides) followed by small curves (in the opposite direction of the first two) near the tips.
Step 2 – Draw the Arrow Shaft
Going through the middle of the bow add the arrow shaft. You can carefully erase the a tiny bit of the bow’s outline in that area before drawing the shaft.
Make the arrow shaft fairly thin in comparison to the bow and position it so that it sticks out just a tiny bit at the front and goes a long way back.
Step 3 – Draw the Arrowhead
At the front of the shaft add the arrowhead. These can come in all shapes and sizes but for this particular drawing it will have a pointy tip with slightly curved edges.
You can also draw it’s middle part that fits on top of the shaft slightly thicker than the shaft itself.
Step 4 – Draw the Fletching
Towards the back of the shaft add the fletching (the feathers or plastic that help stabilize the arrow as it flies). Draw the the feathers so that they have a sort of smooth “slope” at the front and ab it of a curve in the back (see example).
Step 5 – Draw the String & Finish the Line Drawing
Going from each end of the bow to behind the arrow add the string. As bow strings tends to be fairly thin you can draw most of it with just one line. You can then add a pair of thicker lines to the areas where the string is attached tot he bow to show that it’s wrapped around it.
Once done drawing the string you can trace over your lines with a black pen or a thin black marker to darken them. Alternatively you can also just do it with the pencil.
Step 6 – Color the Bow & Arrow
As this particular drawing has some fairly small details an easy way to color it is with colored pencils or think markers.
You can make the bow brown, the arrow tips grey, the arrow shaft yellow (or yellow brown) and the feathers orange (or any color you like).
Once done coloring you should have a finished drawing of the bow and arrow.
Conclusion
This tutorial shows how to draw a fairly simple bow and arrow. However if you want to try drawing a different type of bow or arrow you can still use pretty much the same drawing steps to do it.
For drawing other types of weapons also see:
- How to Draw a Sword Step by Step
- How to Draw a Spear Step by Step
- How to Draw a Shield Step by Step
- How to Draw a Dagger Step by Step
- How to Draw a Magic Staff Step by Step
- How to Draw a Fishing Pole Step by Step


")


